
There’s something satisfying about making food from scratch using delicious, wholesome ingredients. I love knowing exactly what is in the foods that my family and I are eating, and I think we all appreciate it more when there’s a little elbow grease involved in making it. My sister in Alaska frequently grinds her own wheat for bread (she also has six kids and a full time job). I would LOVE to do this, but in reality I just don’t have the kitchen space for a wheat grinder right now. Hopefully in a few months I will have that needed space, and someday I hope to grow my own wheat too. For now, I buy my flour.
This recipe is the best I’ve found to make yummy wheat bread that is perfect for slicing for sandwiches or toast. I used it for French toast this morning and it was delicious as well! As you can see, this bread is pretty versatile and you won’t want store-bought bread after you make this. This bread was adapted from a cookbook called Baking With Julia (Childs). I’ve changed a few things and added a couple more to fit my tastes. The wheat gluten I’ve added is essential for getting a good rise and a light, fluffy loaf. You can find wheat gluten in your local super market. Also, don’t skimp on the kneading, you don’t want to end up with a brick!

Ingredients:
2 1/4 cups of warm water (105-115 degrees Fahrenheit)
1 Tbs active dry yeast
1/3 cup honey
2 cups (plus 1/4 cup for kneading) all purpose flour
3 cups whole wheat flour
1 1/4 Tbs salt
1/4 cup wheat gluten
1 Tbs vegetable or canola oil, plus more for oiling the bowl
Directions:
Pour 1/2 cup of the warm water into the bowl of a stand mixer. Add the yeast and honey and whisk slightly to blend. Allow the mixture to rest for approximately 5 minutes until bubbly.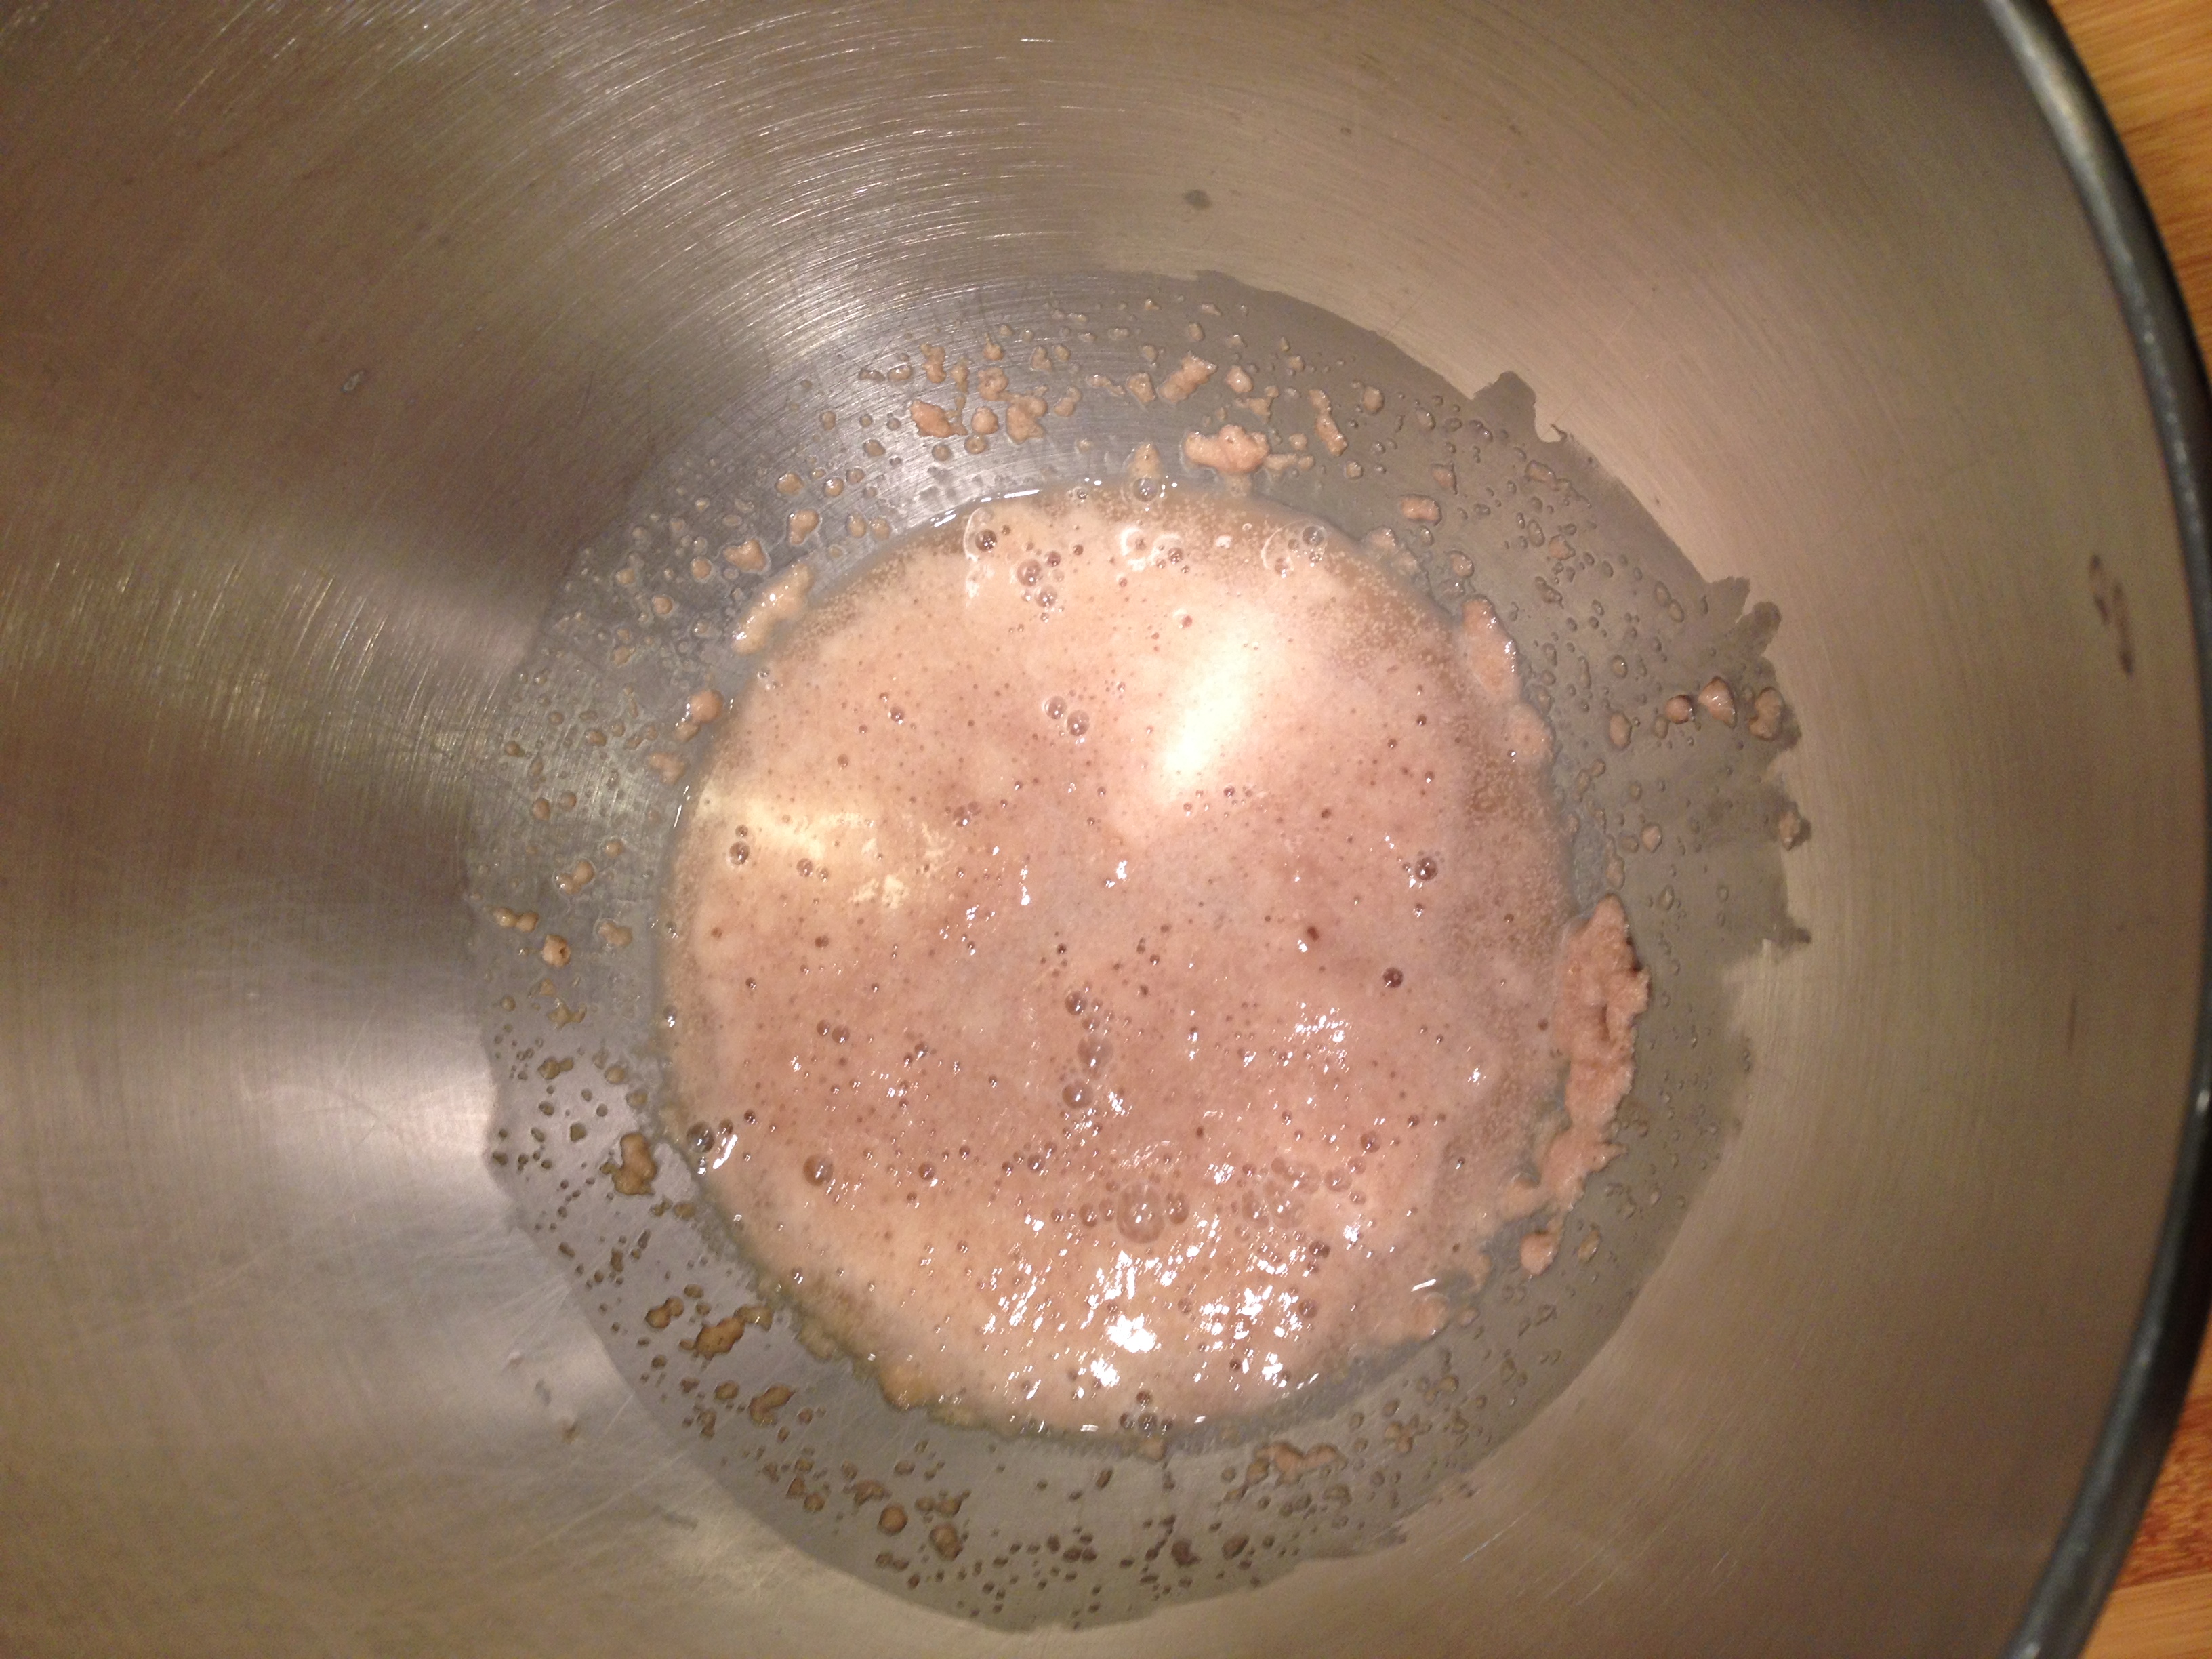
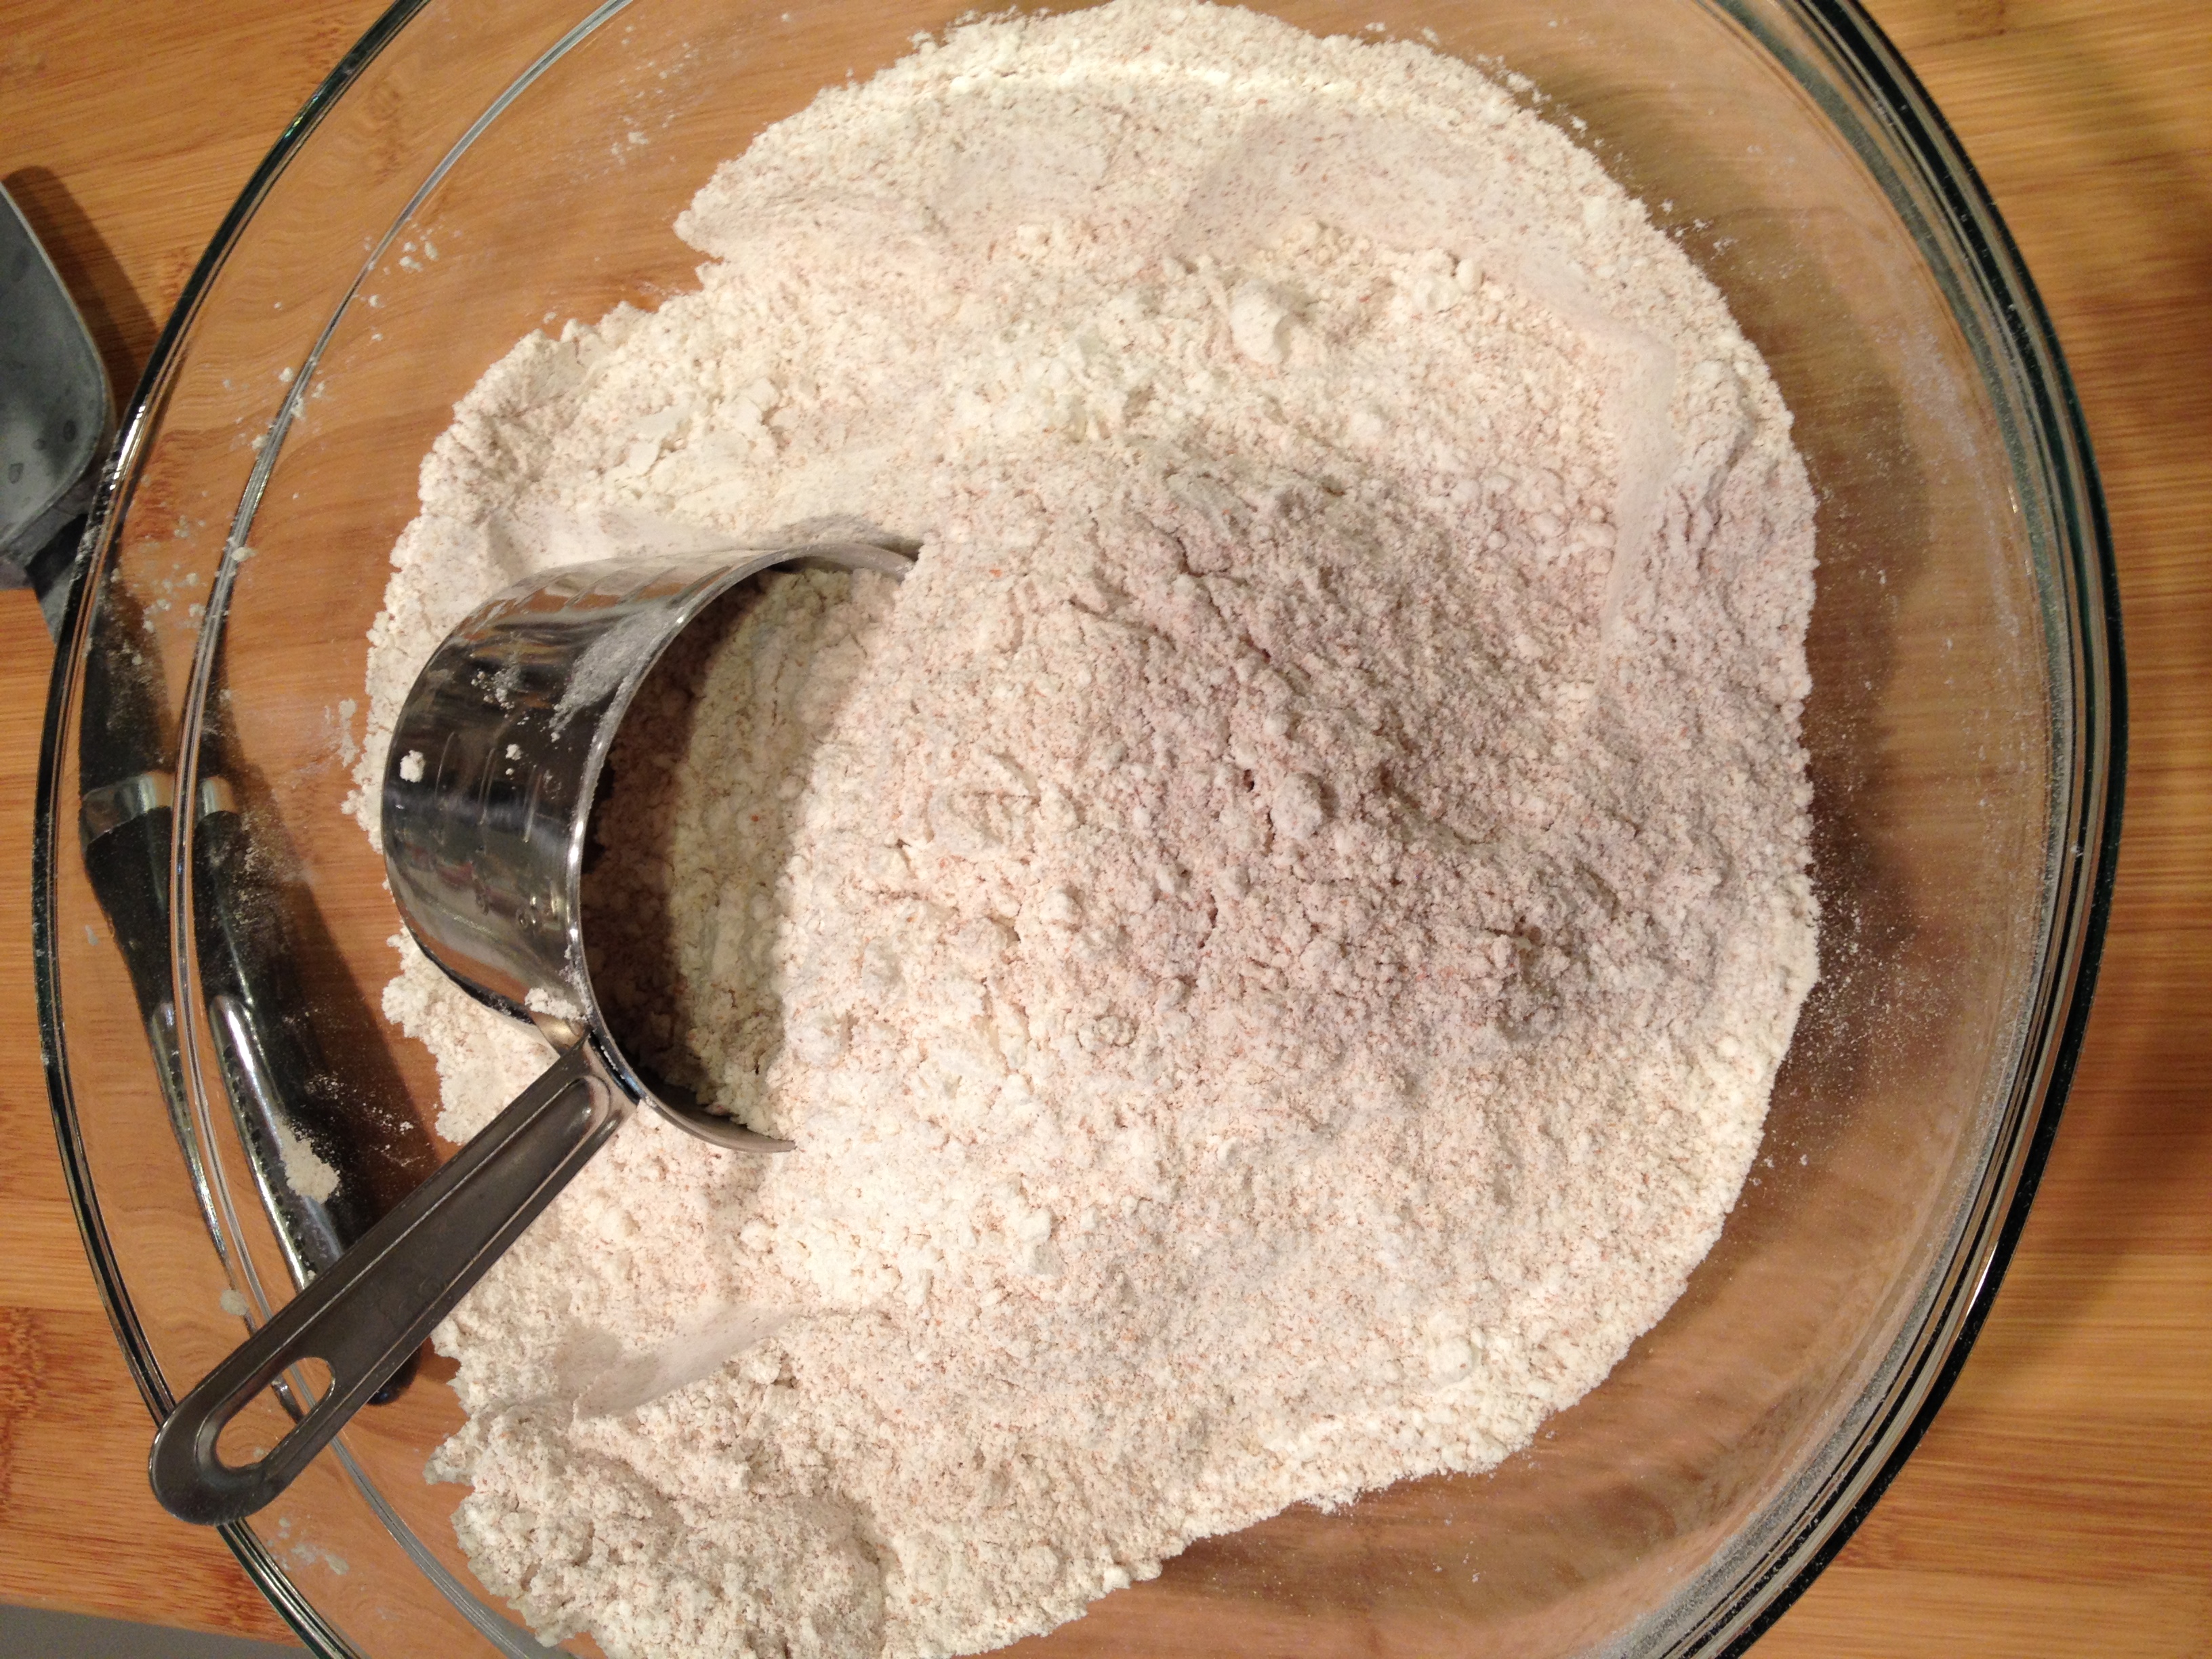
In a separate bowl, combine 2 cups of the all purpose flour and 3 cups of the whole wheat flour, gluten and salt. Stir to combine and set aside.
Using your mixer on low speed with a dough hook attached, add the rest of the warm water to the yeast mixture, also add the oil and about half of the flour mixture one cup at a time, scraping sides as needed.
On low speed, add the rest of the flour. Increase the mixer speed to medium, stopping to scrape down the bowl and hook as needed, until the dough comes together.

If dough is too dry add a teaspoon of water, if too sticky, add a tablespoon of a/p flour. Continue to knead at medium speed for about five minutes, until the dough is smooth and elastic. You can skip kneading by hand in the next step if you increase kneading time in the mixer by five minutes. I don’t recommend this though. Your mixer motor could get really hot and possibly burn out. Kneading dough by hand is more romantic anyway and it’ll make you appreciate the bread more. Also, you’ll get killer arms and shoulders if you do this on a regular basis!

Flour a clean counter top and put dough out. Knead the dough by hand for 8 to 10 minutes. This dough will be slightly sticky(tacky) even after it’s kneaded sufficiently. If the dough is really sticky (sticks to your palms while kneading) add flour a sprinkle at a time until it barely sticks to your palm when kneading.
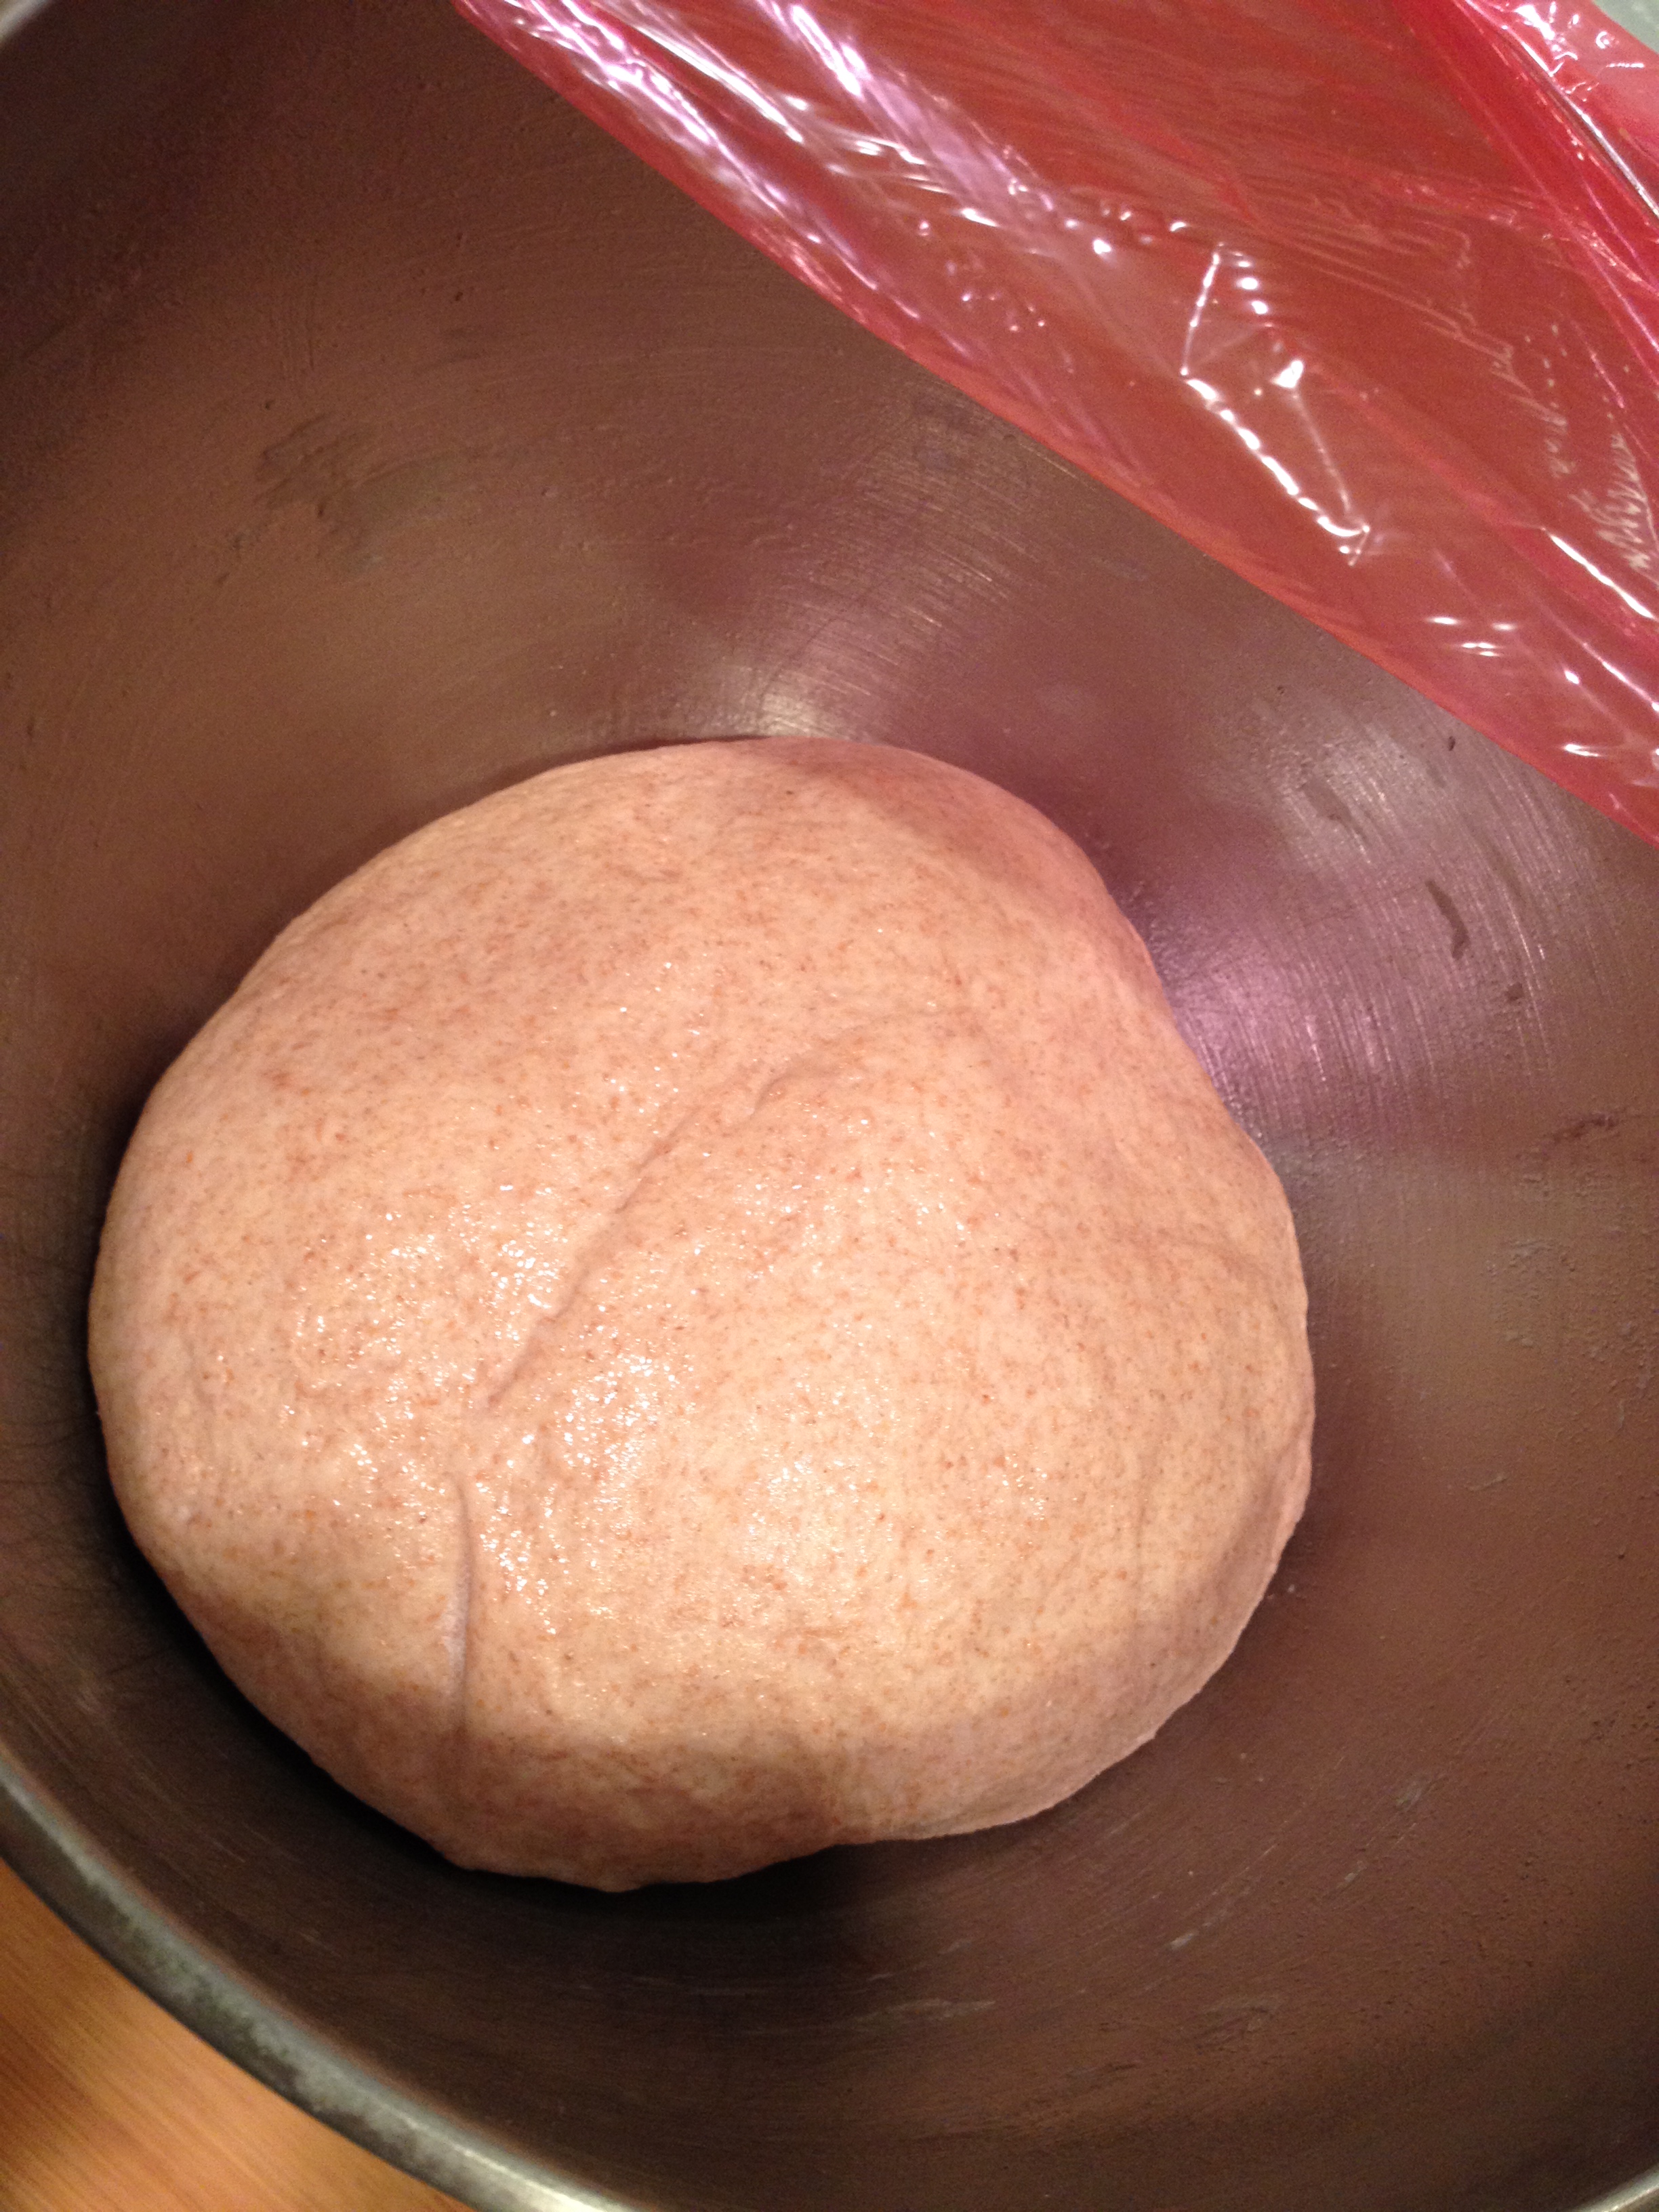
Once you are done kneading, shape the dough into a ball and place it into a large oiled bowl (big enough to hold at least double the volume of your dough). Turn dough once to coat both sides. Cover the bowl tightly with plastic wrap and let the dough rest at room temperature until it doubles in volume, about 1 1/2 hours.
Oil or butter the bottom and sides of two 9×5 (I recommend glass) loaf pans and set them aside. Punch down the dough and turn it out on to a lightly floured surface.

Divide the dough in half. Using your hands or a rolling pin, roll the dough into a 9×12 rectangle. The dimensions don’t have to be perfect, but it should be uniform. with your dough laying vertically start rolling the dough (snuggly, but not tight) roll it all the way to the other end and pinch to seal the edges. Gently tuck the ends under to make it look nice and set the bread in the loaf pan.


Turn the dough so that seem side is down and tuck in the ends just enough so the dough will fit nicely in the pans.

Drop the dough in the pans and cover loosely with oiled plastic wrap (the easiest way to oil plastic wrap is to spread it on a flat surface and spray with cooking spray, then pick it up two edges and drape over the dough). Allow the dough to rise again until about double in the pans. This will take about another hour.


In the meantime, turn oven on 375 degrees Fahrenheit.
The breads is risen sufficiently when it is about double and if you poke a finger into it, the impression your finger makes stays in the bread. Bake in the oven for about 25 minutes. The internal temperature should be 200 degrees Fahrenheit when bread is done.

Turn bread out onto cooling racks right away and let them cool to almost room temperature before slicing. Keep bread sealed in a plastic bread bag, it should last for 2-3 days before getting dried out. You can also freeze it.

??? question?? if you use bread flour why do you need wheat gluten? what is the purpose of the gluten?
I don’t use bread flour, I use a combination of all purpose white flour and whole wheat flour. The purpose of the gluten is that it’s a protein which helps the bread rise and it makes the texture lighter and more fluffy. Bread flour already has more wheat gluten added so I would omit the gluten in the recipe if you are using bread flour. I hope that helps! Good luck!
Sweet thanks 🙂
Excited to see you used one of the cookbooks I sent. I’ll try your recipe some day. Wheat bread is my favorite & I know buying Ovenjoy at Safeway is probably not the smartest purchase for a healthy toast or sandwich. Lately, I am scoping out the spring flowers coming up around us hoping the rain will stop so I can get out there to prepare my vegetable garden. Such a tease to have the sun shine so bright & heavy rain come down at the same time. A.Bett
Aunt Betty, yes thank you for all the great books! They are such good inspiration!! I can’t wait for our garden as well! House first though. For now I have to settle for potted tomatoes and herbs on the porch!
I’m flattered that you mentioned me! 😉 Grinding your wheat is super easy! One, little extra 10 minute step! Totally worth it! Love you guys!