Coconut Pecan Spread

Coconut seems to be one of those foods that people have a definite opinion on:  you either love it or hate it.  Janna and I both love it.  LOVE.  And what better way to enjoy coconut than combined with crunchy pecans, mixed into a messy, delicious batch of sweet custard and piled high onto a Dark Chocolate Cupcake? Okay, so maybe there are some other equally delicious ways to eat it, but it’s hard to beat that yummy combo!

This blog post just happened to coincide with my nephews birthday.  It’s a labor of love for me to make birthday cakes for the family whenever possible, and this time the request was for German chocolate cupcakes.  So, I baked 2 dozen Dark Chocolate Cupcakes, topped them with the spread and delivered them to the birthday boy, all the while snapping pictures, of course.

This spread is more than just a cupcake topping.  It’s pretty versatile and can be used as a filler or frosting for layer cakes, a topping for ice cream, a finishing touch for cinnamon rolls…the sky’s the limit!  However you do it, enjoy!
Picture3

Ingredients
:
1 12 oz can evaporated milk
4 egg yolks
1 1/2 tsp vanilla extract
1 1/2 cups granulated sugar
3/4 cup unsalted butter
10 oz sweetened flake coconut
1 1/2 cups chopped pecans
IMG_5507

IMG_5515

Directions:

In a large saucepan, whisk together the milk, egg yolk and vanilla until well blended.  IMG_5513Add sugar and butter and cook on medium heat until thickened, stirring constantly, about 10-12 minutes.  Resist the urge to turn up the heat to avoid scorching

Once thick, remove from heat and stir in the coconut and pecans until well combined.  Allow mixture to cool completely before using as a spread or filling.

Makes about 4 cups.
Picture1

Picture8


Basic Buttercream Frosting

I remember when I was growing up, my mom was always baking these big, gorgeous wedding cakes for friends and family.  It was so exciting to sit and watch her frost the cake and stack the tiers high, then decorate it with perfect frosting roses and embellishments. She always made the most perfectly white, fluffy vanilla buttercream frosting to frost it with.  She would spread leftover frosting on graham crackers for Joanie and I.

When I started baking cakes and cupcakes several years ago, I couldn’t get the consistency of my buttercream frosting right.  The frosting would never be fluffy enough and would never hold up when I piped it through a tip.  I didn’t understand what I was doing wrong until finally I had my mom walk me through it.  Turns out there is a very simple trick to getting the fluffiest frosting that’ll stay where you put it.  The trick is, you beat the crap out of it!  My mom told me to whip the butter in the mixer on high for no less than 7 minutes!  So here is my buttercream frosting recipe based on my mom’s recipe, but I don’t use shortening like she did because I just don’t like the mouth feel.
cupcake2
cupcake5

Ingredients:

1 cup unsalted butter at room temperature.  (This is VERY important, if your butter is too soft or melted it won’t fluff up.  I would err on the side of too cold if anything.  Let your butter set on the counter over night if you can.)

4-5 cups powdered sugar
2 tsp real vanilla extract
5-6 Tbs milk

Method:

With an electric mixer with a whisk attachment, beat the butter on high for 10 minutes.  You can periodically stop the mixer to scrape down sides of the bowl.  The butter will get fluffy and almost white in color.
cupcake4

When butter is very light and fluffy (after 10 minutes of whipping) turn mixer off and add the vanilla and two cups of the powdered sugar.  Turn mixer on low until the sugar is combined and then turn it on medium speed and add 2 tablespoons of the milk.
Turn mixer back to low and add the rest of the powdered sugar and a couple more tablespoons of milk until you have a fluffy, light, spreadable consistency.

You are now ready to spread the frosting onto cakes or cupcakes.  This can be done using an off-set spatula or pastry bag and tip.  If you don’t have either of these, the back-side of a butter knife works just fine.  This recipe will frost approximately 24 cupcakes or 1 9×13 cake or a two layer 8 inch round cake.  Happy frosting!!

~Janna
cupcake1

Joanie’s Favorite Dark Chocolate Cupcakes

I can honestly say that these are the best chocolate cupcakes I’ve ever had.  No exaggeration.  I’m a big chocoholic and, in my opinion, the darker the better!  Sure there’s a time and a place for milk chocolate (and even white chocolate, though that’s not really chocolate) but dark chocolate takes the cake.  Or rather, MAKES the cake!

I came across this recipe from Life, Love & Sugar in the news feed of our Facebook page.  The chocolate cake was layered with a decadent pumpkin cheesecake and frosted with pumpkin icing.  The photos were so beautiful and enticing that I was more than happy to test it out for a friend.  While the original layer cake was delicious, the chocolate cake really stood out to me.  Since then, it has been my go-to for chocolate cake.

This recipe is rather quick and easy, and you don’t need a mixer.  So far, it has been absolutely fool proof.  The best part is, they are so rich and delightful that you really don’t even need icing…that’s just a bonus.  =)  However, if you do want something sweet to spread on top, try our Basic Buttercream or Coconut Pecan Spread.  Enjoy!

Ingredients:
2 cups all purpose flour
2 cups granulated sugar
3/4 cup Hershey’s Special Dark baking chocolate powder
2 tsp baking soda
1 tsp salt
2 large eggs
1 cup buttermilk
1 cup vegetable oil
1 cup boiling water water
2 tsp real vanilla extractIMG_5447

Directions:
Prepare your pans ahead of time.  Line cupcake pans, OR thoroughly grease and flour 2 9-inch cake pans.  You may consider adding parchment paper rounds to the bottom of the pan to ensure an easy release.  Preheat oven to 300 degrees.

In a large bowl, combine all dry ingredients and whisk together thoroughly.
Dry Ingredients

Add eggs, buttermilk & oil and mix until combined and glossy.
IMG_5465

In a measuring cup, combine the boiling water and vanilla and add it to the chocolate mixture.  Give the batter a final stir until all ingredients are thoroughly combined.  The consistency will be a little runny, but, trust me, it’s perfect.
IMG_5477

Pour the batter into prepared pans.  For cupcakes, leave about 3/8 inch to the top of the liner to avoid ugly muffin tops.  =)
IMG_5481

For cupcakes: bake 25-30 minutes.  (My stone pan takes 30 minutes on the dot, every time.  Metal pans may need a little less time.)
For round cakes: bake for about 35-40 minutes.

You know your cake is done with you can insert a toothpick into the middle and it comes out clean.  However, DON’T disturb the cake until the final minutes of baking.  You don’t want to cause it to collapse.  Collapsed cake is not pretty, I’ve seen it.
IMG_5485

Allow the cakes to cool for about 10 minutes in the pan, then transfer to cooling racks and let them come to room temperature before you frost them.

Makes 24 cupcakes (25 if you’re lucky!) or one decadent, layered round cake.
Final 3


Lemon Pound Cake Pops

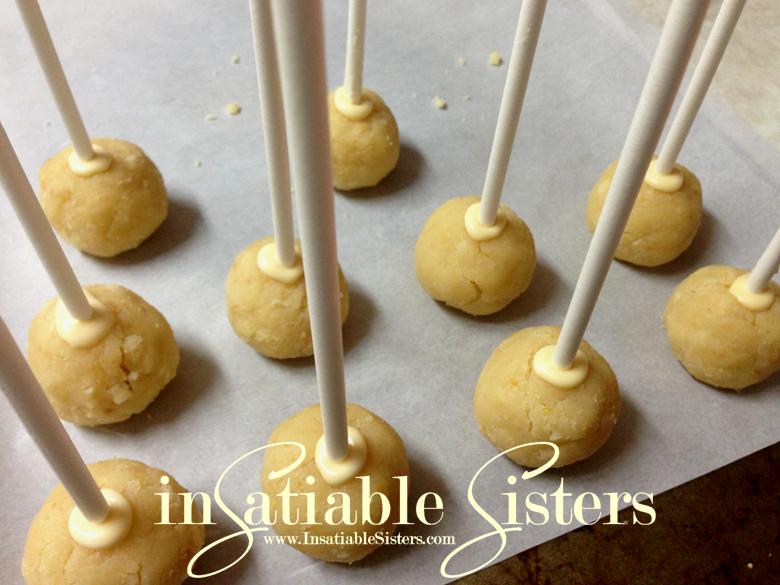
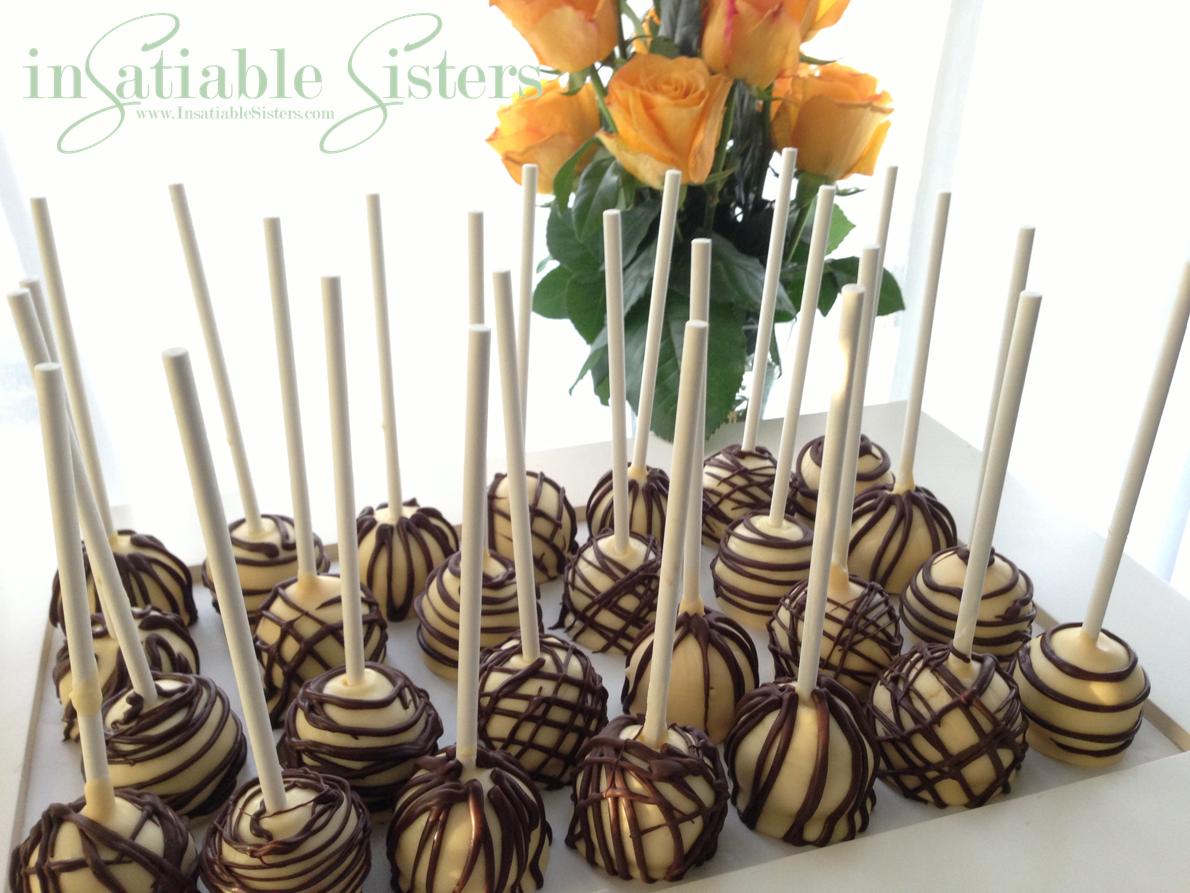
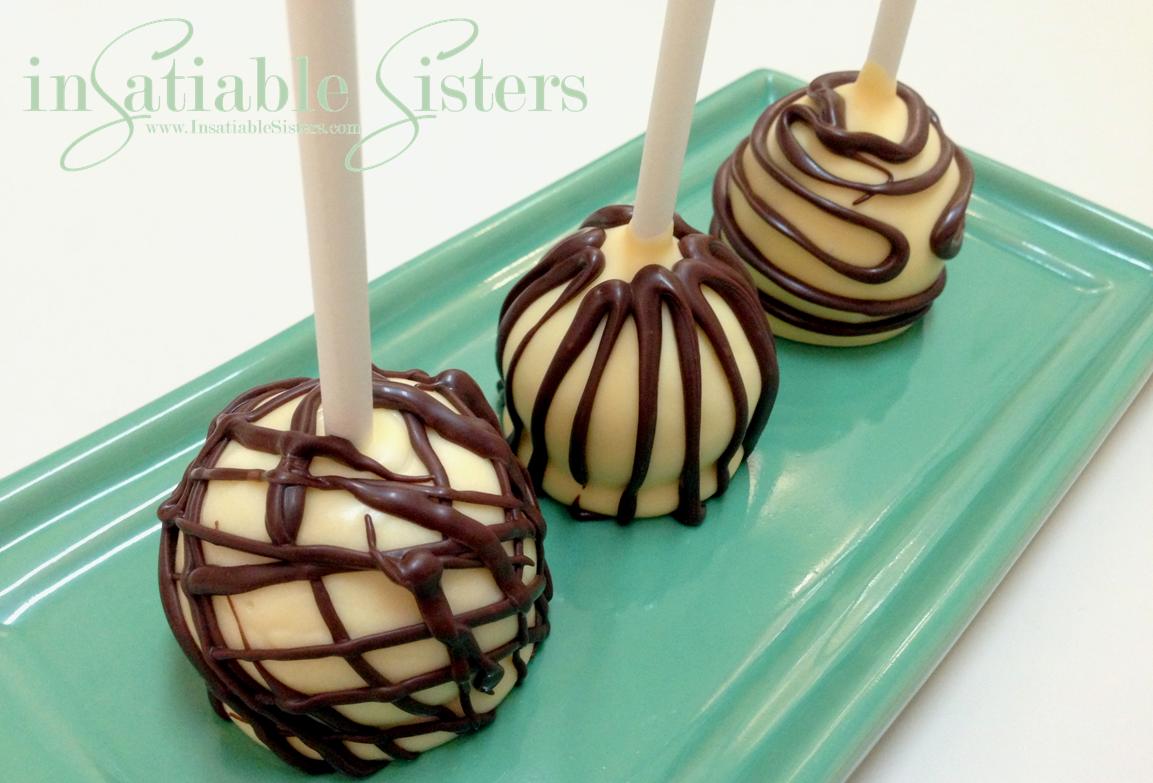
For this blog post, I made the cake pops using my Lemon Pound Cake recipe, but you can use pretty much any type of cake/frosting combo to create these delectable treats. They are a bit time consuming, but the end result is worth it. Be creative and have fun!  ~Joanie

Ingredients:
(Makes about 24 pops)

1 recipe of Lemon Pound Cake (baked and cooled)

Frosting (used as a binder):
½ Stick Butter, softened
Juice of ½ Lemon
1 ½ Cups confectioners sugar (approx)
2 Tbs milk (you may need more or less, depending on consistency)

Miscellaneous Necessities
:
2-4 Cups Candy coating (wafers), OR white chips, OR chocolate chips
1 Tbs vegetable oil per 1 cup of candy coating
24 Cake pop sticks
Parchment Paper
Optional:  Sprinkles, nuts, 2nd color of candy or chocolate coating

Directions:

Start by crumbling the cake into fine crumbs.  You can do this by hand, or by using a food processor on pulse.  Set aside.

Next, mix your frosting.  Beat the butter with an electric mixer for a few minutes on medium speed.  Gradually add confectioners sugar, mix until well incorporated.  Stir in the lemon juice and mix well, then add the milk.  Beat for about 3 minutes on medium speed.  Check your consistency, add confectioners sugar if too thin, or milk if too thick, 1 Tbs at a time until you reach the desired consistency.

Once frosting is complete, mix several tablespoons into your cake crumbs.  You want the cake to form a ball and hold together when you insert the stick, but you don’t want it to be too gooey.  This step is pretty much trial and error, just make sure you mix well after each addition of frosting until you get it just right.

Form cake balls into approx 1.25 inch balls.  Melt a small amount of your candy coating, dab the cake pop stick into candy, and carefully insert it into the cake ball.  Place them on parchment paper and allow the candy “glue” to harden before attempting to dip.
 

I can’t decide if this next step is my least or most favorite.  Dipping candy is so fun, and the results so pretty, but it’s a lot of work!

In a microwave safe measuring cup (or narrow bowl) heat 2 cups of candy pieces for 45 seconds.  Stir until pieces are melted and smooth.  If needed, microwave for an additional 20 seconds.  Add vegetable oil and stir until smooth.

*If you’re using chocolate, like chocolate chips, please check out this article on tempering chocolate.  Although tempering is quite simple, it is very specific.

Gently dip each cake pop into the melted candy and allow excess to drip off.  If you are using sprinkles, nuts, or any kind of crumbly coating, now is the time for that!  Roll your cake pops in your coating of choice, then place back onto the parchment paper and allow candy to harden.  **You can also let them harden “stick down” if you have something to hold them, such as a chunk  of styrofoam, or even an upside-down colander.**

Once candy coating is firm, you can drizzle with another color for a decorative touch.

Happy Spring!