Joanie’s Favorite Dark Chocolate Cupcakes

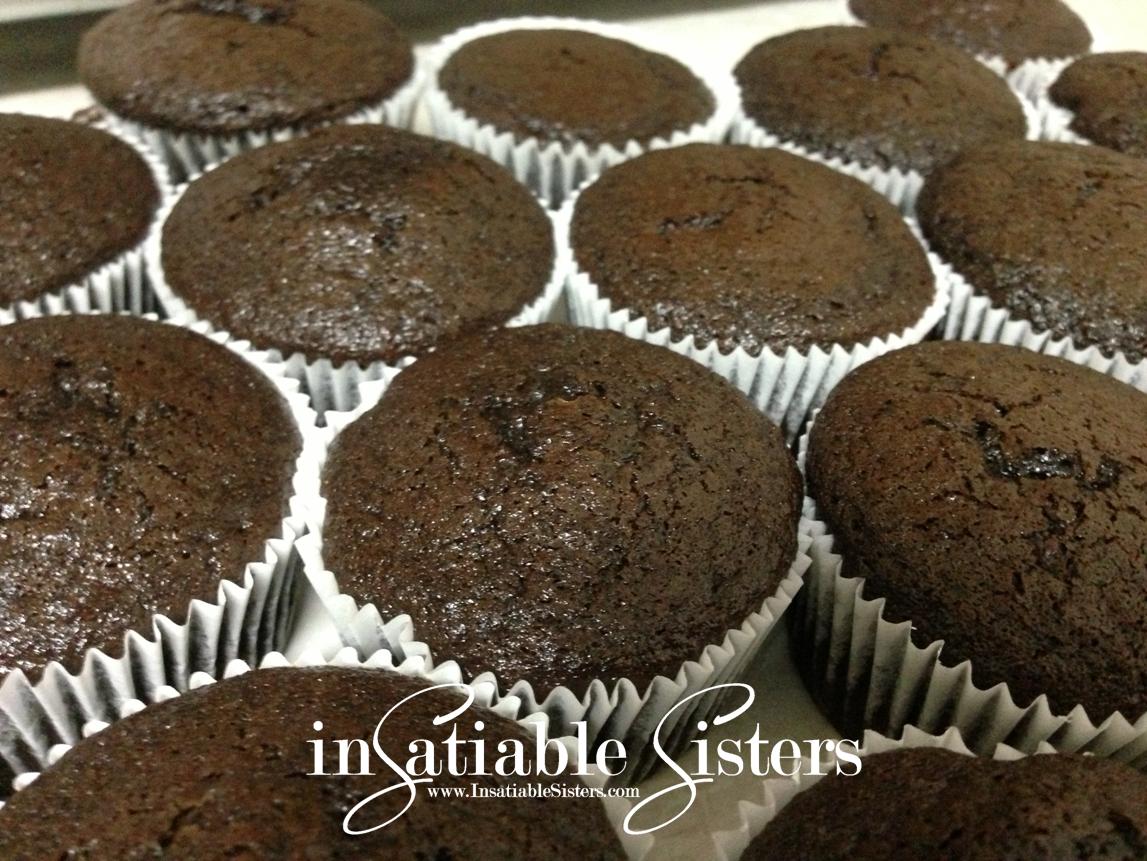
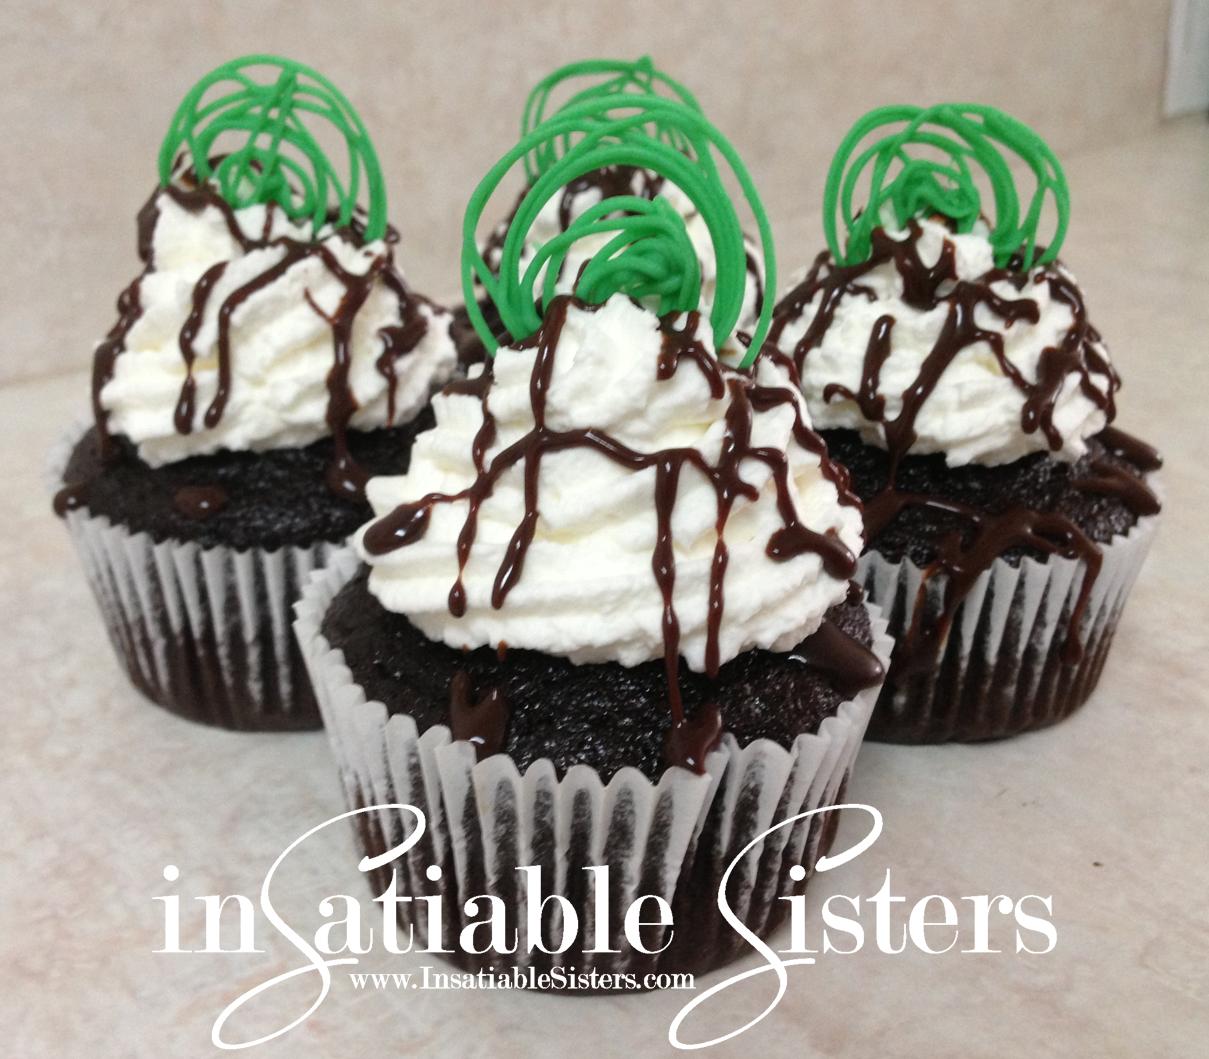
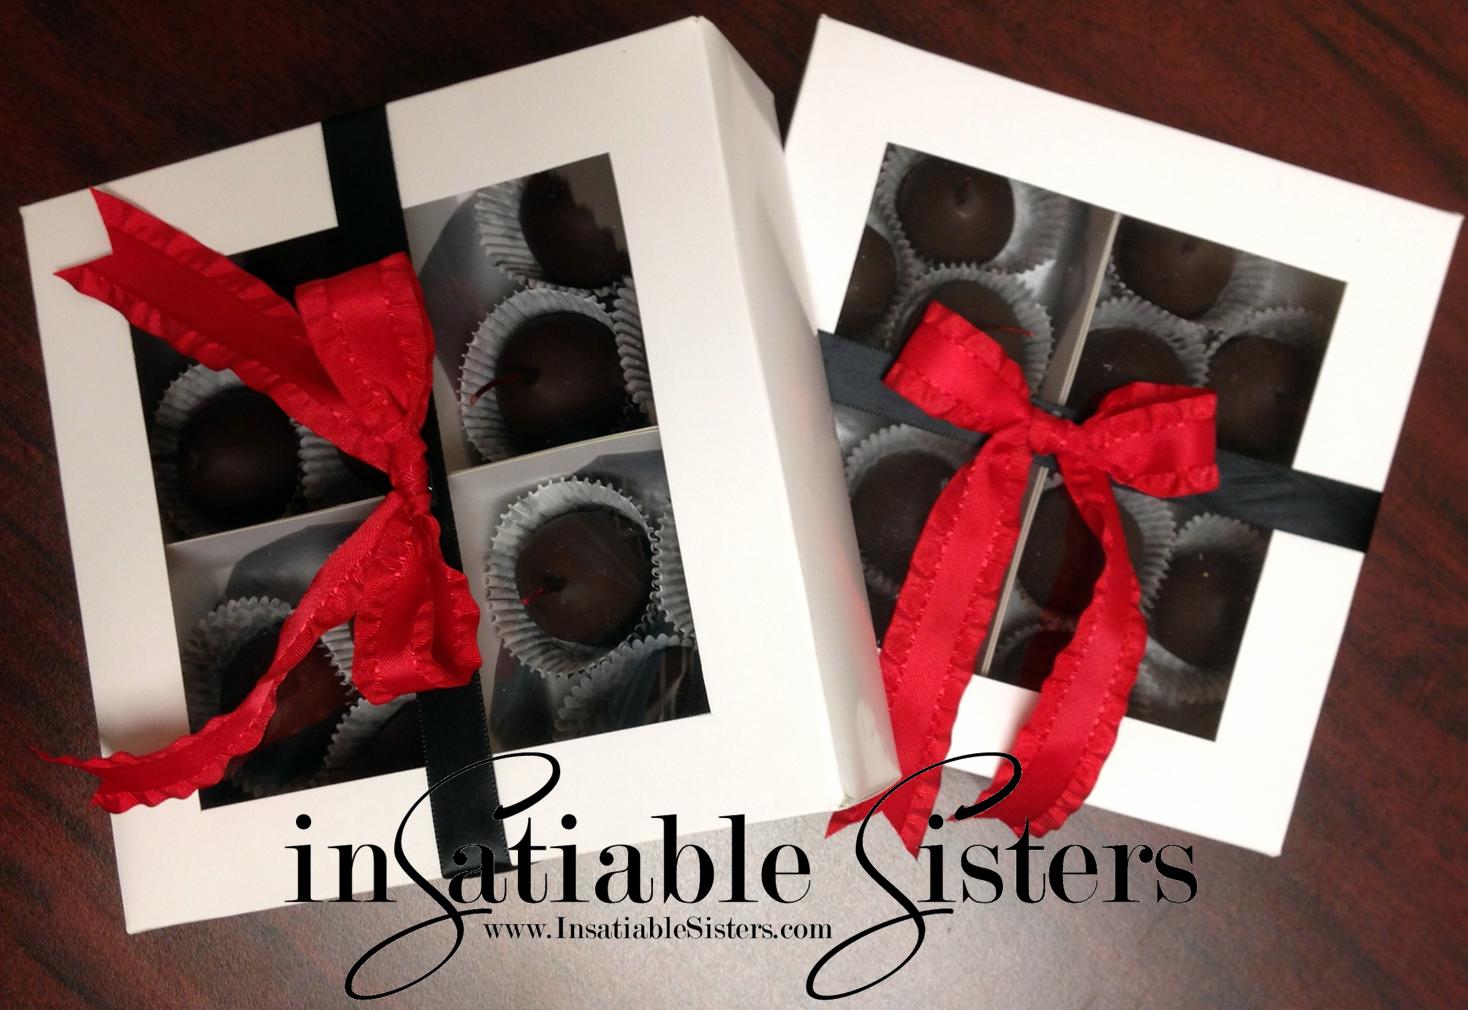
I can honestly say that these are the best chocolate cupcakes I’ve ever had.  No exaggeration.  I’m a big chocoholic and, in my opinion, the darker the better!  Sure there’s a time and a place for milk chocolate (and even white chocolate, though that’s not really chocolate) but dark chocolate takes the cake.  Or rather, MAKES the cake!

I came across this recipe from Life, Love & Sugar in the news feed of our Facebook page.  The chocolate cake was layered with a decadent pumpkin cheesecake and frosted with pumpkin icing.  The photos were so beautiful and enticing that I was more than happy to test it out for a friend.  While the original layer cake was delicious, the chocolate cake really stood out to me.  Since then, it has been my go-to for chocolate cake.

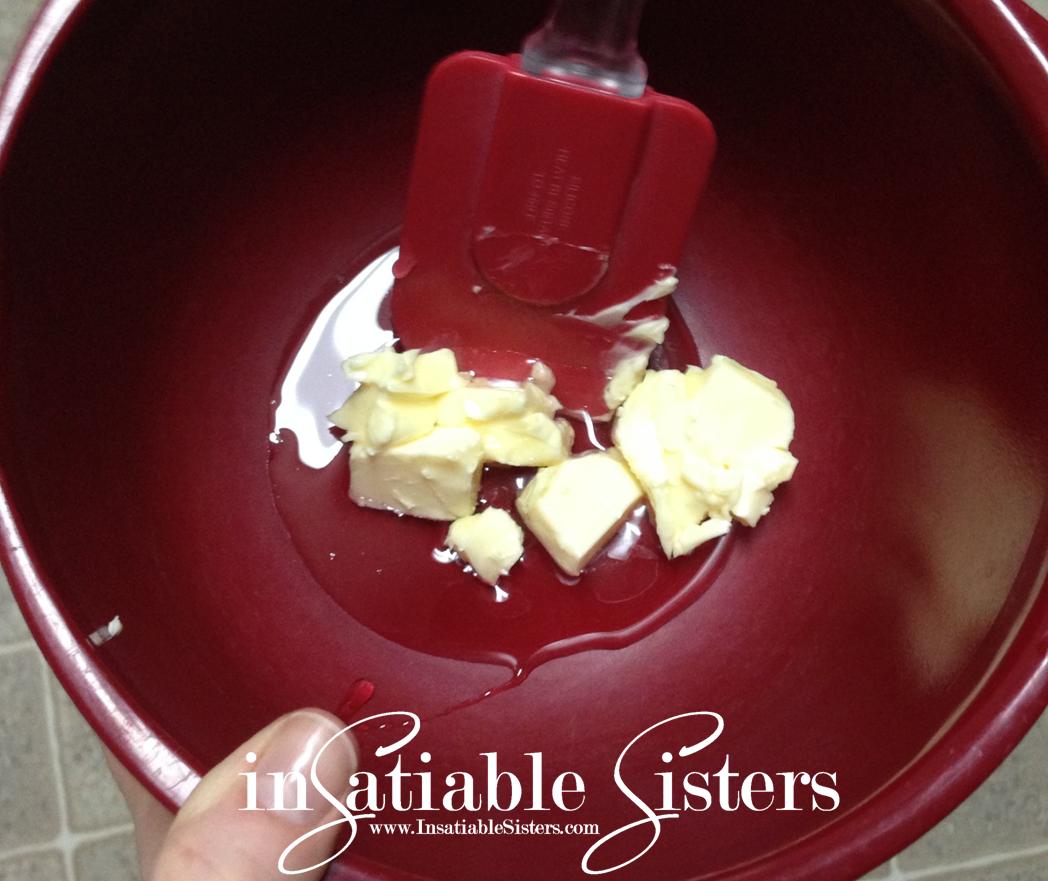
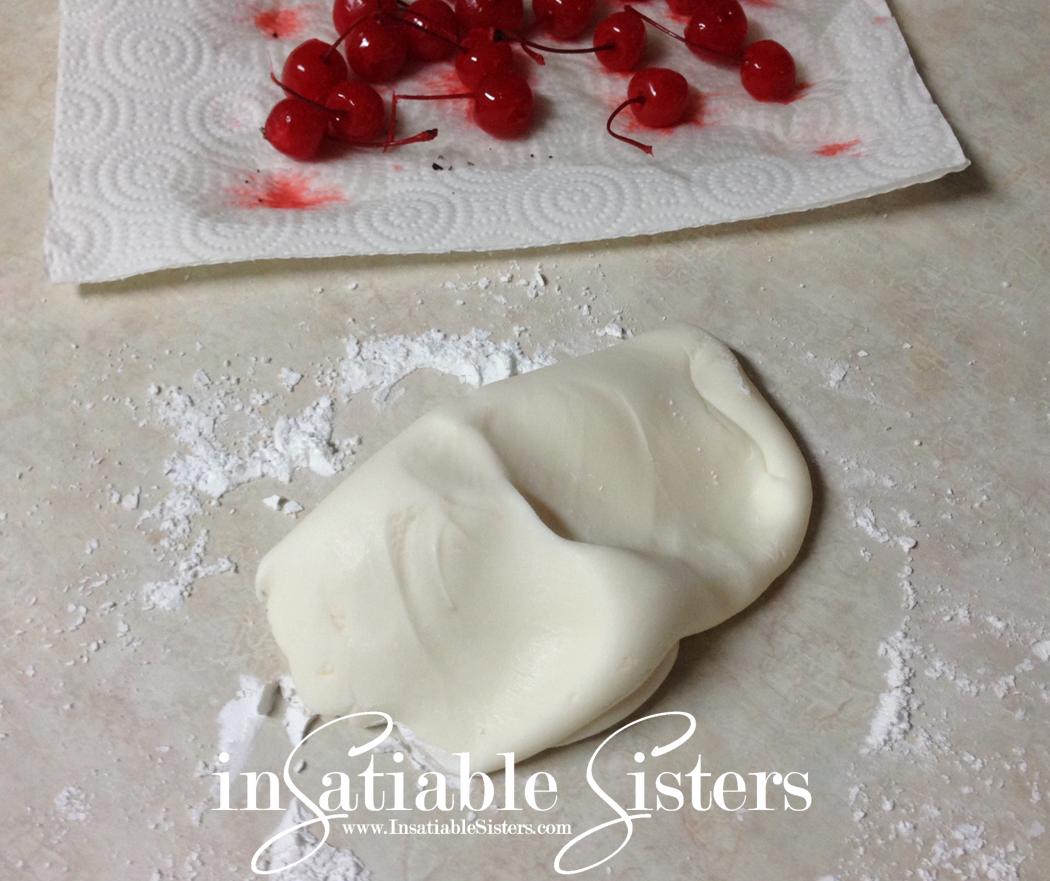
This recipe is rather quick and easy, and you don’t need a mixer.  So far, it has been absolutely fool proof.  The best part is, they are so rich and delightful that you really don’t even need icing…that’s just a bonus.  =)  However, if you do want something sweet to spread on top, try our Basic Buttercream or Coconut Pecan Spread.  Enjoy!

Ingredients:
2 cups all purpose flour
2 cups granulated sugar
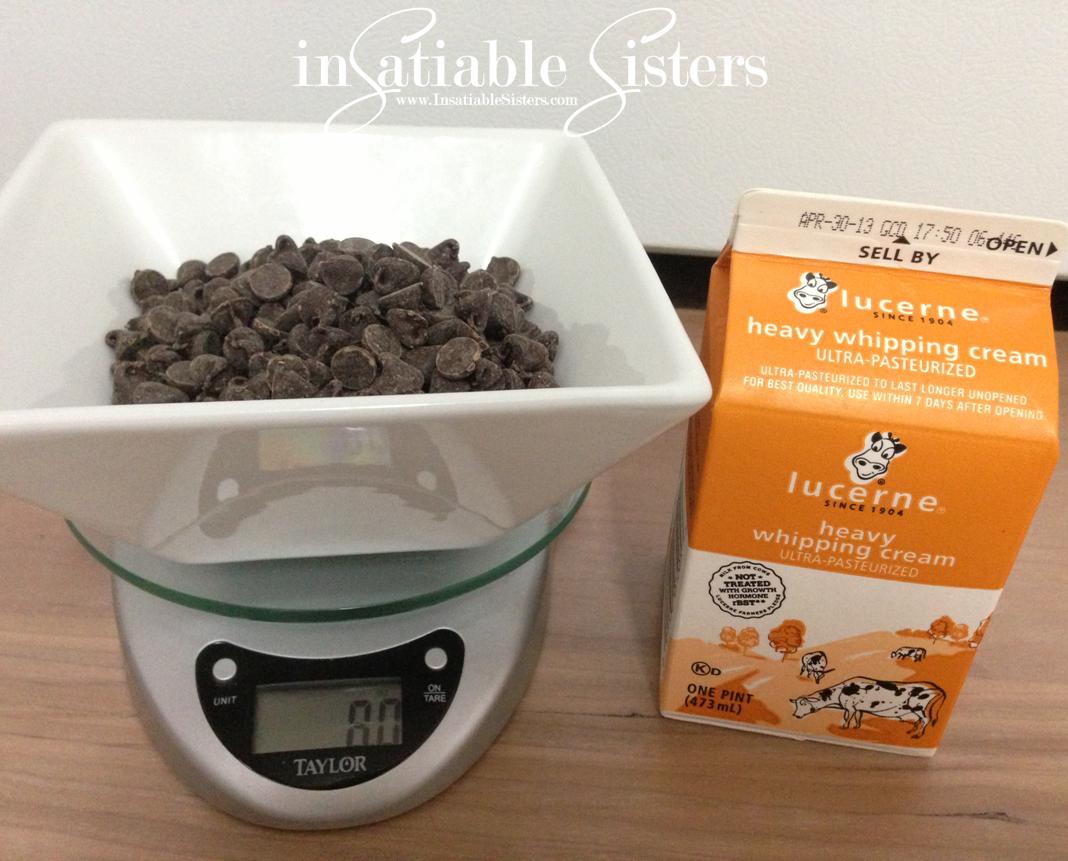
3/4 cup Hershey’s Special Dark baking chocolate powder
2 tsp baking soda
1 tsp salt
2 large eggs
1 cup buttermilk
1 cup vegetable oil
1 cup boiling water water
2 tsp real vanilla extractIMG_5447

Directions:
Prepare your pans ahead of time.  Line cupcake pans, OR thoroughly grease and flour 2 9-inch cake pans.  You may consider adding parchment paper rounds to the bottom of the pan to ensure an easy release.  Preheat oven to 300 degrees.

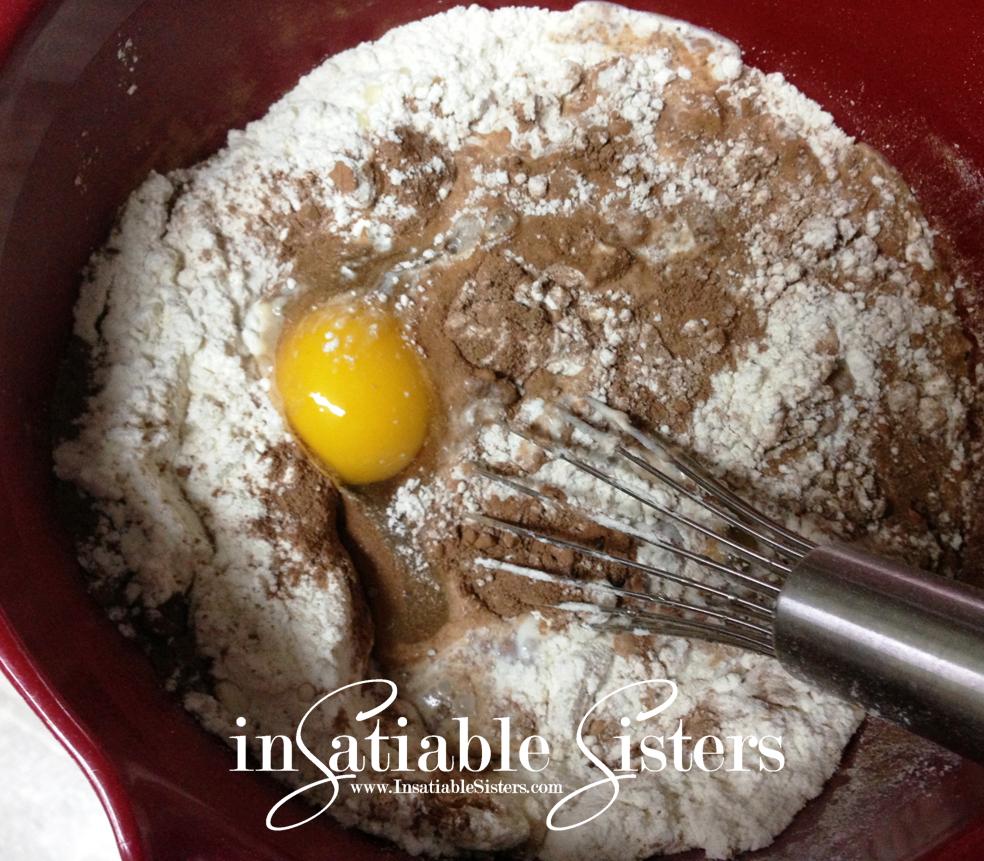
In a large bowl, combine all dry ingredients and whisk together thoroughly.
Dry Ingredients

Add eggs, buttermilk & oil and mix until combined and glossy.
IMG_5465

In a measuring cup, combine the boiling water and vanilla and add it to the chocolate mixture.  Give the batter a final stir until all ingredients are thoroughly combined.  The consistency will be a little runny, but, trust me, it’s perfect.
IMG_5477

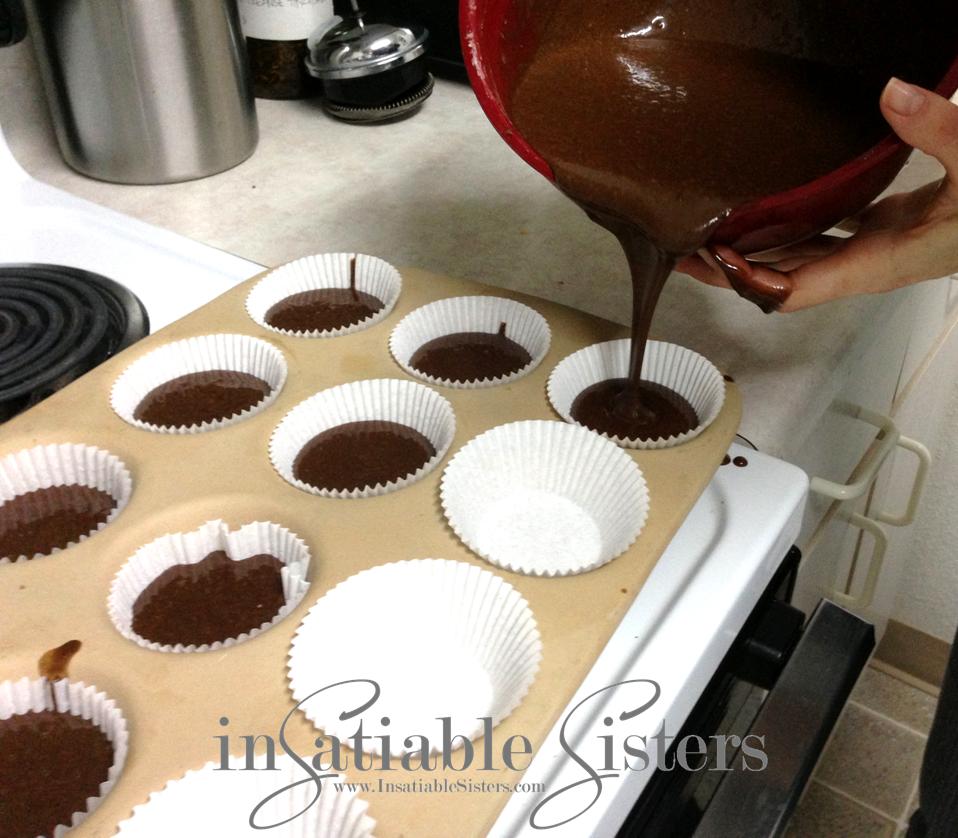
Pour the batter into prepared pans.  For cupcakes, leave about 3/8 inch to the top of the liner to avoid ugly muffin tops.  =)
IMG_5481

For cupcakes: bake 25-30 minutes.  (My stone pan takes 30 minutes on the dot, every time.  Metal pans may need a little less time.)
For round cakes: bake for about 35-40 minutes.

You know your cake is done with you can insert a toothpick into the middle and it comes out clean.  However, DON’T disturb the cake until the final minutes of baking.  You don’t want to cause it to collapse.  Collapsed cake is not pretty, I’ve seen it.
IMG_5485

Allow the cakes to cool for about 10 minutes in the pan, then transfer to cooling racks and let them come to room temperature before you frost them.

Makes 24 cupcakes (25 if you’re lucky!) or one decadent, layered round cake.
Final 3


Gooey Marshmallow Treats

Picture11
Also known as Rice Krispies Treats, these simple squares are a fun finger food that will instantaneously transport you back to childhood.  Rice Krispies Treats were invented in 1939 by Malitta Jensen and Mildred Day at the Kellogg Company home economics department as a fund raiser for Camp Fire Girls. (source: Wikipedia)
And what’s not to love?  Crispy rice cereal is generously coated in fluffy sugary marshmallows so it’s bound to be delicious.  Best of all, they are fast, easy and inexpensive.  Yes, they are full of carbs, sugar and delicious full-fat butter.  But that’s what dessert is all about!  Indulge a little….

Ingredients:
16 oz mini marshmallows, divided
4 oz butter + some for greasing (Coconut oil can be used for a dairy-free treat.)
1/4 tsp salt
6 cups crisp rice cereal
OPTIONAL: 1 cup chocolate chips, mini chips, mini m&m’s, caramel chips, etc.

Directions:

Generously grease a 9×13 pan with butter.

In a large pot, melt butter on medium-low heat.  Stir in HALF the mini marshmallows and continue to stir until they are completely melted and form a gooey cream.

Add salt and stir.  Remove from heat immediately.

Pour cereal into the pot and fold it into the melted marshmallows until all cereal is thoroughly coated with marshmallow.
Picture12

Add the additional whole marshmallows and any optional chips that you want.  Quickly fold them into the cereal.  You don’t want this second addition of marshmallows to melt, it’s so delicious when you bite into a fluffy whole marshmallow!

Turn the mixture out into your buttered pan and press it flat with clean, buttered hands.  It’s delicious when it’s warm, but they will cut much more easily if you allow them to cool completely.  RC

*Tip: If you have leftover chips, consider melting them and drizzling over the top of the cut squares.  Yum!
Gooey Marshmallow Treats

Chocolate Dipped Cherries

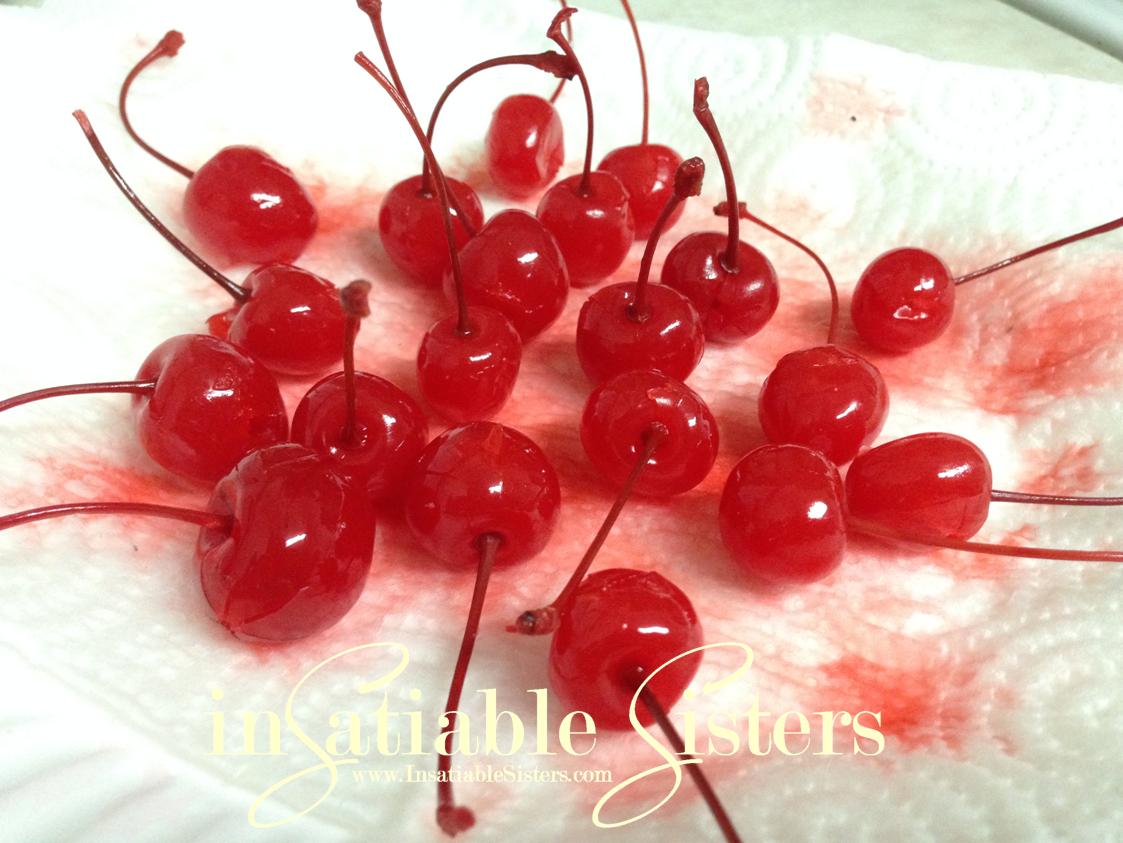
This post is dedicated to our beautiful Mama.  She always worked hard to make life special for each one of her 6 children.  We lived in “the woods” in Talkeetna, Alaska, a very small town that is an hours drive from the nearest suburban town.  For us, the finer things in life did not come from a store, but from Mom’s hands.  She made a lot of our clothes (and our doll clothes!), cooked and baked from scratch, and always let us help even though I’m sure our “helping” just made more work for her.

Chocolate dipped cherries were one of Mom’s special Christmas tradition.  I remember watching her make them step-by-step, anticipating when we could FINALLY partake in this gooey, sweet treat.  It was always worth the wait.  I have continued this cherished tradition into my adult life…and I even like to indulge once in a while and make them on non-Christmas occasions. =)

And what better occasion to make these beautiful candies than Valentines Day!!!  A day filled with love and flowers and romance pretty much demands an accompanying sweet treat.  The fact that you put the time and effort into hand making each cherry makes them than much sweeter.  Your Valentine, or whomever you are making these for, will taste the love.  ❤

Ingredients:
25-35 Maraschino cherries WITH stems
3 Tbs unsalted butter, room temperature
3 Tbs light corn syrup
2 cups powdered sugar (+extra for kneading), sifted
1 lb (approx) melting chocolate
double boiler
Optional: decorative mini candy cups

Directions:
Start by draining your cherries on paper towels.  You can do this a couple hours ahead of time, just don’t let your cherries get shriveled!  Four hours is probably the max time you want to leave them out.  I usually set mine out about ½ hour before I begin, change the towels once and blot the tops when I’m ready to work with them.  If your cherries are too wet on the outside, the juice will begin to break down the dough before you’ve had a chance to dip them.

Next, prepare your sweet dough, the gooey filling of the cherry.  Mix butter and corn syrup together to form a paste.  

Add in the sifted powdered sugar and stir until combined.  If your “dough” looks like a crumbly mess, perfect!  Now get your clean hands in there and start squishing until the dough will stick together.  Knead it on a clean counter top until it forms a smooth dough.

Optional:  To ensure you have enough dough, divide it into portion sizes (about 1 tsp) for the amount of cherries you need.

Shape your dough around each cherry and set aside on wax/parchment paper.


Next, break up your chocolate block into small, uniform pieces.  This helps it melt quickly and evenly.

**You can use chocolate chips instead, but they have an additive to help them keep their shape which affects the tempering process.  You can also use chocolate melting wafers, but a lot of the time those aren’t made of real chocolate and you can definitely taste the difference!

Measure out your chocolate.  About 1 lb should do.  You will have extra in the end, but you need the chocolate to be deep enough in your pan to be able to dip the cherry in.

Add water to the bottom of your double boiler and turn the heat on LOW.  The steam from this water will heat  your chocolate pan at a gentler temperature.  Chocolate tempering is not hard to do, but it does take patience.  Don’t be tempted to turn the heat  up, lest you end up with grainy chocolate.  Low and slow is the key!

If you don’t have a double boiler (I don’t) you can improvise…sometimes I use a metal milk steaming pitcher set on a steam basket in a sauce pan.  This time I balanced a saucepan over a slightly smaller one.  Sounds a little precarious, but it worked great!  The thing to remember is that you don’t want direct heat and you don’t want ANY steam vapor or water droplets to get into the chocolate.  Heed my warning, water in your chocolate will ruin it.  For more on tempering chocolate, check out this article.
Using a candy thermometer, monitor the temperature of your chocolate.  You don’t want it to get above 110 degrees Fahrenheit.  Stir frequently but gently to make sure you aren’t getting any hot spots. 

While you’re patiently waiting you can set out your candy cups if you’re using them, or spread out a sheet of wax paper for the dipped cherries to dry on.

Holding the cherries by the stem, dip them one at a time into the prepared chocolate, making sure to completely seal them, paying special attention to the base of the stem.  Any holes or breaks will allow the filling to ooze out  You don’t want that.  Allow any excess chocolate to drip off.

Place the dipped cherries stem side up in your candy cups or wax paper and chill until firm (but don’t freeze!).

Now, here’s the thing…you can eat these now, they are incredible!  OR, you can allow them to “ripen” in the refrigerator for a week to allow the cherry juice and the sugar dough to meld together to form that ooey-gooey filling that makes traditional cherries oh-so-messy to eat.  Personally, I like them fresh, but I’m not picky.  =)

Happy Valentine’s Day!!  

Lemon Pound Cake Pops

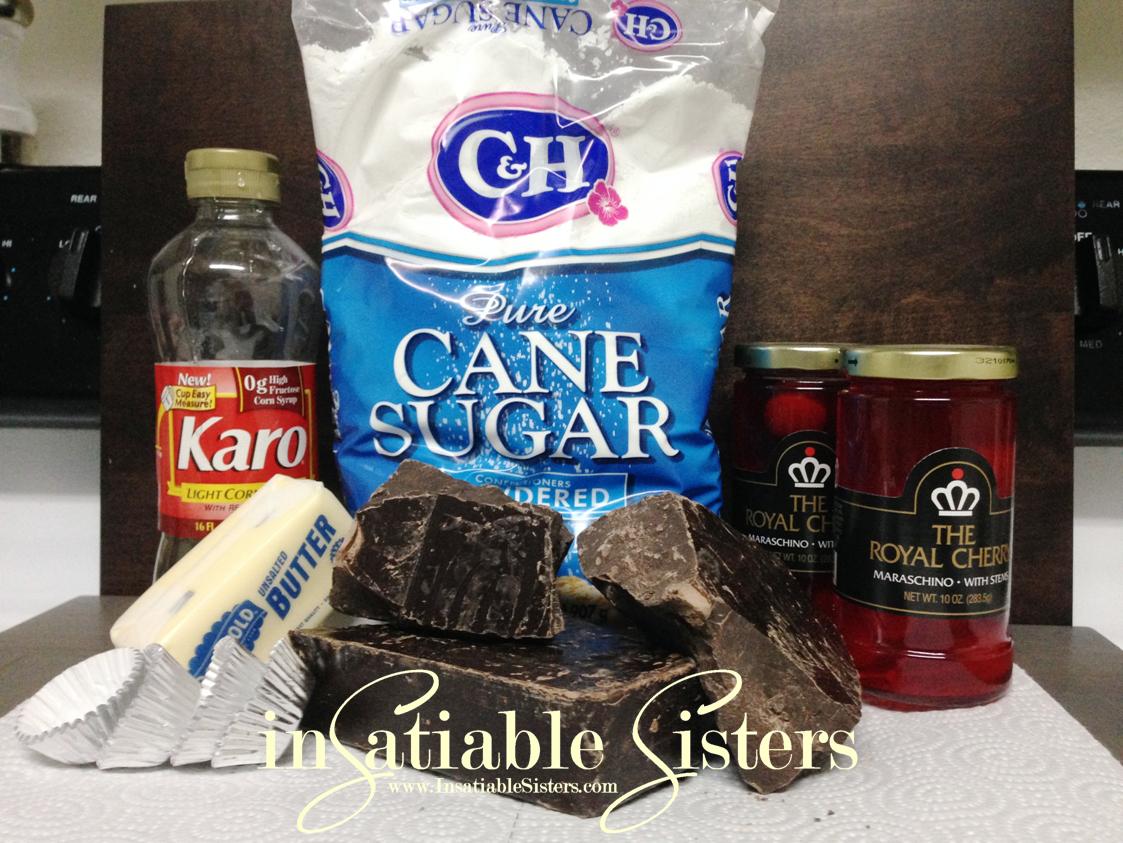
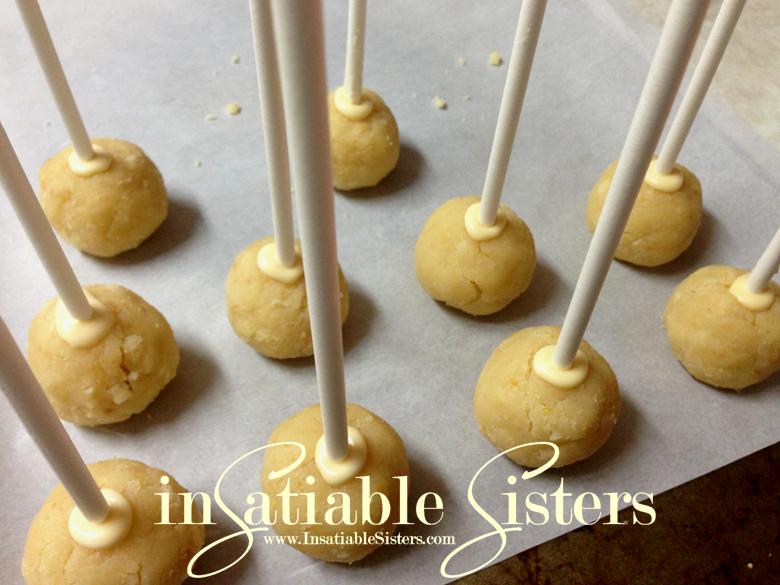
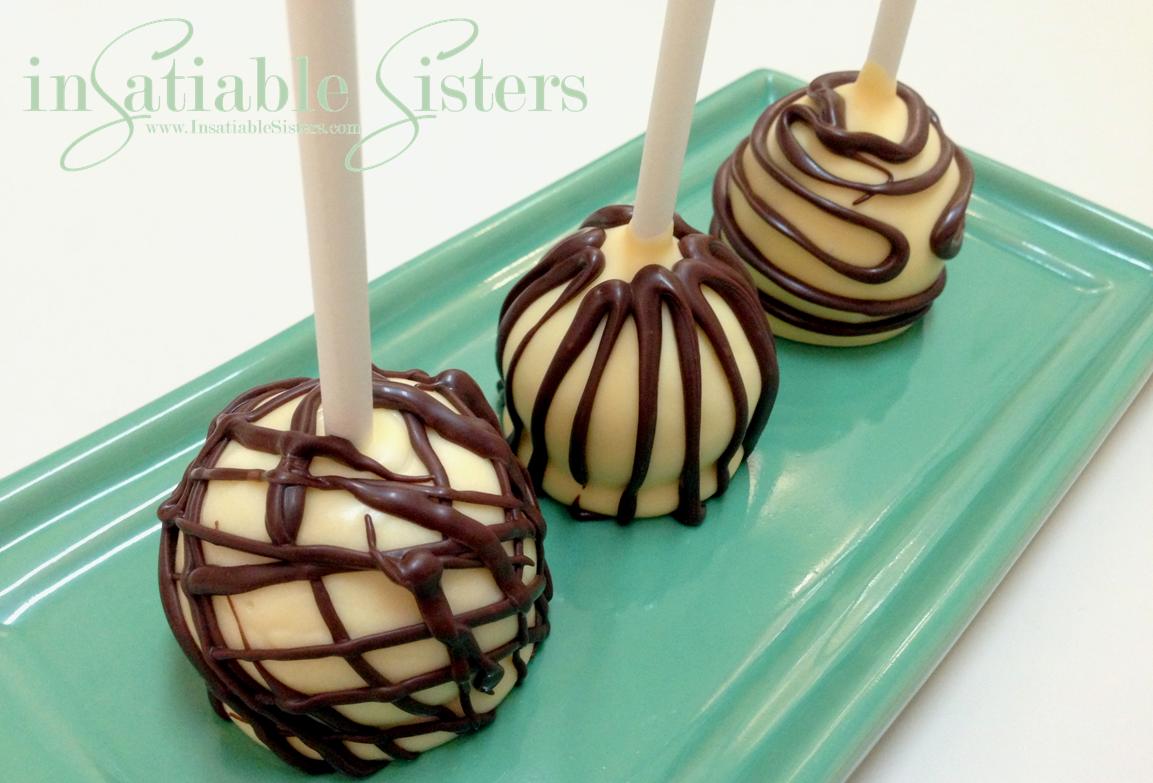
For this blog post, I made the cake pops using my Lemon Pound Cake recipe, but you can use pretty much any type of cake/frosting combo to create these delectable treats. They are a bit time consuming, but the end result is worth it. Be creative and have fun!  ~Joanie

Ingredients:
(Makes about 24 pops)

1 recipe of Lemon Pound Cake (baked and cooled)

Frosting (used as a binder):
½ Stick Butter, softened
Juice of ½ Lemon
1 ½ Cups confectioners sugar (approx)
2 Tbs milk (you may need more or less, depending on consistency)

Miscellaneous Necessities
:
2-4 Cups Candy coating (wafers), OR white chips, OR chocolate chips
1 Tbs vegetable oil per 1 cup of candy coating
24 Cake pop sticks
Parchment Paper
Optional:  Sprinkles, nuts, 2nd color of candy or chocolate coating

Directions:

Start by crumbling the cake into fine crumbs.  You can do this by hand, or by using a food processor on pulse.  Set aside.

Next, mix your frosting.  Beat the butter with an electric mixer for a few minutes on medium speed.  Gradually add confectioners sugar, mix until well incorporated.  Stir in the lemon juice and mix well, then add the milk.  Beat for about 3 minutes on medium speed.  Check your consistency, add confectioners sugar if too thin, or milk if too thick, 1 Tbs at a time until you reach the desired consistency.

Once frosting is complete, mix several tablespoons into your cake crumbs.  You want the cake to form a ball and hold together when you insert the stick, but you don’t want it to be too gooey.  This step is pretty much trial and error, just make sure you mix well after each addition of frosting until you get it just right.

Form cake balls into approx 1.25 inch balls.  Melt a small amount of your candy coating, dab the cake pop stick into candy, and carefully insert it into the cake ball.  Place them on parchment paper and allow the candy “glue” to harden before attempting to dip.
 

I can’t decide if this next step is my least or most favorite.  Dipping candy is so fun, and the results so pretty, but it’s a lot of work!

In a microwave safe measuring cup (or narrow bowl) heat 2 cups of candy pieces for 45 seconds.  Stir until pieces are melted and smooth.  If needed, microwave for an additional 20 seconds.  Add vegetable oil and stir until smooth.

*If you’re using chocolate, like chocolate chips, please check out this article on tempering chocolate.  Although tempering is quite simple, it is very specific.

Gently dip each cake pop into the melted candy and allow excess to drip off.  If you are using sprinkles, nuts, or any kind of crumbly coating, now is the time for that!  Roll your cake pops in your coating of choice, then place back onto the parchment paper and allow candy to harden.  **You can also let them harden “stick down” if you have something to hold them, such as a chunk  of styrofoam, or even an upside-down colander.**

Once candy coating is firm, you can drizzle with another color for a decorative touch.

Happy Spring!

Chocolate Cupcakes with Ganache and Mint Cream

These light and fluffy cupcakes are a perfect vessel for fudgy ganache.  They are very easy to make and require ordinary ingredients.  The mint cream adds a nippy not-so-sweet element, and the green candy garnish is a tribute to St. Patrick’s Day.  These cupcakes do take a bit of time to complete all the steps, but they are beatiful and delicious and well worth the effort.  Enjoy!
~Joanie


Ingredients 

Cupcakes:
2 cups sugar
1 3/4 cups all purpose flour
3/4 cup unsweetened cocoa
1 1/2 teaspoons baking powder
1 1/2 teaspoons baking soda
1 teaspoon salt
2 eggs
1 cup half & half
1/2 cup vegetable oil
2 teaspoons vanilla extract
1 cup boiling water

Ganache:
8 oz (approx 1 ½ Cups) Semi Sweet Chocolate Chips
1 Cup Heavy Whipping Cream

Mint Whipped Cream:
1 Cup Heavy Whipping Cream
3 Tbs Confectioners Sugar (Powdered Sugar)
1 Tsp Mint Extract

Candy Garnish:
1/2 Cup White or Chocolate Baking Chips
Food coloring, if desired

Directions:
Chocolate Cupcakes
Makes about 24 cupcakes
Preheat oven to 350*F.
In a large mixing bowl, stir together sugar, flour, cocoa, baking powder, baking soda and salt.
Add eggs, half & half, oil and vanilla.  Beat on medium speed for about one minute.

Stir in boiling water (don’t worry if the batter looks thin).
Fill cupcake liners 2/3 full with batter.  Bake for approximately 18-22 minutes.  Allow the cupcakes to cool completely.


Ganache Filling

Place chocolate chips in a heatproof bowl.  Bring the cream just to a frothy boil, remove from heat and immediately pour over the chocolate.  Let it sit about 1 minute to allow the chocolate to melt.  Stir gently until the chocolate is melted and the ganache is uniform in color and glossy.


 To Fill the Cupcakes

Make a slit in the cupcakes, about an inch long, and about half way deep with a plastic knife.  (The cake won’t stick to a plastic knife.)  Lightly pinch the cupcake so the slit opens up like a mouth.  Using a piping bag or plastic bag with the corner snipped, carefully fill the opening with ganache.  You want it to come to the top, but not overflow.


Mint Cream & Candy Garnish

Picture12

To create candy garnish, using a microwave safe bowl, melt candy for about 30 seconds in microwave.  Add food coloring to desired color.  Use a piping bag to create designs on wax paper.  Allow to cool completely in freezer before handling.


In a chilled metal bowl, whip cream until stiff peaks are just about to form. Beat in sugar and mint until peaks form.  If you want a sweeter cream, add more confectioners sugar 1 tablespoon at a time.  Be sure to taste between additions.

Tip:  You can make the whipped cream ahead, but don’t “frost” the cupcakes until just before serving.

Use an piping bag to pipe whipped cream onto cupcakes.  Top with ganache drizzle & candy garnish or fresh mint leaf, if desired.  Serve immediately.

.