 There are two main varieties of sweet potato here in the U.S. Many people mistakenly refer to them as “yams” but sweet potatoes are actually not even related to the yam. The first (and my favorite of the two) has a golden skin and white flesh. The second is that deep copper -colored tuber with the softer, bright orange flesh, commonly used in the traditional holiday dish “candied yams.”
Either variety, or even a mix, will do nicely for this recipe. This bisque is not an original idea. I found it years ago in a magazine (which magazine, I can’t remember) and have made it many times since, with a few of my own adjustments.
The beauty of this soup is that it is NOT sweet. The potatoes offer a subtly sweet base, but the ginger, lime and chipotle really take the forefront to create a savory soup that can be as spicy as you want it.
Ingredients:
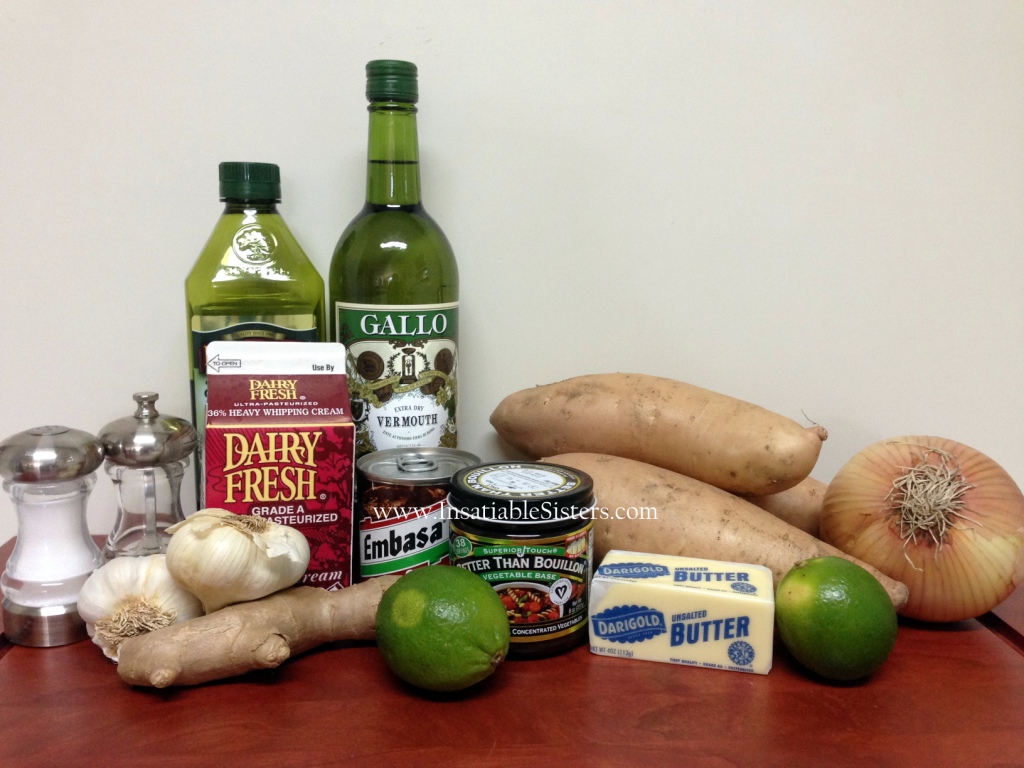
2 Tbs Olive Oil
2 Tbs Butter
1 large yellow onion, chopped
2 Tbs minced garlic
1 Tbs minced ginger
3 Tbs brown sugar
3 lbs sweet potatoes, peeled and cubed
7 cups vegetable or chicken stock
1 cup dry vermouth
1 chipotle pepper in adobo (you can find this in a can in the hispanic section of
your grocery store) OR 1 tsp chipotle powder (more if desired)
2 tsp salt
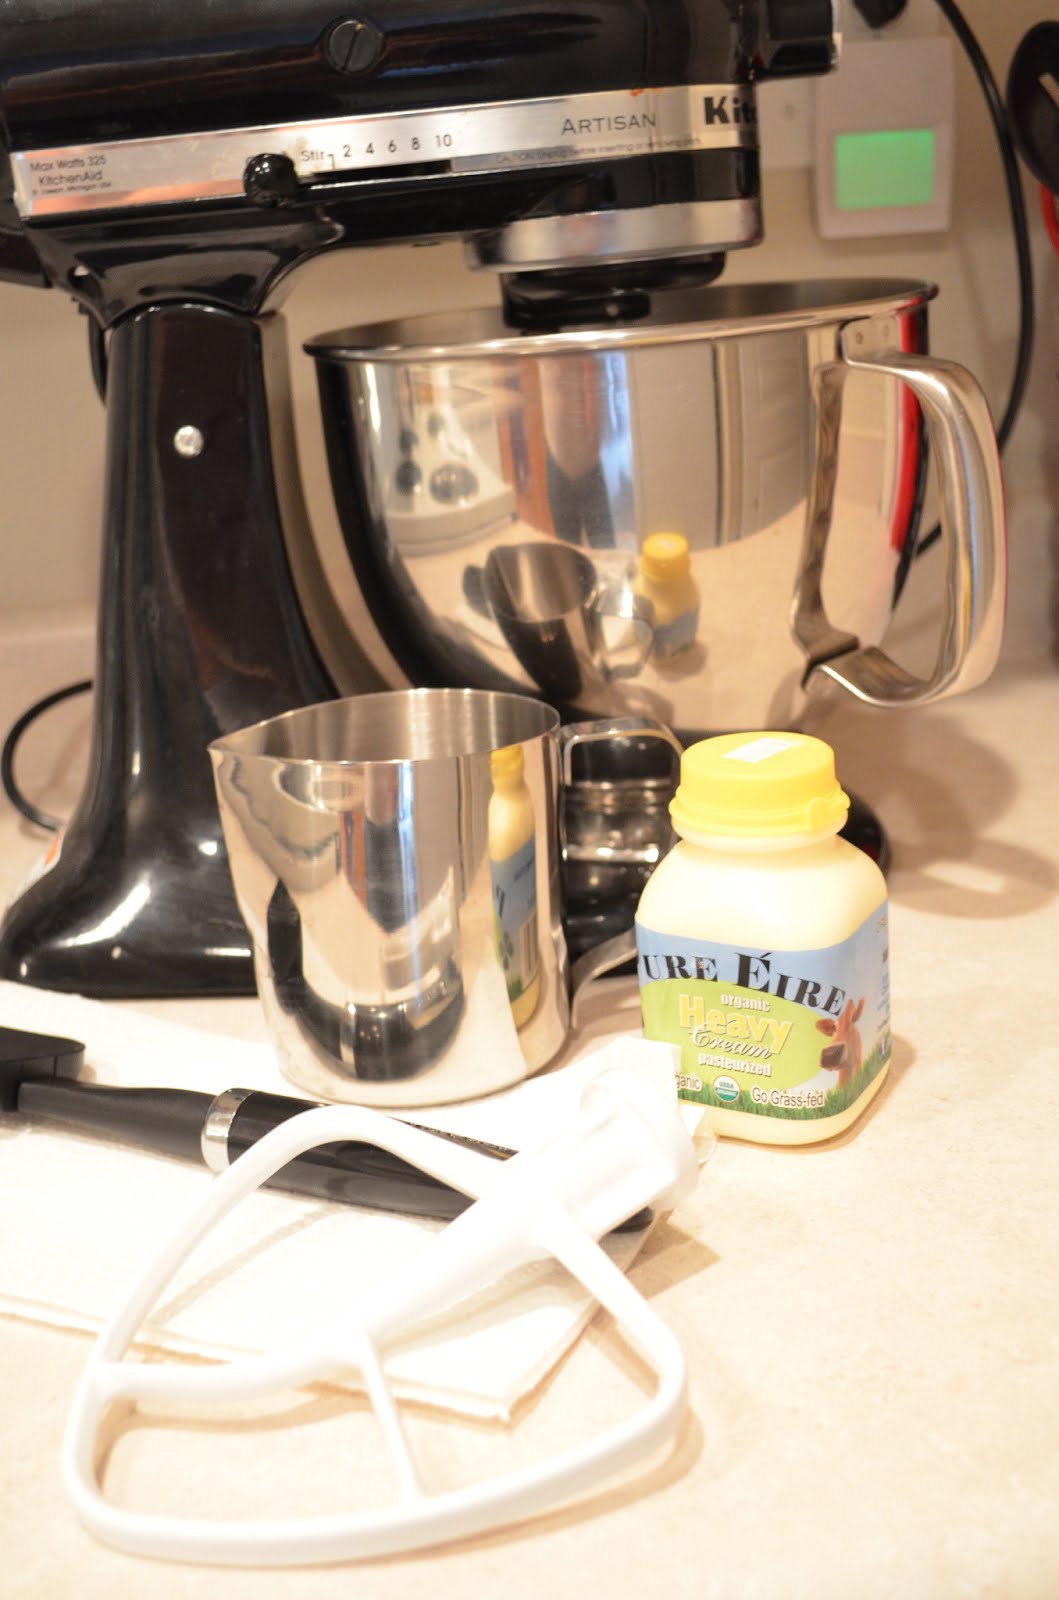
2 cups heavy cream
Zest and juice from 1 lime
*Serves about 10*
Directions:
Heat oil and butter in a stockpot over medium heat. Add the onion, garlic and ginger. Cook until onion is soft, stirring frequently, about 10 minutes.

Add sugar, sweet potatoes, stock, vermouth, chipotle and salt. Bring to a boil, then reduce heat and cook until potatoes are soft.
Remove from heat and puree the soup until smooth with a stick blender (you can use a traditional blender, but I find the stick blender makes much less of a mess).
Return soup to a simmer, add heavy cream, lime juice and zest. Salt and pepper to taste. A sprinkle of chopped pistachios would make an excellent garnish.