Grapefruit Pie

I love citrus and grapefruit is one of my favorites.  It reminds me of being at my grandparents house in Florida and picking the tart fruit right from the tree!  As I was testing my key lime pie last year I started thinking about the possibility of grapefruit pie.  I’ve tried different variations of grapefruit pie over the last year and finally came up with one that I think is perfect.  As I researched grapefruit pie, I realized that they all use the actual wedges, and made a fruit pie, while I wanted more of a custard.  So I juiced the grapefruit and simmered it and reduced it by half so it was super sweet and super tart.  I also used the zest of one whole grapefruit to make sure it had tons of flavor.  Then I took the custard base that I use for the key lime pie and used the grapefruit juice and zest instead.  I couldn’t be more happy with the results and I hope you like it too!

~Jannawhipped-cream-birdie 3

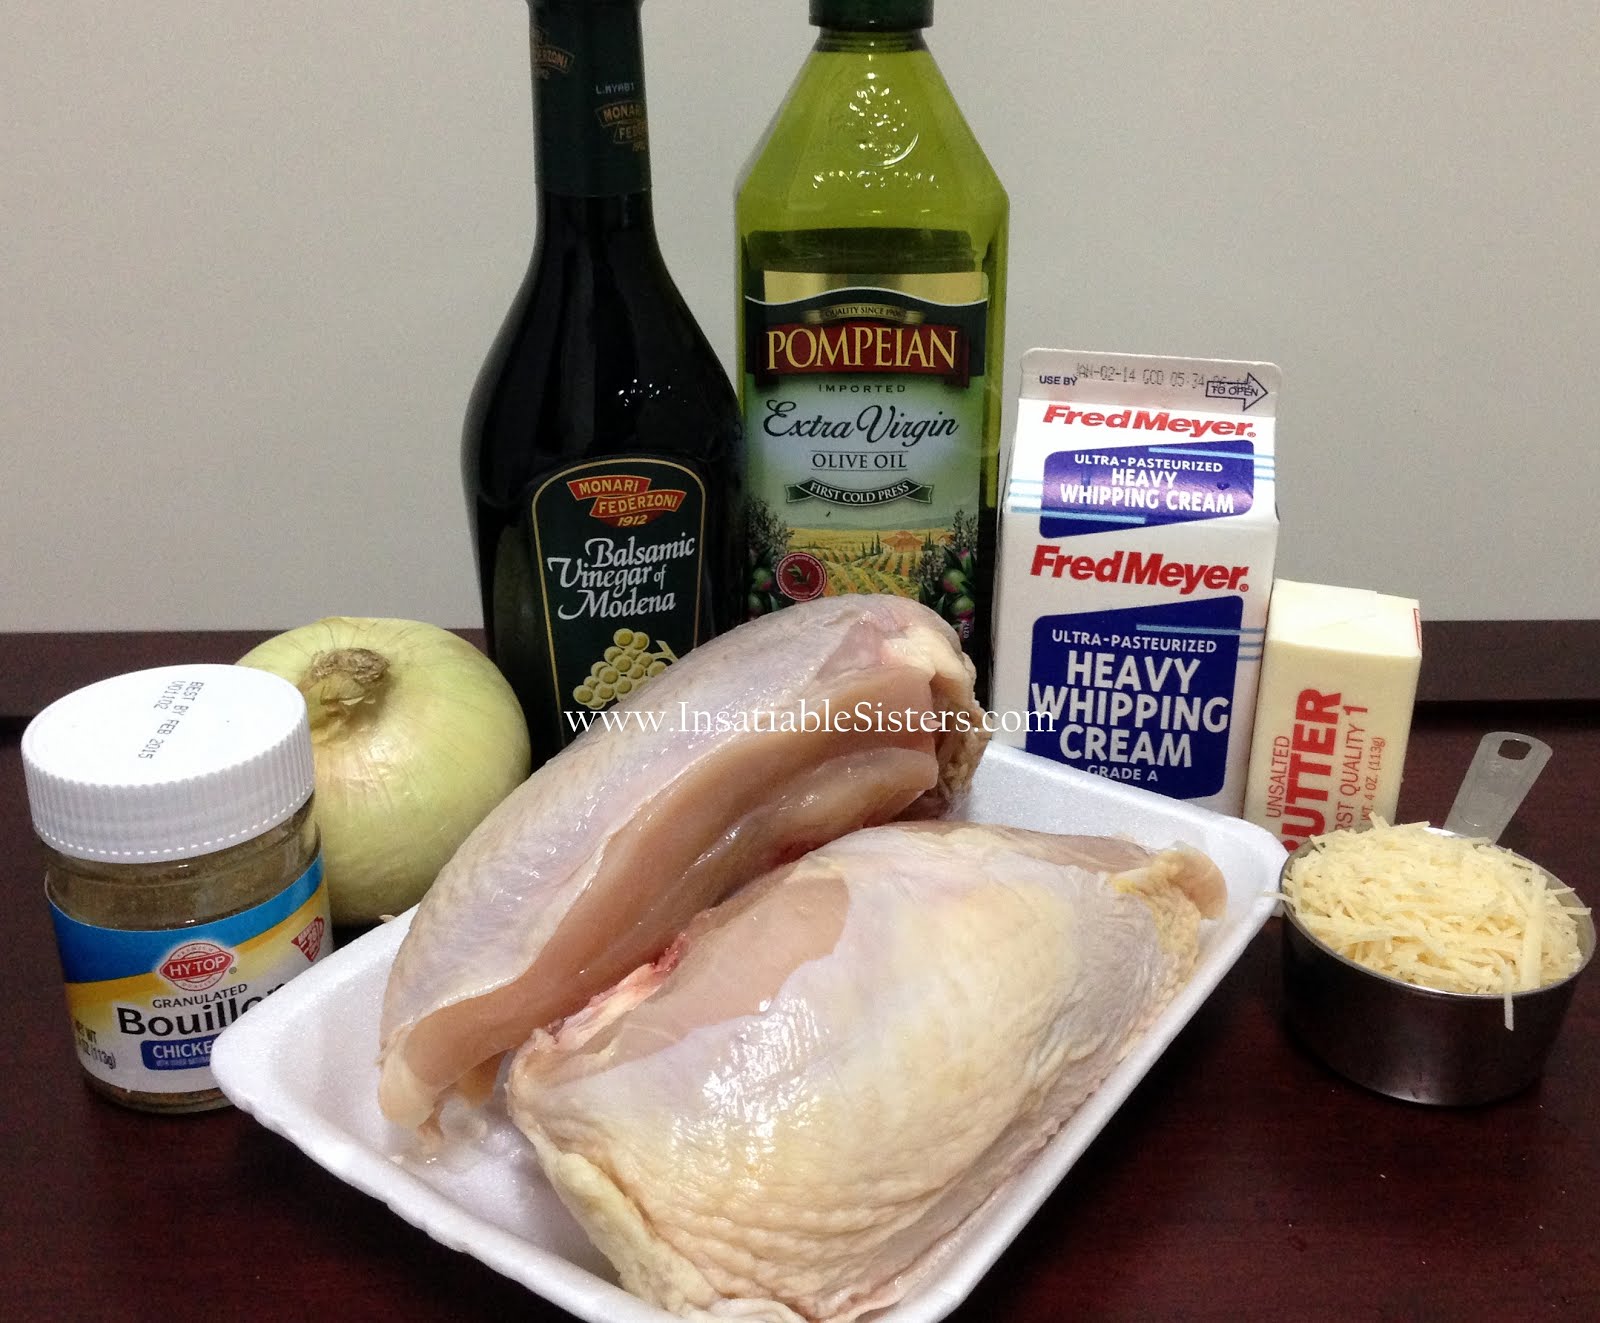
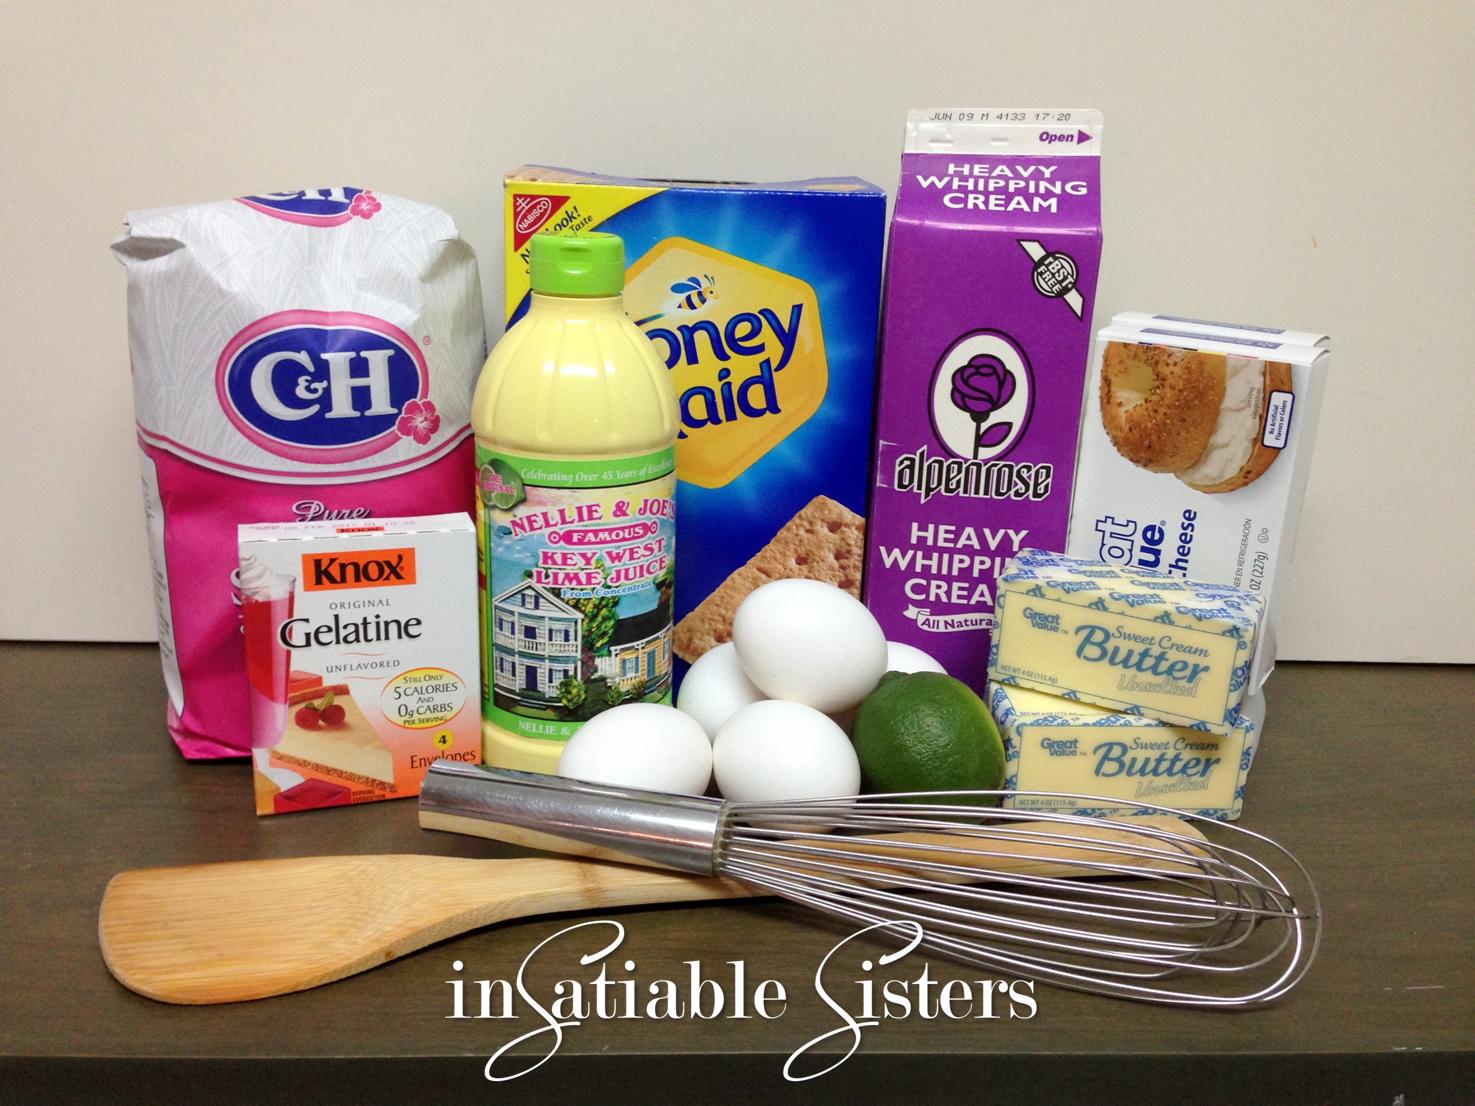
Ingredients for filling:

1 cup grapefruit juice, I used Ruby Red but any variety will do (One very large grapefruit will give you about 1 cup)
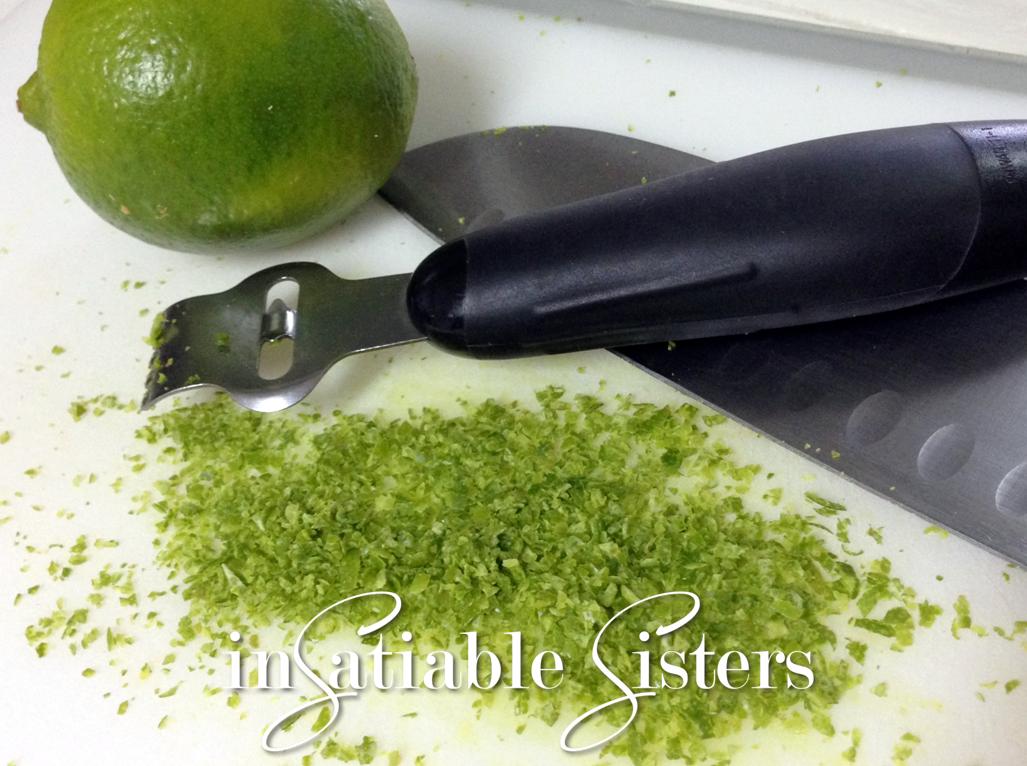
Zest from your grapefruit
1 14oz can of sweetened condensed milk
3 large egg yolks
1 9″ graham cracker crust  (or you can use a ready made crust)

Ingredients for crust:

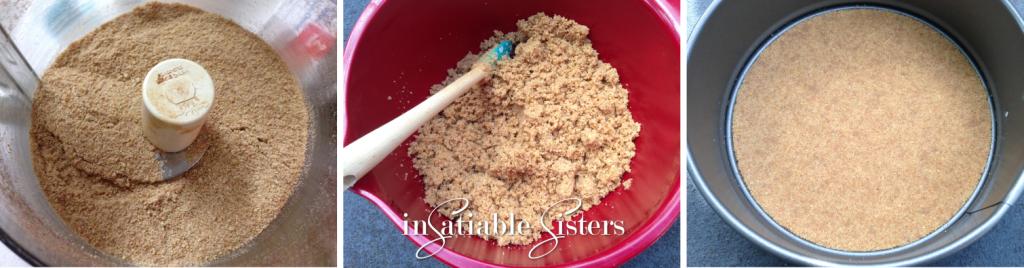
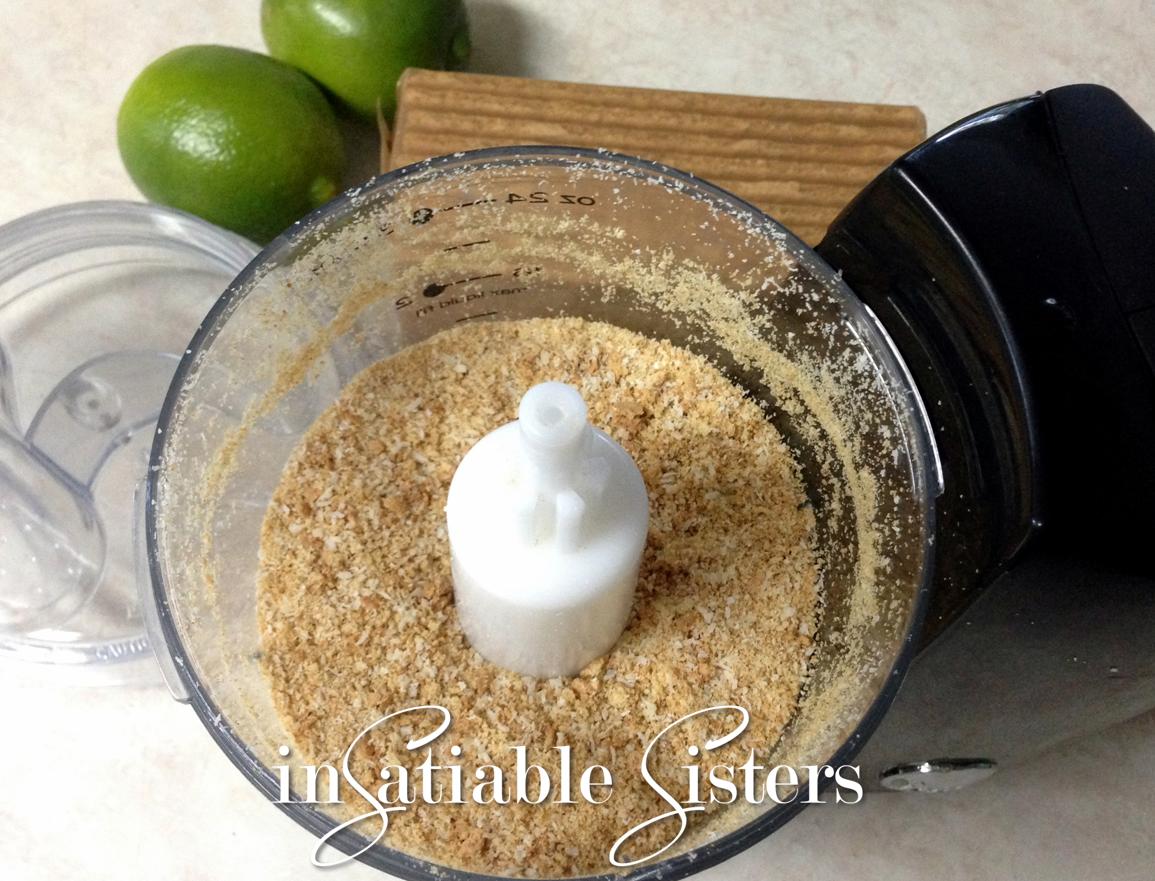
2 cups of graham cracker crumbs
2 Tbs granulated sugar
5 Tbs unsalted butter, melted

Ingredients for whipped cream:

2 cups heavy whipping cream
1 cup powdered sugar
1 vanilla bean
1 tsp vanilla extract
*If you don’t have a vanilla bean you can double your vanilla extract.
grapefruitpie1

Method:

Pre-heat oven to 350 degrees Fahrenheit.

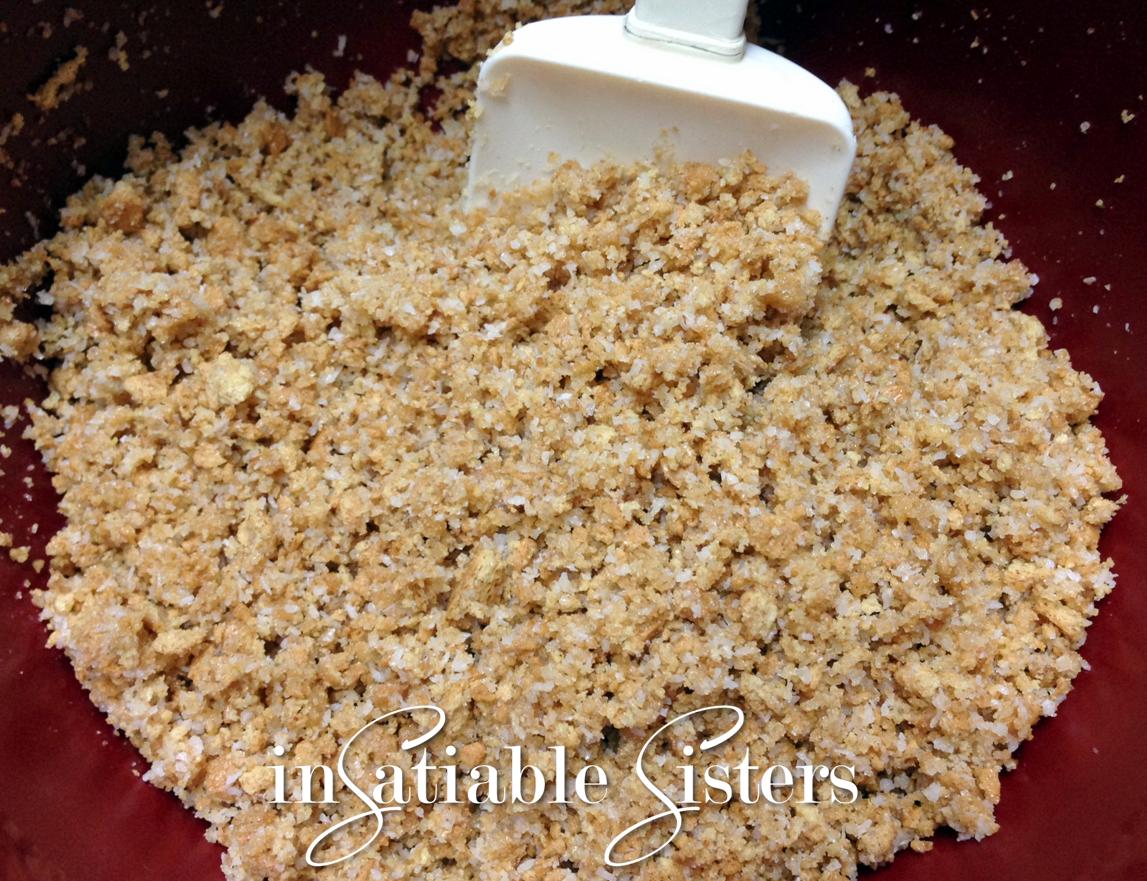
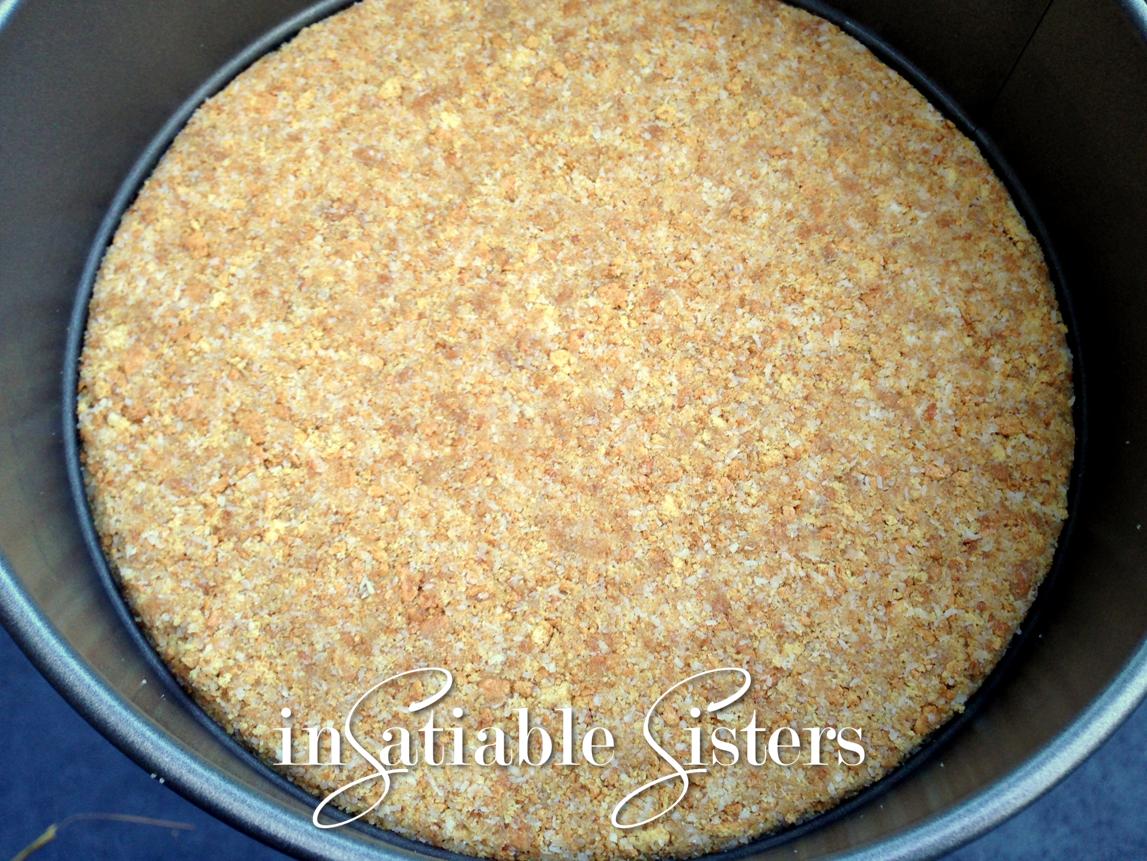
In a 9 inch pie plate mix the graham cracker crumbs with the sugar.  Pour the butter into the dish and mix with a fork until all the graham cracker is coated.  Press mixture onto the sides of the dish and then press into the middle making an even thickness throughout.  Set aside.

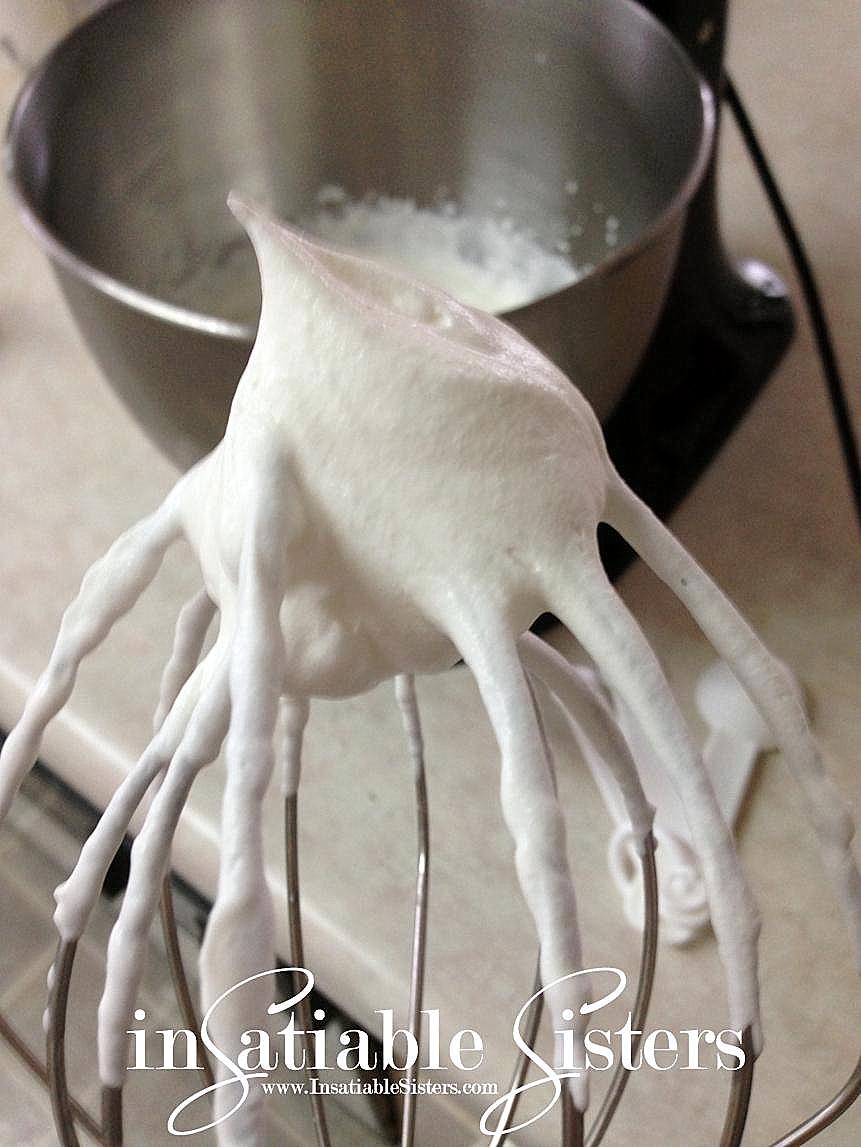
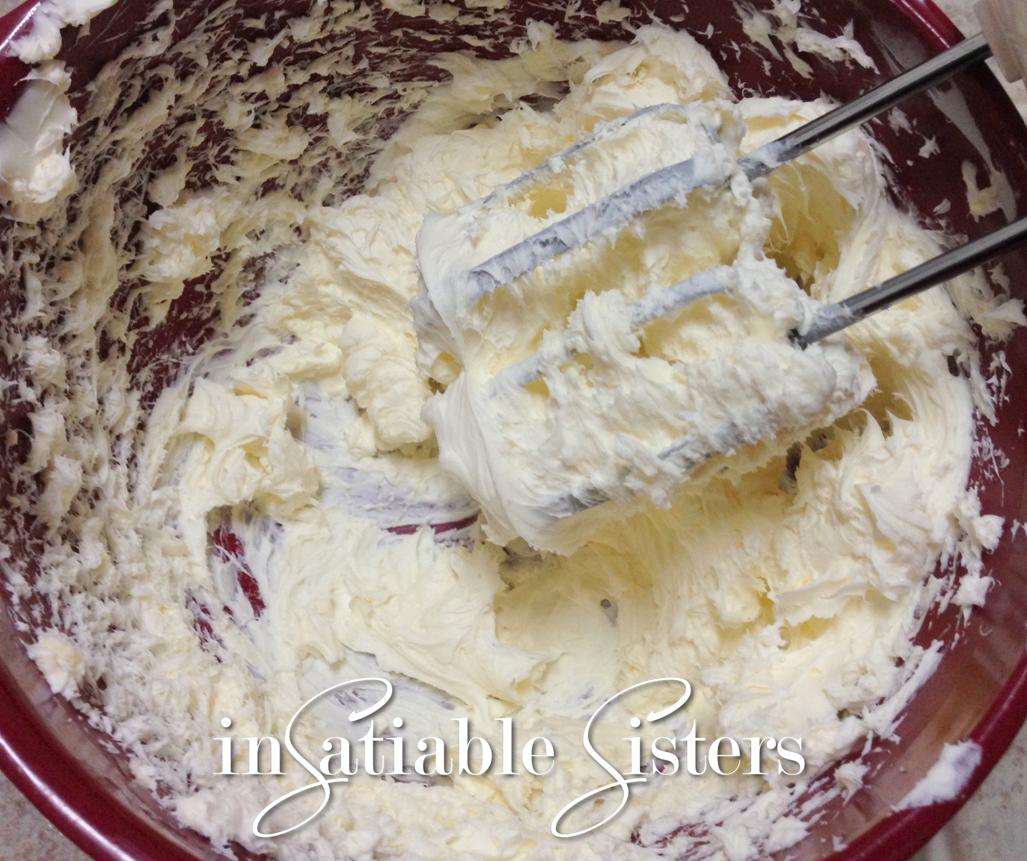
To make the whipped cream, put the heavy cream into a cold mixer bowl (I stick mine in the freezer beforehand for a few minutes).  Using the whisk attachment and the mixer on high, whip the cream until it thickens up and forms peaks (3-4 minutes).  Turn the mixer off and add your vanilla and powdered sugar.  Turn the mixer on medium to incorporate the sugar and vanilla.  Once finished, put the whipped cream into a lidded air-tight container and store in refrigerator.  You will need your bowl and whisk attachment again so you’ll need to wash it.
whipped-cream

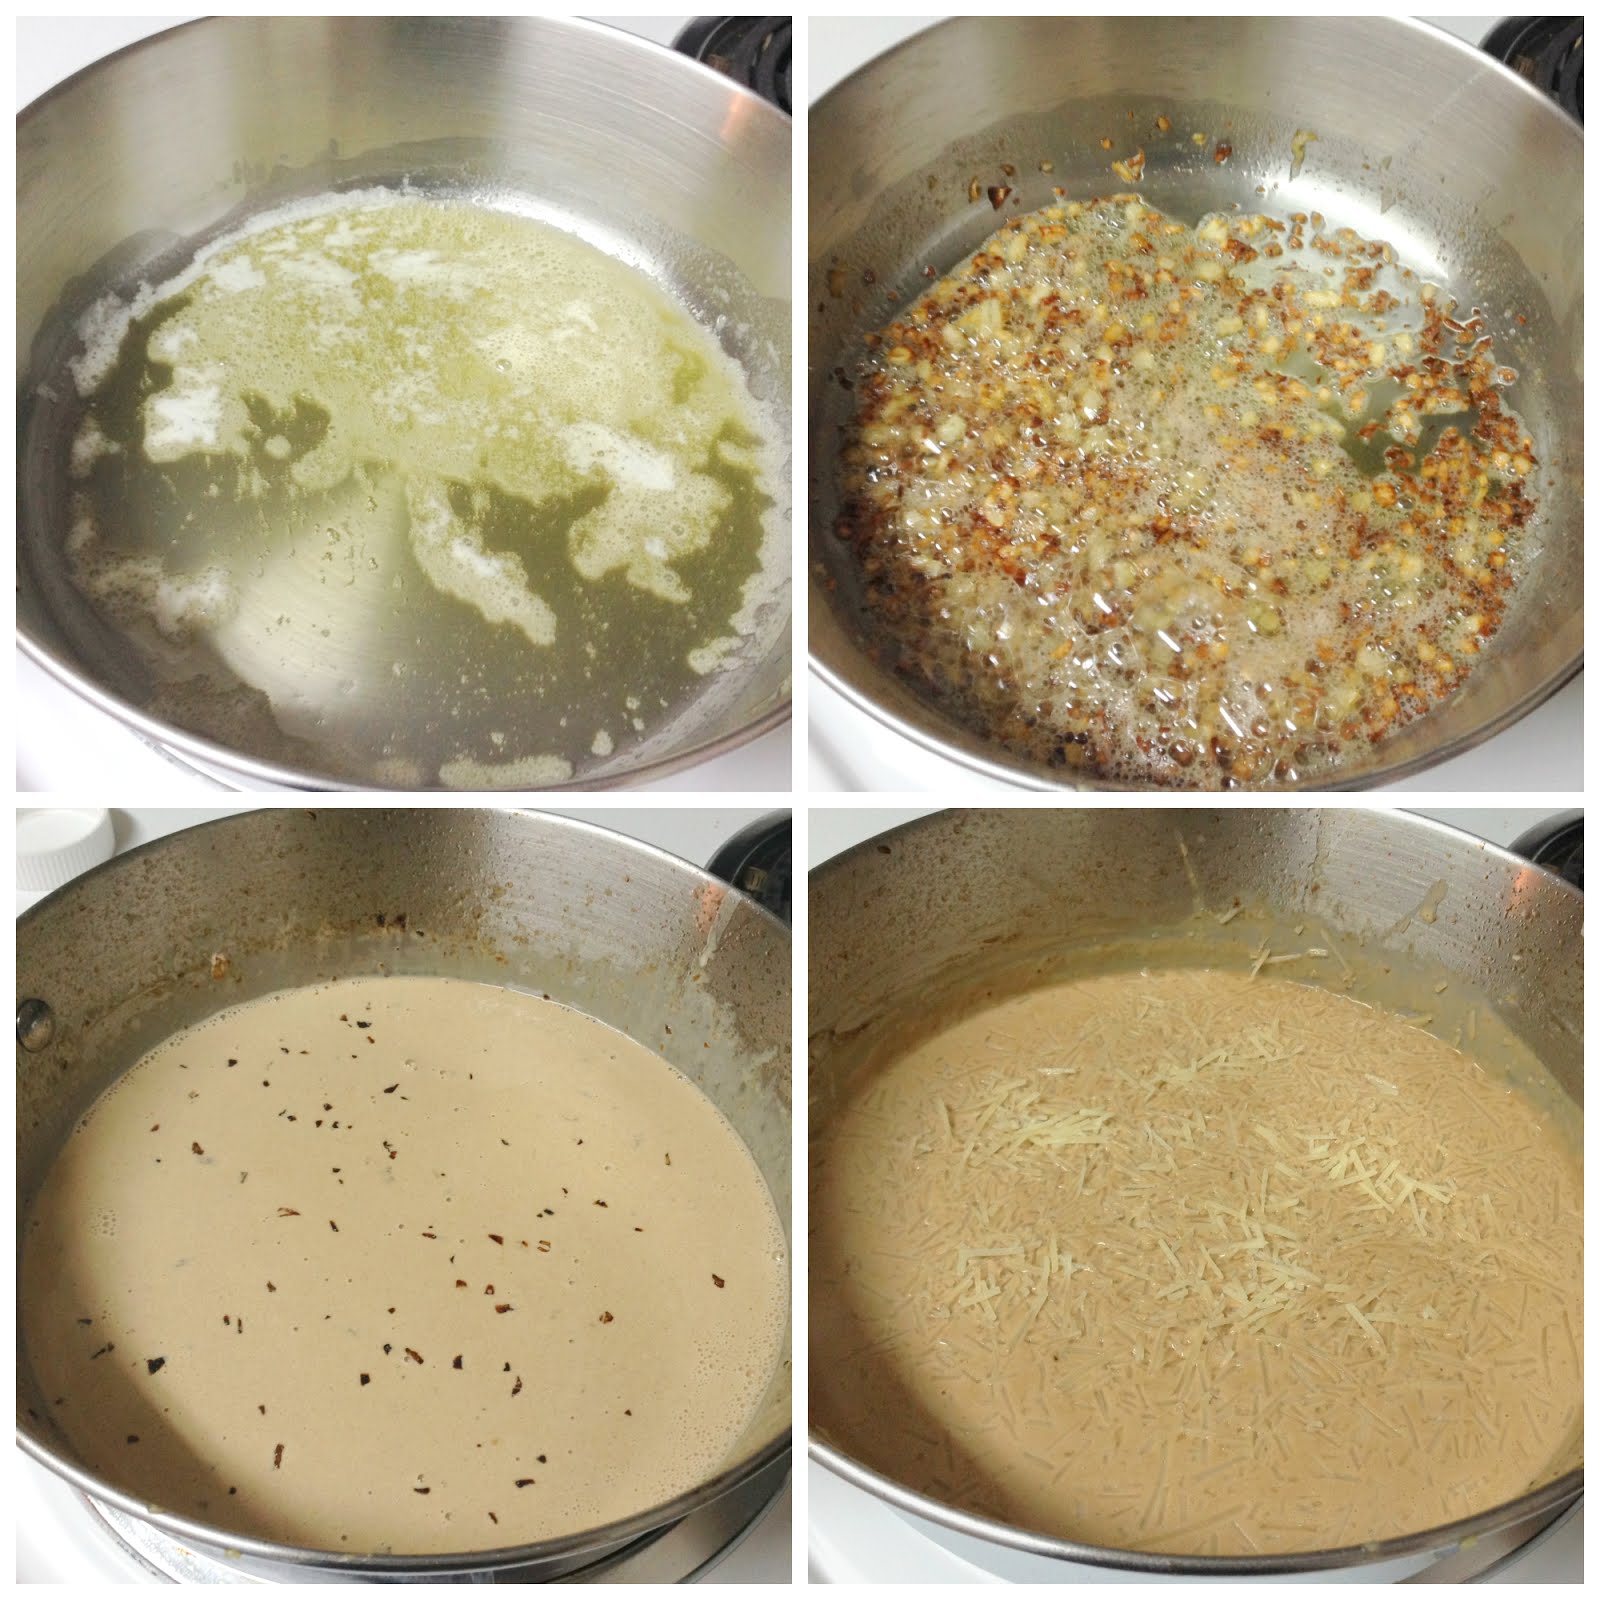
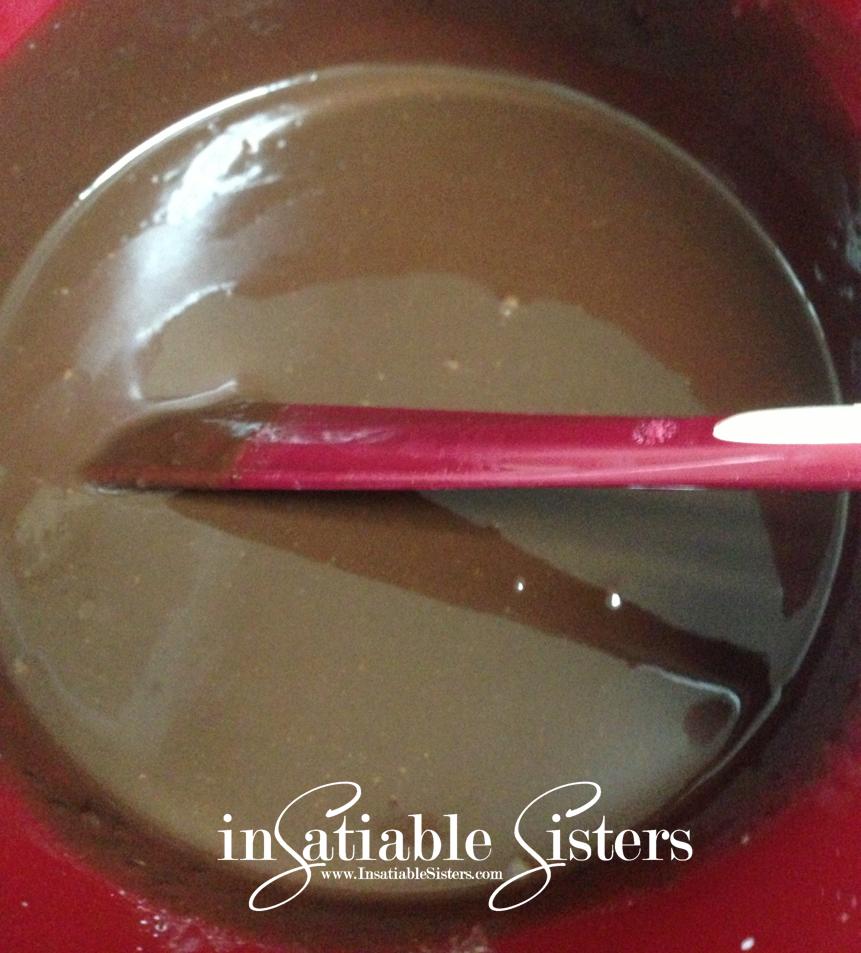
Squeeze grapefruit juice into a small bowl or sauce pot.  Strain out seeds and big clumps of pulp.

grapefruit8

Simmer in sauce pot on med/high heat to reduce by half.  This will take approximately 10-15 minutes.  Keep an eye on it and stir occasionally.  You will end up with 1/2 a cup of reduced juice.  Add the zest and cool in an ice bath.  (Don’t skip the ice bath!  You do this so you don’t cook the eggs by adding hot juice.)

grapefruit7

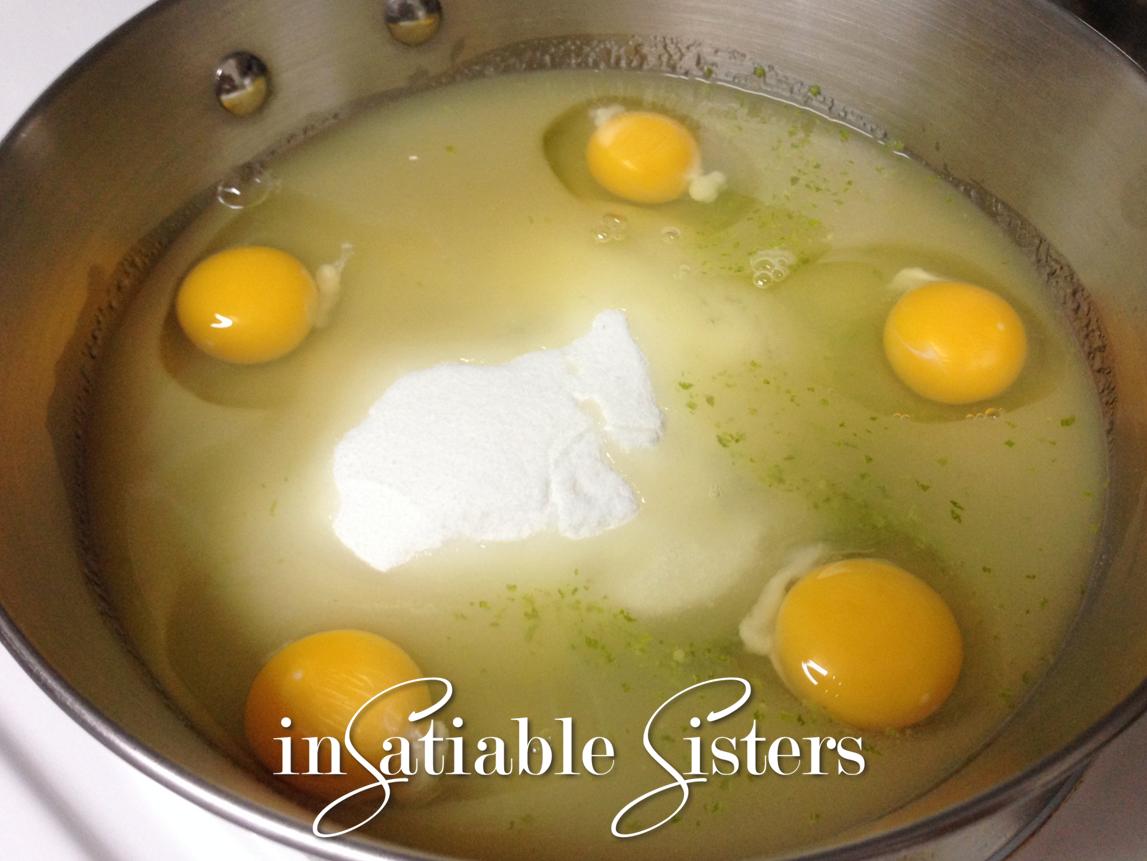
Once the juice isn’t hot to the touch (it’s okay if it’s warm) add it, the sweetened condensed milk, and egg yolks to a mixer bowl.  Using your whisk attachment again, blend on high until well incorporated, 1-2 minutes.

grapefruit6

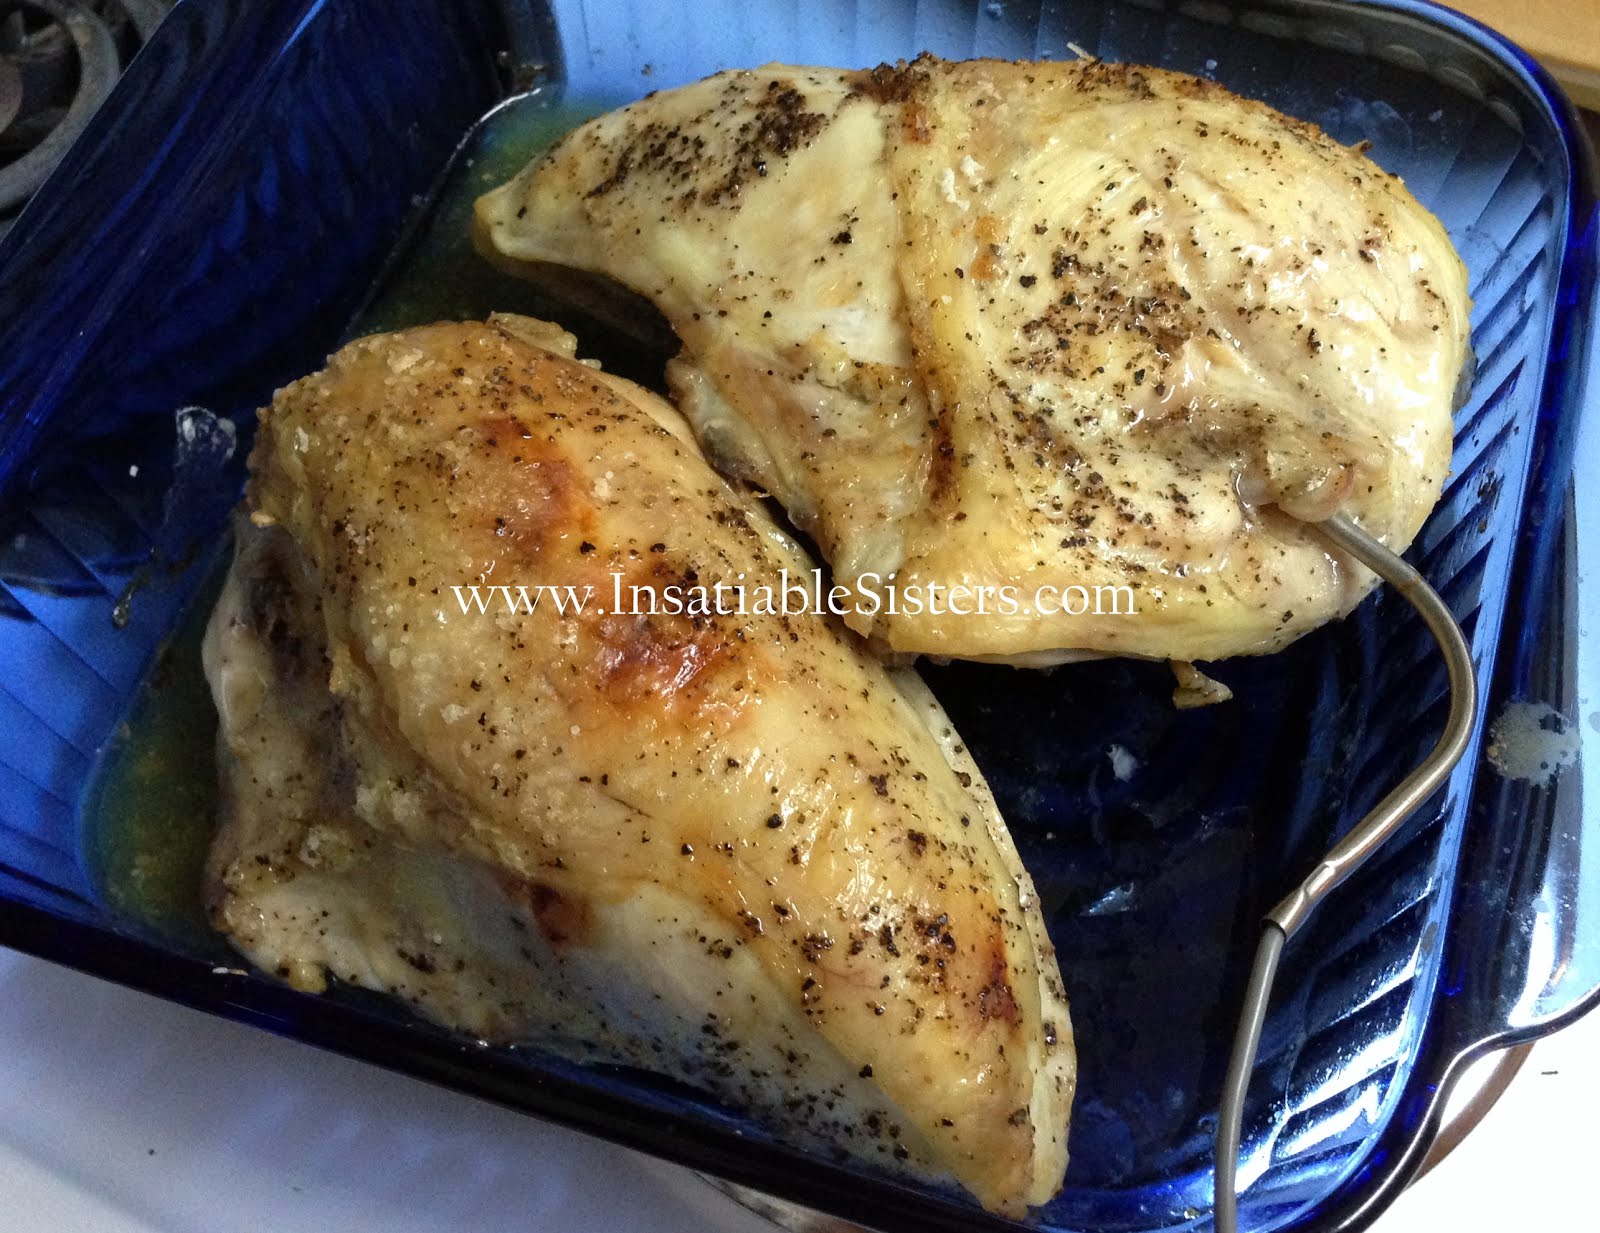
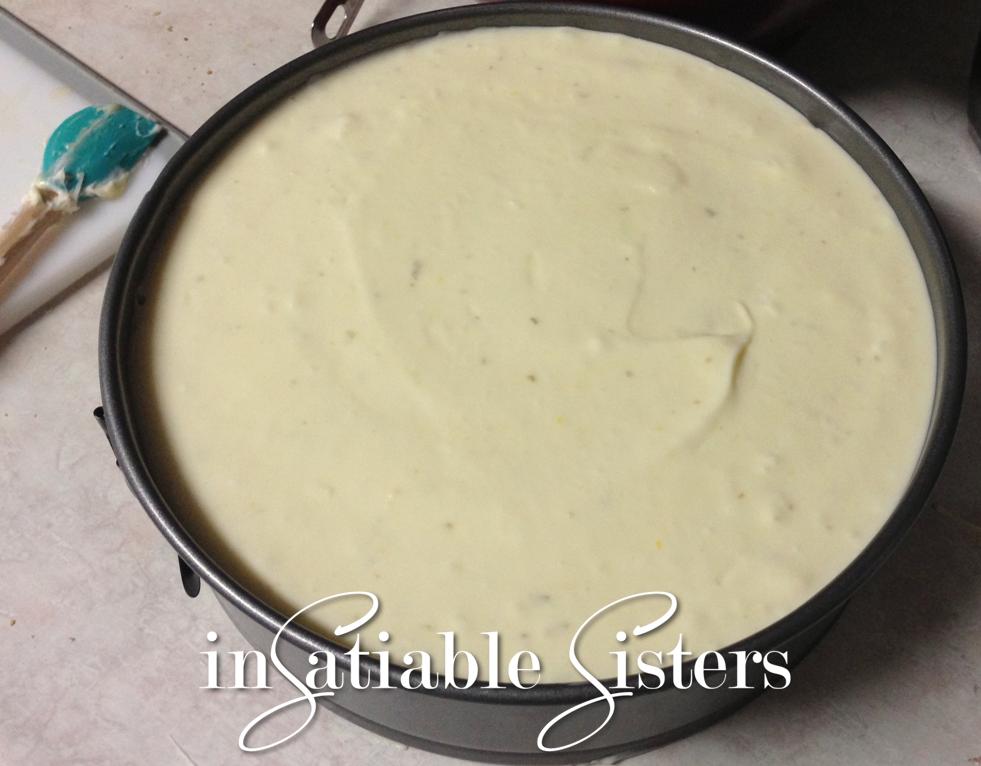
Pour the filling into the pie crust and bake for 15 minutes.  grapefruit5

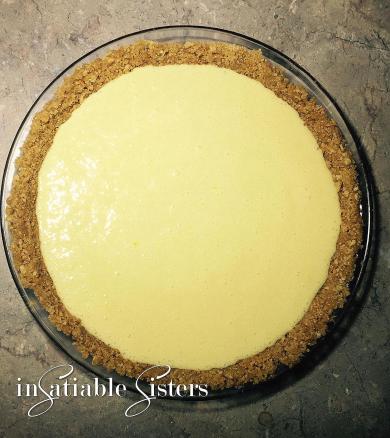
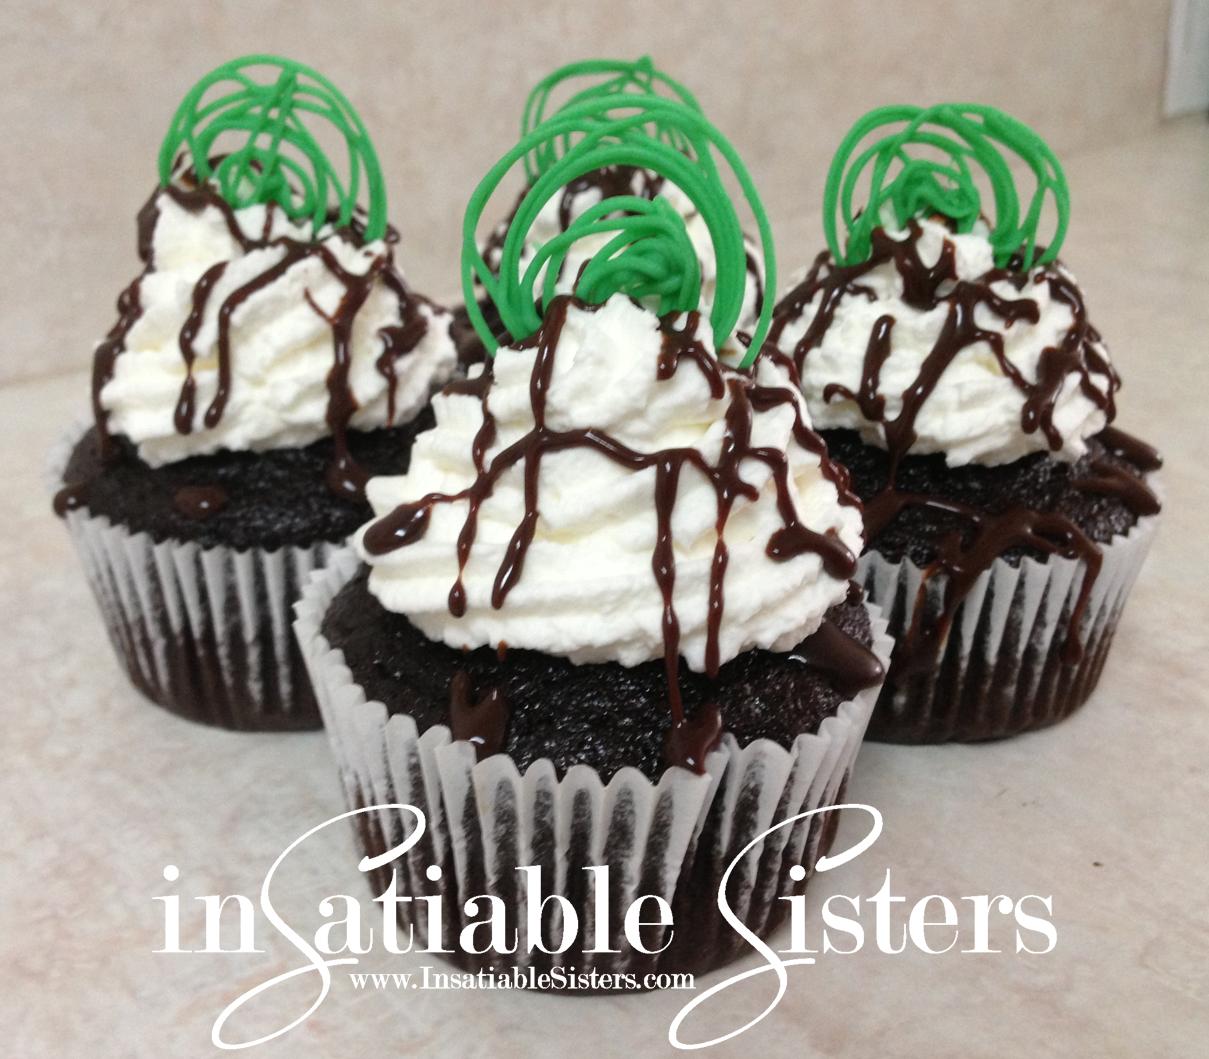
Let pie rest out of the oven for 10 minutes before chilling it in the fridge.  Top with homemade whipped cream and serve cold.
grapefruit4

grapefruit3

Blackberry Mousse Cheesecake

Mini Final 3.jpg

Blackberries are synonymous with Fall in the Pacific Northwest.  Everywhere you go you can find fresh blackberries for sale, blackberry shakes and smoothies, blackberry desserts, jam & syrup…you name it!  I’m lucky enough to have access to TONS of wild blackberry bushes that are heavy with ripe, juicy berries.  I’ve been a little obsessive this season about making sure I’ve picked enough to last me through the winter, and my torn up hands are proof of that!  But, it’s well worth it to have a nice supply in the freezer.  Not only are they amazing in tons of recipes, but they also make flavorful (and pretty!) little ice cubes for your water.

This recipe is a spin off from my Key Lime Cheesecake recipe.  I used the same basic method with a few key ingredient swaps.  Anyone who knows me knows that I’m not a dessert girl, but I could eat these all day!  It’s light and moussy with tons of blackberry flavor, not to mention the color!!  They’re pretty little things!

Keep in mind, the recipe as written includes the blackberry seeds.  If you are someone who is sensitive to those hard little seeds, just replace the 2 cups of blackberries with 1 cup of fresh, strained blackberry juice.  Also, you can prepare in two ways: traditional cheesecake in a spring-form pan, or, my favorite, cheesecake mini’s (as pictured above).

Happy Blackberry Season!!

Ingredients:

Crust:
1 package Graham Crackers (approx 1 ½ cups crushed)
⅓ cup granulated sugar
6 tablespoons melted butter
½ teaspoon cinnamon

Blackberry Mousse:
2 cups fresh blackberries (or 1 cup fresh, strained blackberry juice for seedless texture)
¼ cup water
¼ cup lemon juice
2 envelopes Knox gelatin
1 cup sugar
5 eggs
½ cup butter, softened
2 8-oz packages cream cheese, softened
1 cup heavy whipping cream

Optional Blackberry Syrup:
1 cup fresh blackberries
2 tablespoons lemon juice
2 tablespoons granulated sugar

Directions:

To Prepare Crust: In a food processor, process graham crackers until they turn to coarse crumbs.  Transfer to a bowl, add melted butter, sugar and cinnamon.  Stir until thoroughly combined and mixture is the consistency of wet sand.  Press crumbs firmly into the bottom of an ungreased spring-form pan.  (If you’re making individual cheesecakes in a cupcake pan, scroll to the bottom for further instructions.)   Bake for 7 minutes.  Remove and allow to cool completely.Crust.jpg

To Prepare Blackberry Syrup:  In a small saucepan, mash blackberries.  Add lemon juice and cook on medium heat until they release their juices, 5-10 minutes.  Strain the liquid through a fine mesh strainer.  Return to pan, add the sugar and cook on medium for another 5 minutes or until liquid coats the back of a spoon.  Allow to cool completely.

To Prepare Blackberry Mousse:  Add blackberries to a medium saucepan and give them a quick squish with a fork.  Add water and Knox gelatin and allow to sit about 5 minutes until the gelatin begins to develop and the liquid thickens.Blackberries.jpg

Add eggs and sugar and whisk until eggs are well beaten into the mixture.  Turn your heat on medium and stir constantly while the mixture slowly comes to a boil.  Stirring is VERY important, you don’t want to end up with scrambled eggs in your cheesecake!

Once the mixture has thickened remove from heat and set aside.

In a large mixing bowl, cream the butter and cream cheese together.  Add the blackberry mixture and mix on medium speed until well combined, scraping the sides and bottom so that all of the cream cheese is incorporated.  Refrigerate until cool stirring occasionally, about 1 hour.

Meanwhile, whip the heavy cream in a metal bowl until stiff peaks form.  When the blackberry mixture has cooled, fold in the whipped cream.  Whipped cream step.jpg

Pour the mousse into prepared crust and smooth it out with a knife or the back of a spoon.  Refrigerate until firm, about 2 hours.

To release from the pan, run a thin knife around the edge of the pan before opening the spring-form clip.  Remove the pan cuff.  Place a sheet of parchment over the top of the cheesecake, then flip it over onto a flat surface.  Gently insert a butter knife between the crust and the pan and the the cheesecake should easily release.

Before serving, drizzle with blackberry syrup.
Cheesecake Final 3.jpg

Variation:

To prepare cheesecake mini’s, fill cupcake pans with foil liners (recipe makes about 24).

Note: You cannot prepare mini’s in batches, they must all be done at once because the cheesecake mixture will firm up in the mixing bowl if left unpoured.  If you don’t have at least 24 cupcake spaces, you can purchase disposables at any dollar store or grocery store.

Distribute graham cracker mixture evenly into all foil liners, about 1 tablespoon each.  Press firmly into the bottom of each cup.  (Try using a clean spice bottle for this.)  Crust Mini.jpg

Bake about 7 minutes at 375.

Once crust has cooled, fill with prepared blackberry mixture all the way to the top of the foil liner.  Refrigerate until cool and set, at least 2 hours.
Mini's.jpg

Top with blackberry sauce and fresh berries.  Indulge!
Mini Final.jpg

Key Lime Cheesecake

Final.jpg

Imagine a dessert that’s sweet, tart, silky, crunchy, rich and fluffy all at once.  Are you imagining Key Lime Cheesecake?  This sweet treat is one that will awaken all your senses…and is quite possibly my favorite dessert!  It’s so refreshing when it’s served ice cold on a hot day.  

Occasionally, I take orders for baked goods/desserts and this one is the one that’s most requested.  Don’t be intimidated by all the steps, it’s really quite simple!  You can even prepare the crust ahead of time or, if you’re really in a pinch, you can purchase prepared graham cracker crusts (this recipe fills 2!).  That being said, I highly recommend making your own crust with the addition of the unsweetened coconut.  The coconut really adds something special!  You can usually find it in the bulk section of the grocery store.  If not, ask!  Want to present your cheesecake in a more festive way?  Scroll to the bottom for a fun variation: cheesecake mini’s!

Go ahead, try this one!!  Your time and effort will be rewarded!  

Ingredients:

Crust
1 package Graham Crackers (about 1 ½ cups, crushed)
½ cup unsweetened coconut
⅓ cup granulated sugar
6 tbs butter, melted
½ tsp cinnamon
*If you choose not to use coconut, just increase your graham cracker crumbs to 2 cups.

Cheesecake
1 cup Nelly & Joe’s Key Lime Juice
¼ cup water
2 envelopes unflavored Knox gelatin
1 ½ cups granulated sugar
5 eggs
zest from 1 lime
½ cup butter, softened
2 8-oz packages cream cheese, softened
1 cup heavy whipping cream

Optional: additional heavy whipping cream to decorate plus granulated sugar to taste.

Special Equipment: Springform PanIngredients w Logo.jpg

Method:

Preheat oven to 375* F.

In a food processor, process graham crackers until they turn to coarse crumbs, add in coconut and pulse until combined.  Crumbs w Logo.jpg

Transfer to a bowl, add melted butter, sugar and cinnamon.  Stir until thoroughly combined and mixture clumps.
Crumbs 2 w Logo.jpg

Press crumbs firmly into the bottom of an ungreased springform pan.  Bake for 7 minutes.  Remove and allow to cool completely.
Pressed w Logo.jpg

In a 2 qt saucepan, combine lime juice, water and gelatin.  Let stand 5 minutes.  Add sugar, eggs, and lime zest.  Lime Zest w Logo.jpg

Add Eggs w Logo.jpg

Whisk up the mixture until completely combined and cook over medium heat, stirring constantly until it just begins to bubble.  DO NOT allow it to boil.  Remove from heat and set aside.

In a large mixing bowl, beat butter and cream cheese together until well combined.Cream Cheese & Butter w Logo.jpg

Pour the hot lime mixture into the cream cheese mixture.  Beat with an electric mixture until thoroughly combined, approximately 2 minutes.

Refrigerate for about an hour, stirring occasionally.  You want the mixture to cool down, but not set up.

In a separate bowl, whip heavy cream until stiff peaks form.  (DO NOT add sugar.)

Once lime mixture is cool, fold in the whipped cream.  Make sure you combine it well, but some marbling is okay.

Pour mixture into the prepared crust, smooth out the top and refrigerate for several hours to allow cheesecake to firm up.
Set the Pie w Logo.jpg

Once cheesecake has set, run a knife around the edge of the springform pan to loosen the edges.  Slowly release the clasp and press the cake up out of the pan.  You can remove the bottom piece of the pan by putting a sheet of parchment over the top of the cheesecake, putting a cutting board (or other flat surface) over the parchment, then flipping the whole cake over.  Insert a butter knife between the pan and crust and the crust should pop right off.  Place your serving platter on top of the crust and flip the cheesecake back over.  Carefully remove parchment from the top.

You can serve your cheesecake naked, or decorate with whipped cream.

Whip approximately 1 ½ cups heavy whipping cream in a metal bowl until stiff peaks form.  Add in sugar to taste, one tablespoon at a time, until desired sweetness is reached.

Use the whipped cream in a piping bag or frosting gun to create all sorts of designs.  My favorite is the roses and stars (pictured), which is created by using a 2D star tip.  Decorate w Logo.jpg

Variation:
You can create cheesecake mini’s, which is my personal favorite way to prepare this dessert, and it’s a lot easier to serve.  Fill cupcake pans with paper or foil liners.

Note:  You cannot prepare the mini’s in batches, they must all be done at once.  If you don’t have at least 24 spaces in cupcake pans you can purchase disposables at any dollar store/grocery store.

Press about 1 tablespoon of the crumb mixture into the bottom of each.  I like to fill all the cups before pressing to ensure the mixture is spread evenly.  Bake about 7 minutes at 375.

Fill each cupcake with the prepared lime mixture, you should have more than enough to fill each cupcake to the very top (any excess can be refrigerated and enjoyed without crust).  Refrigerate until cooled and set, at least 2 hours.  Garnish with whipped cream and lime zest.

Serve ice cold and enjoy!

Mini w Logo.jpg

Roasted Chicken Breast with Balsamic Cream

A foody friend of mine gave me this recipe for a balsamic cream sauce and it sounded so delicious and simple that I tried it that very night with a roasted chicken breast. I was not disappointed.  In fact, that rich, creamy sauce immediately landed among my favorite recipes, not only because it is delicious, but also because the ingredients are ones that I generally have on hand, and preparation is incredibly simple.  And, although I have this paired with chicken, I think it would go incredibly well with any cut of steak or a pasta dish.

Ingredients:

Chicken:
2 chicken breast halves, bone in
2 Tbs butter, divided
Drizzle of Olive Oil
Salt & Pepper

Balsamic Cream Sauce:
2 Tbs Olive Oil
2 Tbs Butter
¼ cup minced sweet onion (Mayan or Vidalia work well)
1 Cup heavy Cream
2 tsp chicken bouillon granules
2 Tbs Balsamic vinegar
½ Cup grated parmesan cheese (the kind in the can works best)

Directions:

Preheat oven to 375 degrees.  Rinse the chicken breasts and pat dry.  Gently loosen the skin to create a pocket, but don’t pull it off.  Cut the butter into 8 chunks and slip it under the chicken skin, 4 chunks for each breast.  Season the skin of the chicken well with salt and pepper and any additional herbs you prefer.  Place breasts in an oven-safe dish and drizzle with olive oil.

Roast the chicken for about 40 minutes, or until the internal temperature reaches a safe 165 degrees.
While the chicken is roasting, heat the olive oil and butter in a saucepan over medium-low heat.  Stir in the minced onion and cook until it has caramelized, about 15 minutes.  Stir in the balsamic vinegar and cook for 1 minute, then stir in the bouillon and cream.  Bring to a simmer, then remove from heat and stir in the parmesan cheese until melted.

Note: I used fresh parmesan in this picture, which tasted great but left the sauce a little chunky.  For a smoother sauce, use the pre-grated parm in a can, the stuff you sprinkle over spaghetti.

When the chicken is done roasting, allow it to rest for about 10 minutes.  Serve it whole or slice it up, but either way, be sure to serve with a generous portion of the balsamic cream.  I LOVE this combination with Oven Roasted Potatoes.  Enjoy!

Chipotle Sweet Potato Bisque

BisqueThere are two main varieties of sweet potato here in the U.S.  Many people mistakenly refer to them as “yams” but sweet potatoes are actually not even related to the yam.  The first (and my favorite of the two) has a golden skin and white flesh.  The second is that deep copper -colored tuber with the softer, bright orange flesh, commonly used in the traditional holiday dish “candied yams.”  

Either variety, or even a mix, will do nicely for this recipe.  This bisque is not an original idea.  I found it years ago in a magazine (which magazine, I can’t remember) and have made it many times since, with a few of my own adjustments.

The beauty of this soup is that it is NOT sweet.  The potatoes offer a subtly sweet base, but the ginger, lime and chipotle really take the forefront to create a savory soup that can be as spicy as you want it.  

 Ingredients:

2 Tbs Olive Oil
2 Tbs Butter
1 large yellow onion, chopped
2 Tbs minced garlic
1 Tbs minced ginger
3 Tbs brown sugar
3 lbs sweet potatoes, peeled and cubed
7 cups vegetable or chicken stock
1 cup dry vermouth
1 chipotle pepper in adobo (you can find this in a can in the hispanic section of
your grocery store) OR 1 tsp chipotle powder (more if desired)
2 tsp salt
2 cups heavy cream
Zest and juice from 1 lime

*Serves about 10*

Directions:

Heat oil and butter in a stockpot over medium heat.  Add the onion, garlic and ginger. Cook until onion is soft, stirring frequently, about 10 minutes.

Picture2

Add sugar, sweet potatoes, stock, vermouth, chipotle and salt.  Bring to a boil, then reduce heat and cook until potatoes are soft.
Remove from heat and puree the soup until smooth with a stick blender (you can use a traditional blender, but I find the stick blender makes much less of a mess).
Return soup to a simmer, add heavy cream, lime juice and zest.  Salt and pepper to taste. A sprinkle of chopped pistachios would make an excellent garnish.


Bisque

Chocolate Cupcakes with Ganache and Mint Cream

These light and fluffy cupcakes are a perfect vessel for fudgy ganache.  They are very easy to make and require ordinary ingredients.  The mint cream adds a nippy not-so-sweet element, and the green candy garnish is a tribute to St. Patrick’s Day.  These cupcakes do take a bit of time to complete all the steps, but they are beatiful and delicious and well worth the effort.  Enjoy!
~Joanie


Ingredients 

Cupcakes:
2 cups sugar
1 3/4 cups all purpose flour
3/4 cup unsweetened cocoa
1 1/2 teaspoons baking powder
1 1/2 teaspoons baking soda
1 teaspoon salt
2 eggs
1 cup half & half
1/2 cup vegetable oil
2 teaspoons vanilla extract
1 cup boiling water

Ganache:
8 oz (approx 1 ½ Cups) Semi Sweet Chocolate Chips
1 Cup Heavy Whipping Cream

Mint Whipped Cream:
1 Cup Heavy Whipping Cream
3 Tbs Confectioners Sugar (Powdered Sugar)
1 Tsp Mint Extract

Candy Garnish:
1/2 Cup White or Chocolate Baking Chips
Food coloring, if desired

Directions:
Chocolate Cupcakes
Makes about 24 cupcakes
Preheat oven to 350*F.
In a large mixing bowl, stir together sugar, flour, cocoa, baking powder, baking soda and salt.
Add eggs, half & half, oil and vanilla.  Beat on medium speed for about one minute.

Stir in boiling water (don’t worry if the batter looks thin).
Fill cupcake liners 2/3 full with batter.  Bake for approximately 18-22 minutes.  Allow the cupcakes to cool completely.


Ganache Filling

Place chocolate chips in a heatproof bowl.  Bring the cream just to a frothy boil, remove from heat and immediately pour over the chocolate.  Let it sit about 1 minute to allow the chocolate to melt.  Stir gently until the chocolate is melted and the ganache is uniform in color and glossy.


 To Fill the Cupcakes

Make a slit in the cupcakes, about an inch long, and about half way deep with a plastic knife.  (The cake won’t stick to a plastic knife.)  Lightly pinch the cupcake so the slit opens up like a mouth.  Using a piping bag or plastic bag with the corner snipped, carefully fill the opening with ganache.  You want it to come to the top, but not overflow.


Mint Cream & Candy Garnish

Picture12

To create candy garnish, using a microwave safe bowl, melt candy for about 30 seconds in microwave.  Add food coloring to desired color.  Use a piping bag to create designs on wax paper.  Allow to cool completely in freezer before handling.


In a chilled metal bowl, whip cream until stiff peaks are just about to form. Beat in sugar and mint until peaks form.  If you want a sweeter cream, add more confectioners sugar 1 tablespoon at a time.  Be sure to taste between additions.

Tip:  You can make the whipped cream ahead, but don’t “frost” the cupcakes until just before serving.

Use an piping bag to pipe whipped cream onto cupcakes.  Top with ganache drizzle & candy garnish or fresh mint leaf, if desired.  Serve immediately.

.