 This post is dedicated to our beautiful Mama. She always worked hard to make life special for each one of her 6 children. We lived in “the woods” in Talkeetna, Alaska, a very small town that is an hours drive from the nearest suburban town. For us, the finer things in life did not come from a store, but from Mom’s hands. She made a lot of our clothes (and our doll clothes!), cooked and baked from scratch, and always let us help even though I’m sure our “helping” just made more work for her.
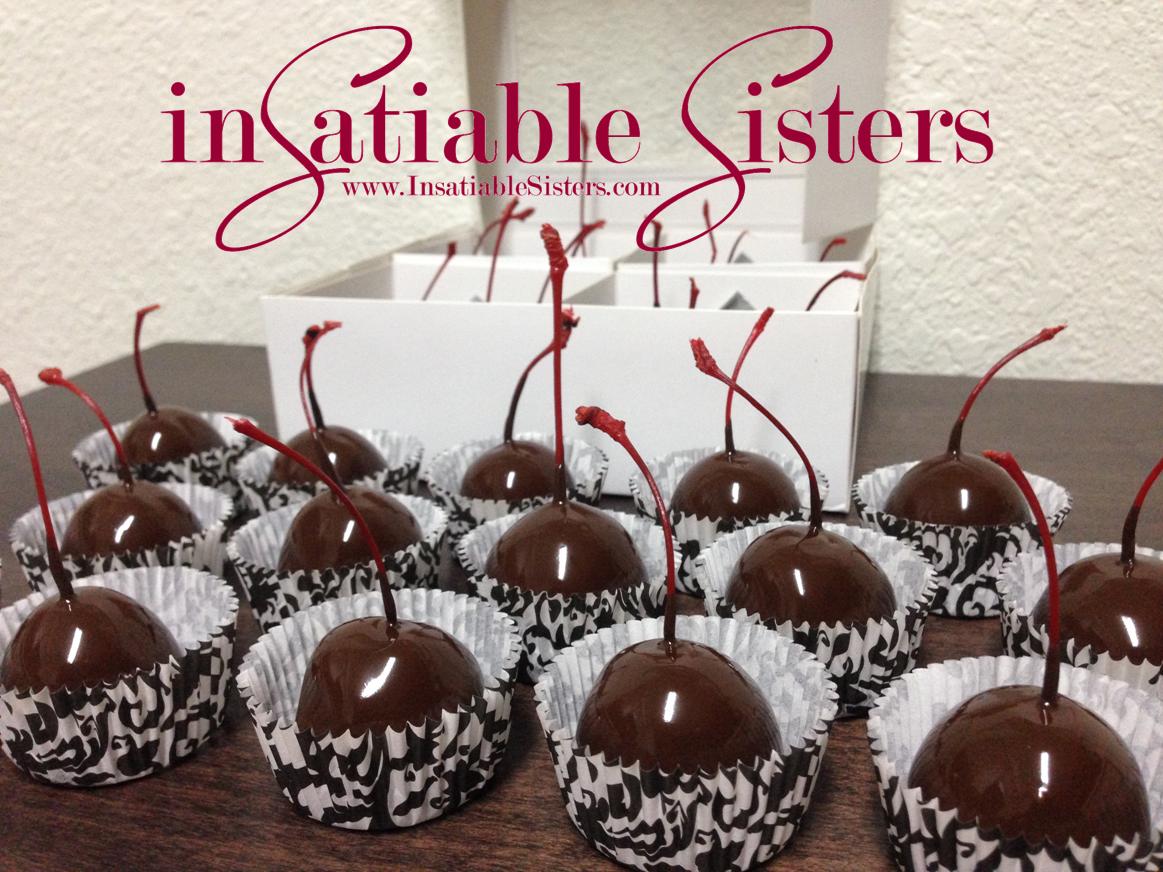
Chocolate dipped cherries were one of Mom’s special Christmas tradition. I remember watching her make them step-by-step, anticipating when we could FINALLY partake in this gooey, sweet treat. It was always worth the wait. I have continued this cherished tradition into my adult life…and I even like to indulge once in a while and make them on non-Christmas occasions. =)
And what better occasion to make these beautiful candies than Valentines Day!!! A day filled with love and flowers and romance pretty much demands an accompanying sweet treat. The fact that you put the time and effort into hand making each cherry makes them than much sweeter. Your Valentine, or whomever you are making these for, will taste the love. ❤
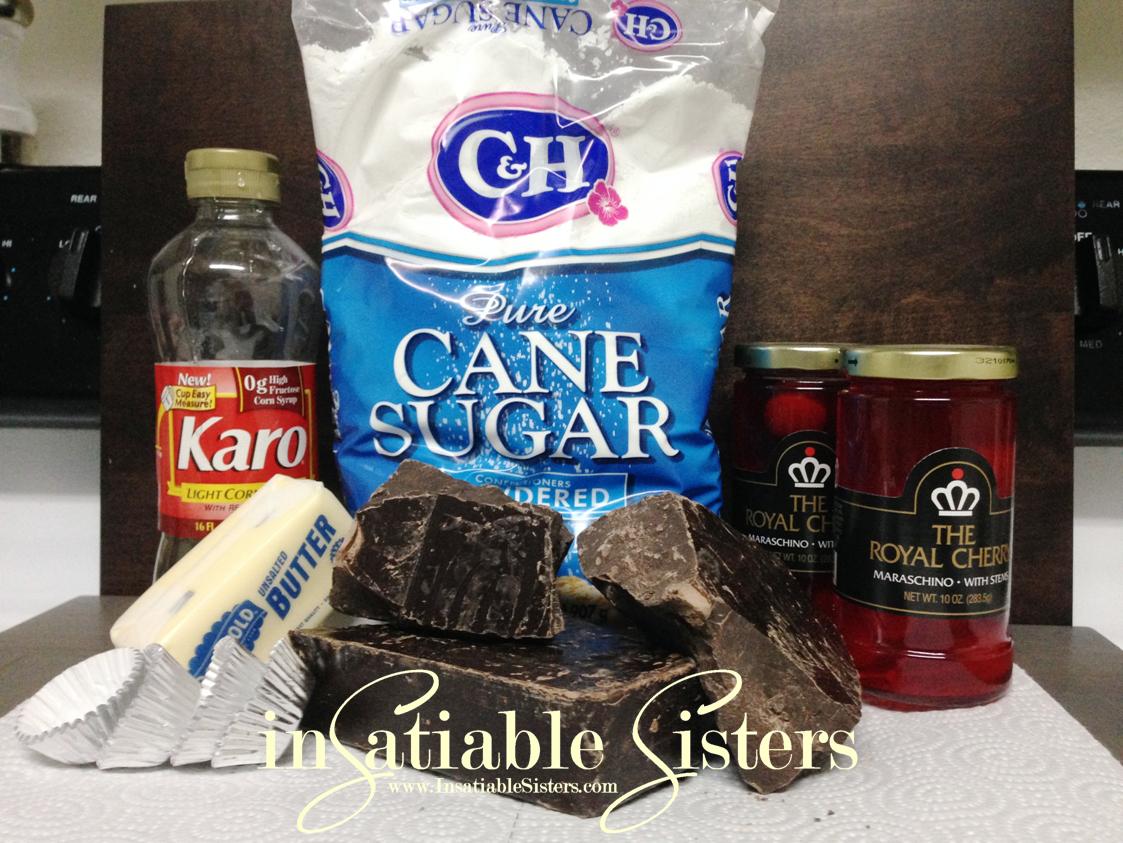
Ingredients:
25-35 Maraschino cherries WITH stems
3 Tbs unsalted butter, room temperature
3 Tbs light corn syrup
2 cups powdered sugar (+extra for kneading), sifted
1 lb (approx) melting chocolate
double boiler
Optional: decorative mini candy cups
Directions:
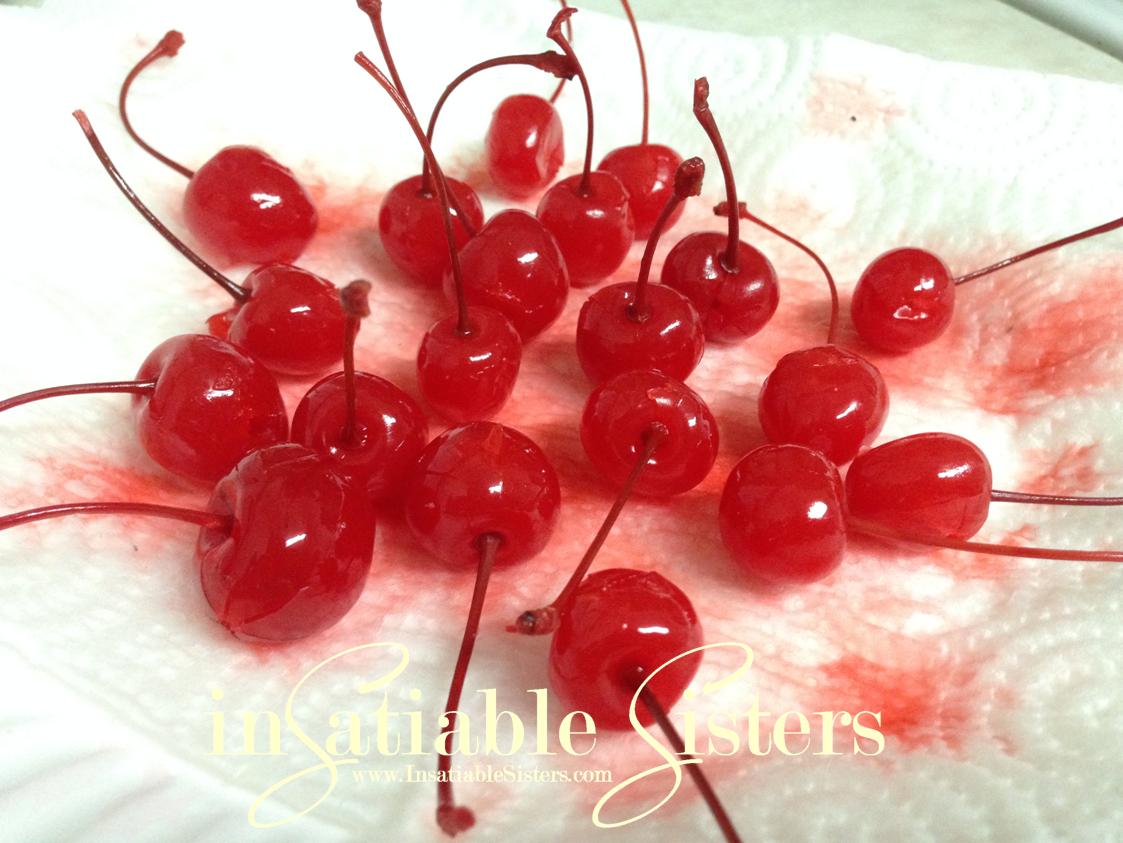
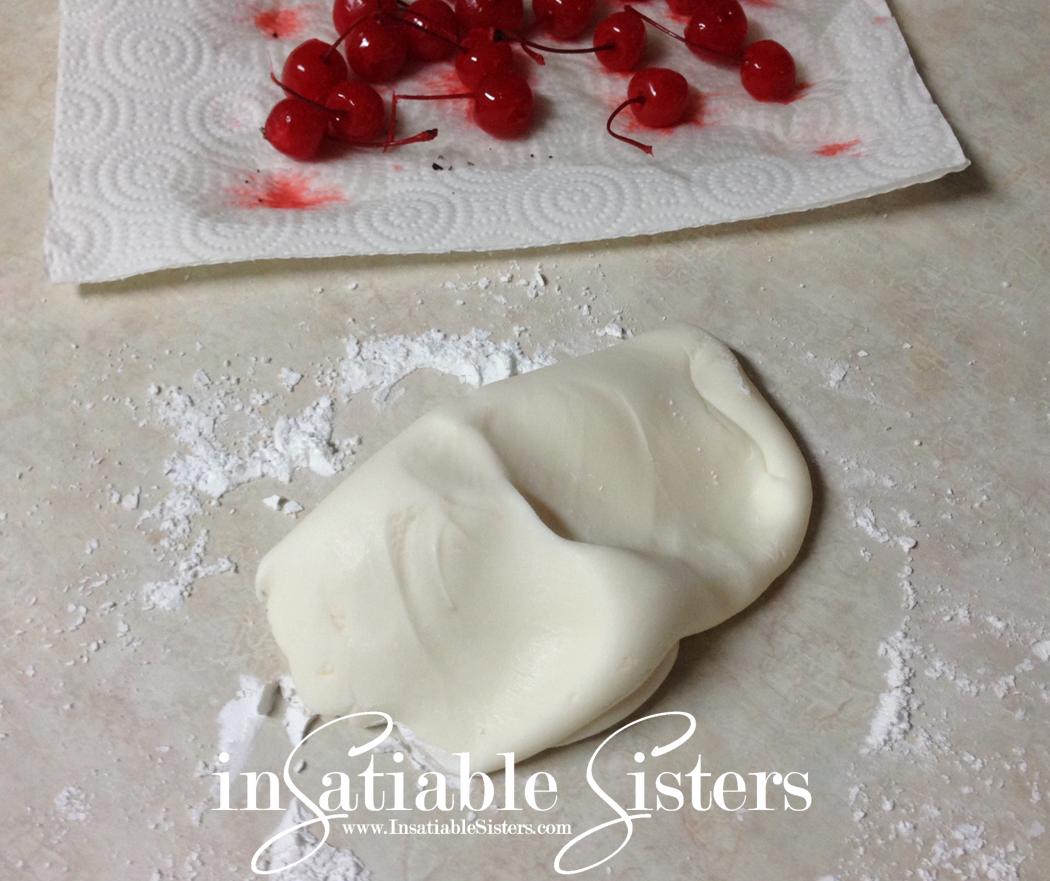
Start by draining your cherries on paper towels. You can do this a couple hours ahead of time, just don’t let your cherries get shriveled! Four hours is probably the max time you want to leave them out. I usually set mine out about ½ hour before I begin, change the towels once and blot the tops when I’m ready to work with them. If your cherries are too wet on the outside, the juice will begin to break down the dough before you’ve had a chance to dip them.
Next, prepare your sweet dough, the gooey filling of the cherry. Mix butter and corn syrup together to form a paste. 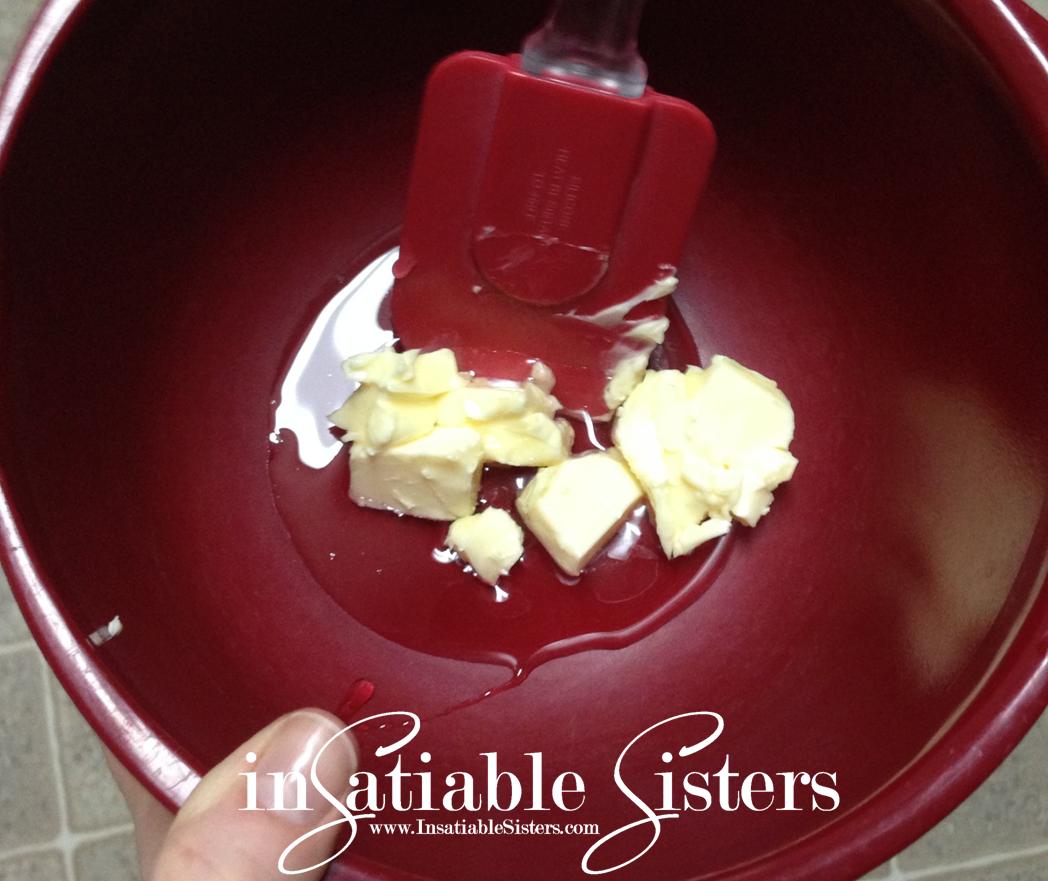
Add in the sifted powdered sugar and stir until combined. If your “dough” looks like a crumbly mess, perfect! Now get your clean hands in there and start squishing until the dough will stick together. Knead it on a clean counter top until it forms a smooth dough.
Optional: To ensure you have enough dough, divide it into portion sizes (about 1 tsp) for the amount of cherries you need.
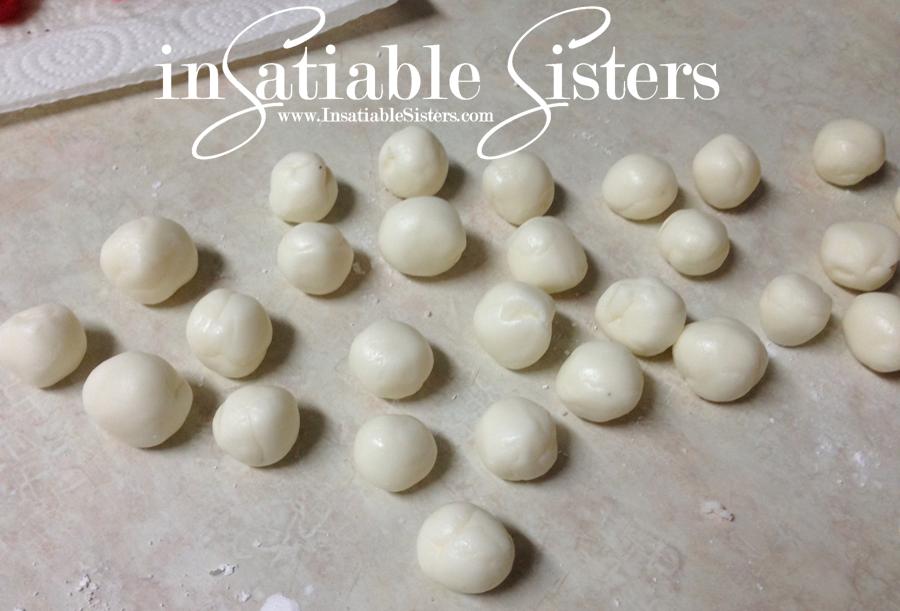
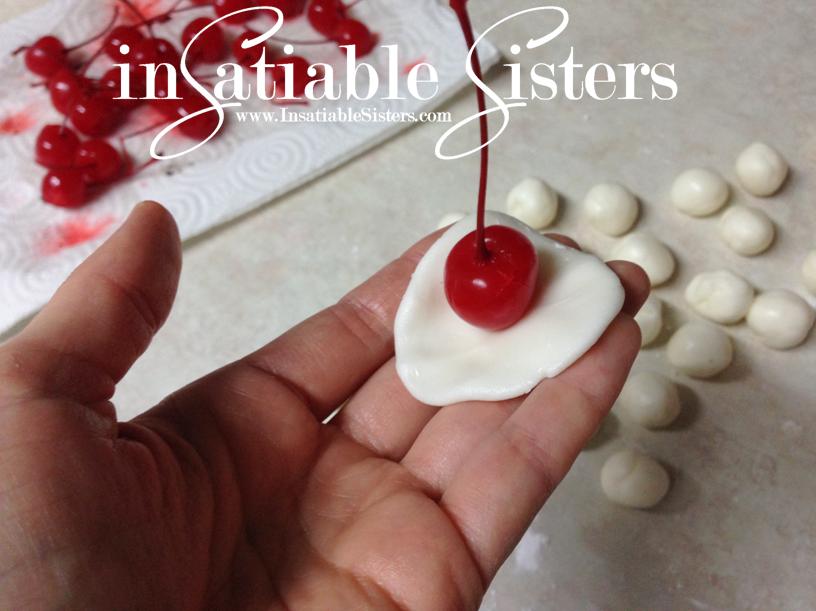
Shape your dough around each cherry and set aside on wax/parchment paper.
Next, break up your chocolate block into small, uniform pieces. This helps it melt quickly and evenly.
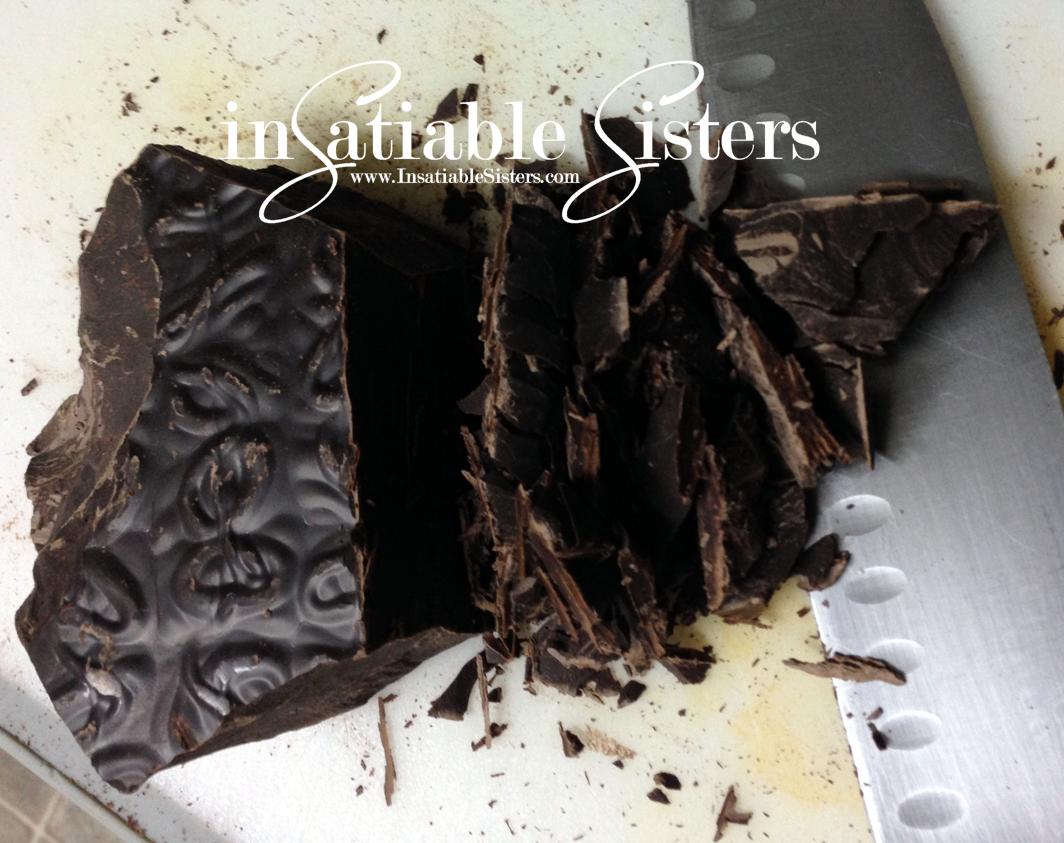
**You can use chocolate chips instead, but they have an additive to help them keep their shape which affects the tempering process. You can also use chocolate melting wafers, but a lot of the time those aren’t made of real chocolate and you can definitely taste the difference!
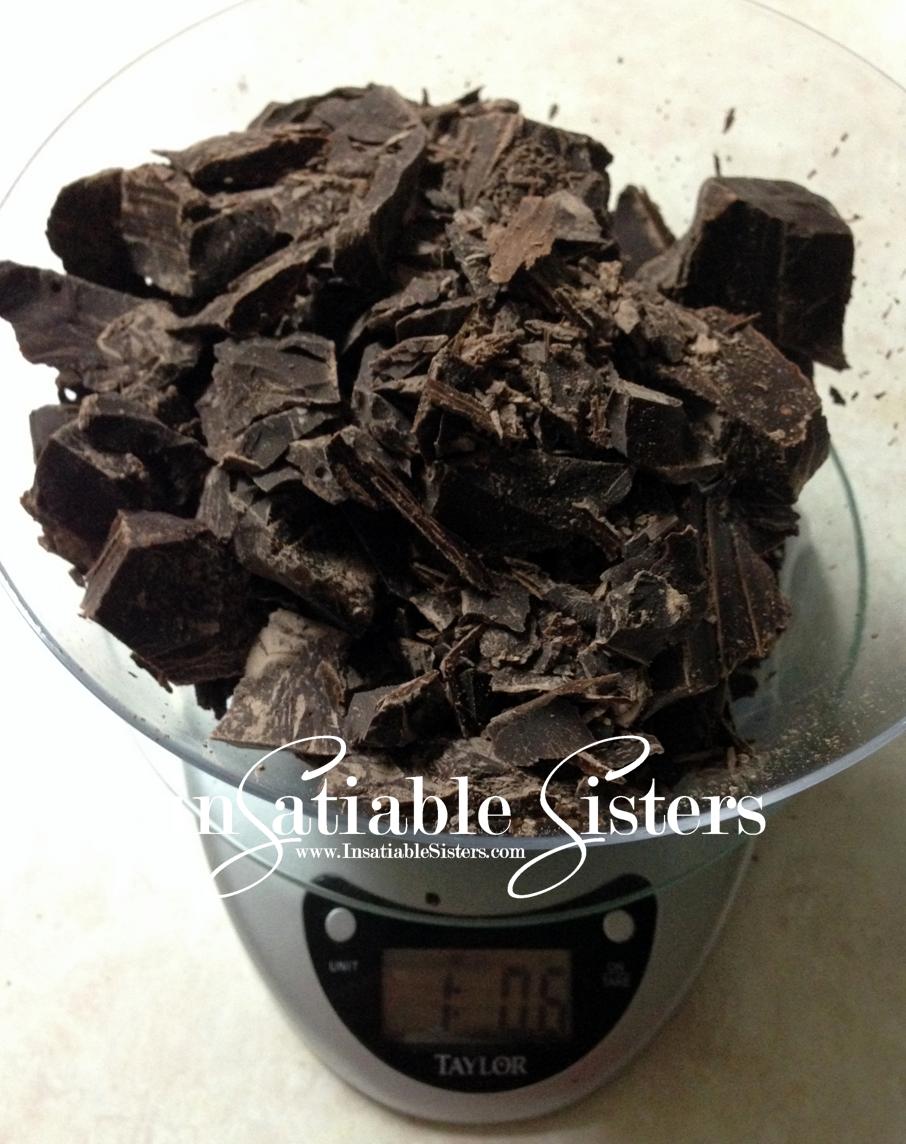
Measure out your chocolate. About 1 lb should do. You will have extra in the end, but you need the chocolate to be deep enough in your pan to be able to dip the cherry in.
Add water to the bottom of your double boiler and turn the heat on LOW. The steam from this water will heat your chocolate pan at a gentler temperature. Chocolate tempering is not hard to do, but it does take patience. Don’t be tempted to turn the heat up, lest you end up with grainy chocolate. Low and slow is the key!
If you don’t have a double boiler (I don’t) you can improvise…sometimes I use a metal milk steaming pitcher set on a steam basket in a sauce pan. This time I balanced a saucepan over a slightly smaller one. Sounds a little precarious, but it worked great! The thing to remember is that you don’t want direct heat and you don’t want ANY steam vapor or water droplets to get into the chocolate. Heed my warning, water in your chocolate will ruin it. For more on tempering chocolate, check out this article.
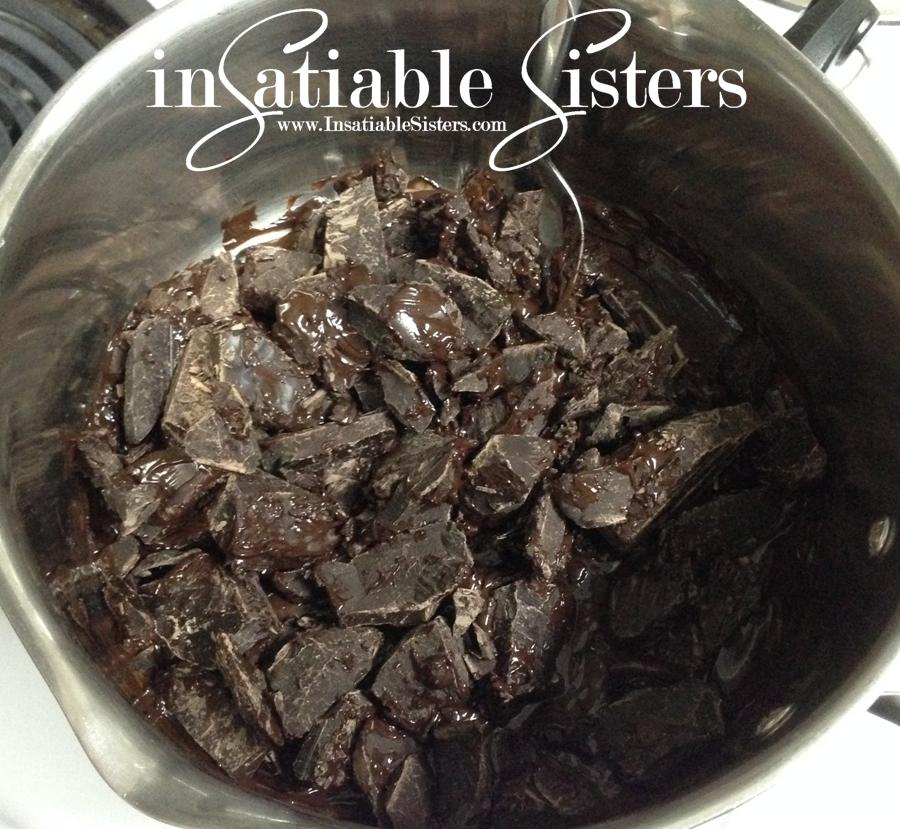 Using a candy thermometer, monitor the temperature of your chocolate. You don’t want it to get above 110 degrees Fahrenheit. Stir frequently but gently to make sure you aren’t getting any hot spots.
While you’re patiently waiting you can set out your candy cups if you’re using them, or spread out a sheet of wax paper for the dipped cherries to dry on.
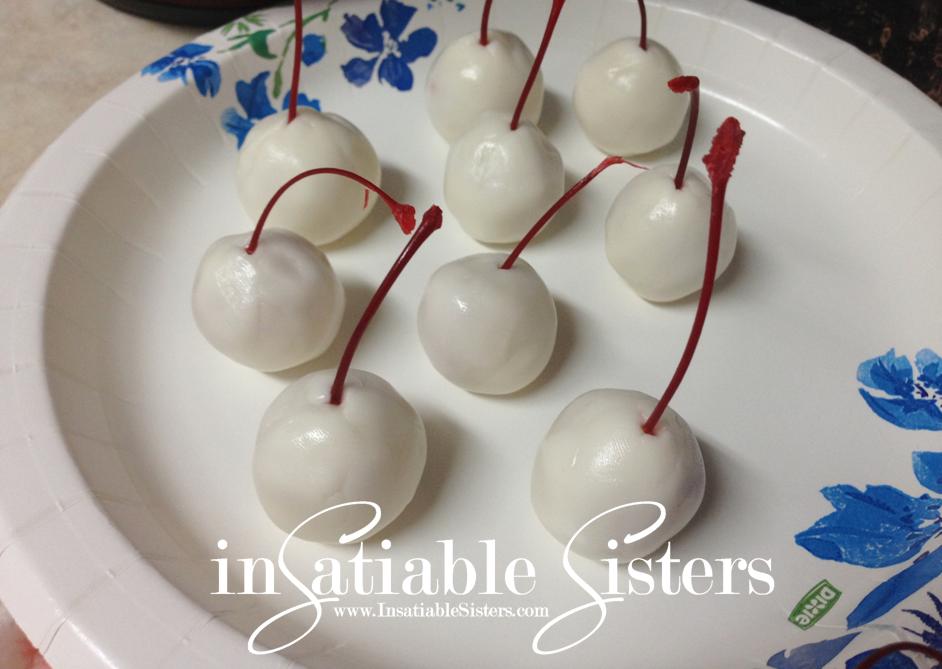
Holding the cherries by the stem, dip them one at a time into the prepared chocolate, making sure to completely seal them, paying special attention to the base of the stem. Any holes or breaks will allow the filling to ooze out You don’t want that. Allow any excess chocolate to drip off.
Place the dipped cherries stem side up in your candy cups or wax paper and chill until firm (but don’t freeze!).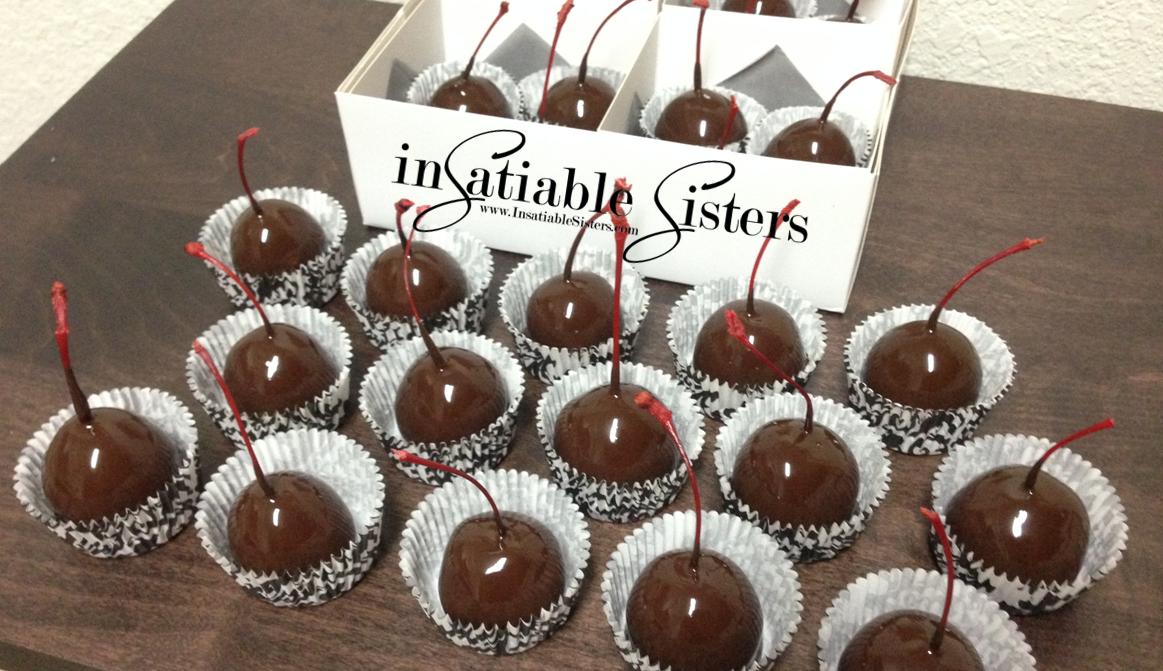
Now, here’s the thing…you can eat these now, they are incredible! OR, you can allow them to “ripen” in the refrigerator for a week to allow the cherry juice and the sugar dough to meld together to form that ooey-gooey filling that makes traditional cherries oh-so-messy to eat. Personally, I like them fresh, but I’m not picky. =)
Happy Valentine’s Day!! 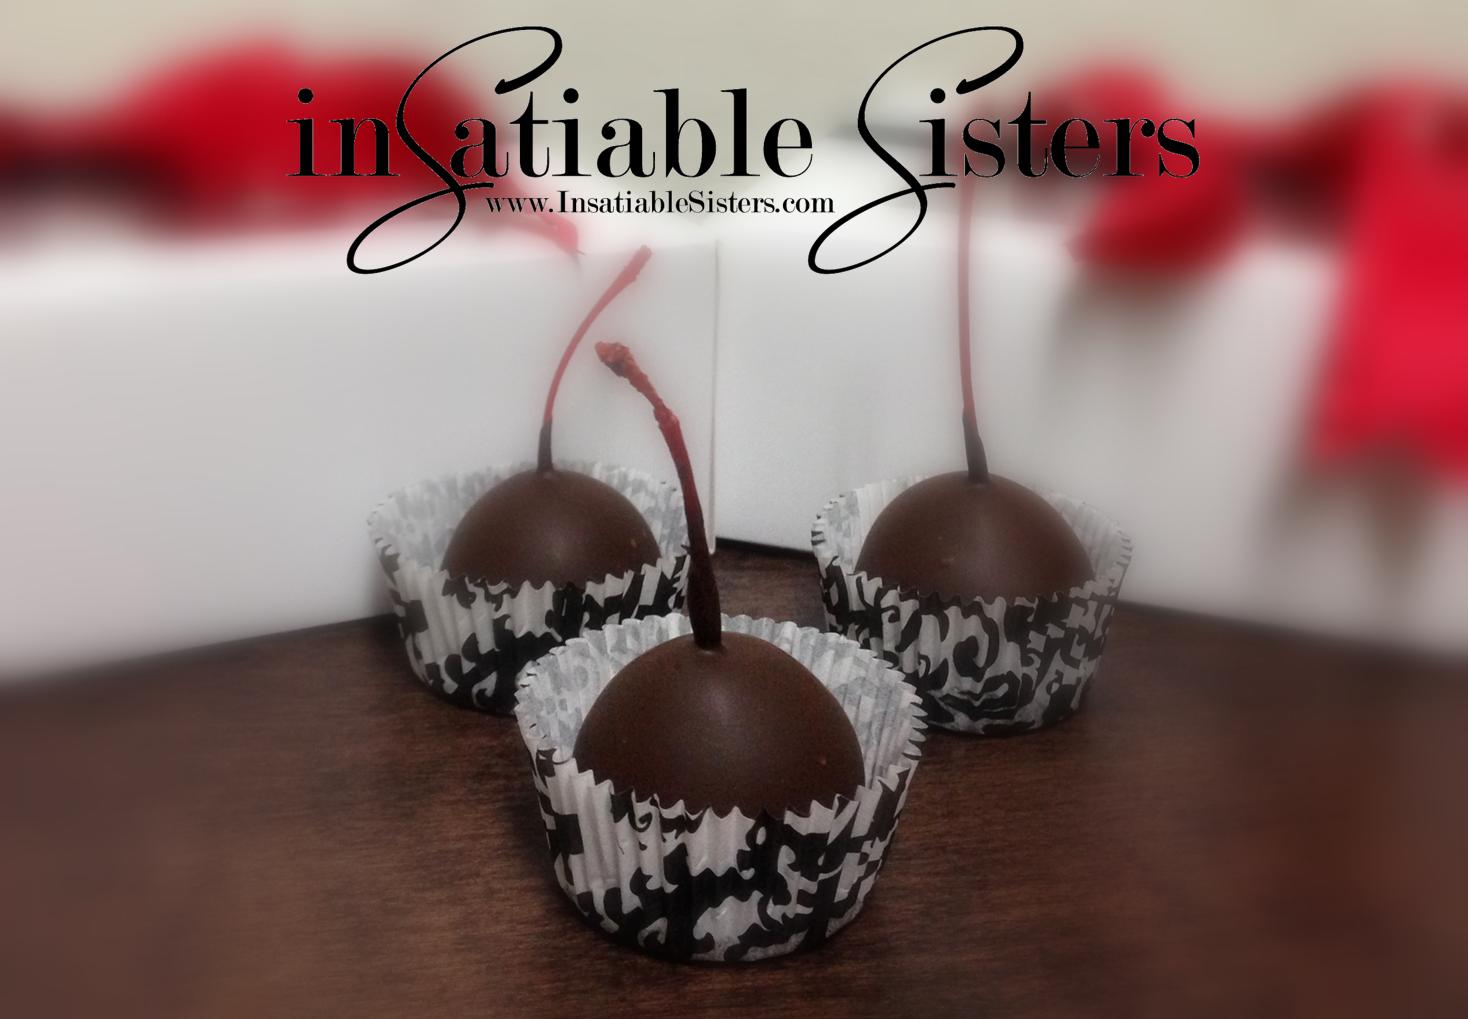


 Add sugar and butter and cook on medium heat until thickened, stirring constantly, about 10-12 minutes. Resist the urge to turn up the heat to avoid scorching


