Hot Wings with Spicy Cabbage Salad

Janna:  Okay you guys, this is the ultimate football food!  These wings are so good, not too spicy…though I like a little fire!!!  They are also sweet and tangy!  Make sure you have plenty of paper towels on hand, cause it’s gonna get messy!!!  I hope you enjoy this post, it’s one of my favorite things to make and I seem to never make enough!!!

(note:  Sarah’s Spicy Cabbage Salad recipe is at bottom of page)

Ingredients:

Chicken:
4 lbs chicken wing sections and drumettes
1 1/2 cups whole wheat flour
1 cup all purpose flour
2 ½ tsp salt
1 tsp paprika
½ tsp cayenne pepper
48 fl oz vegetable oil for frying
Large, deep pot for frying

Sauce:
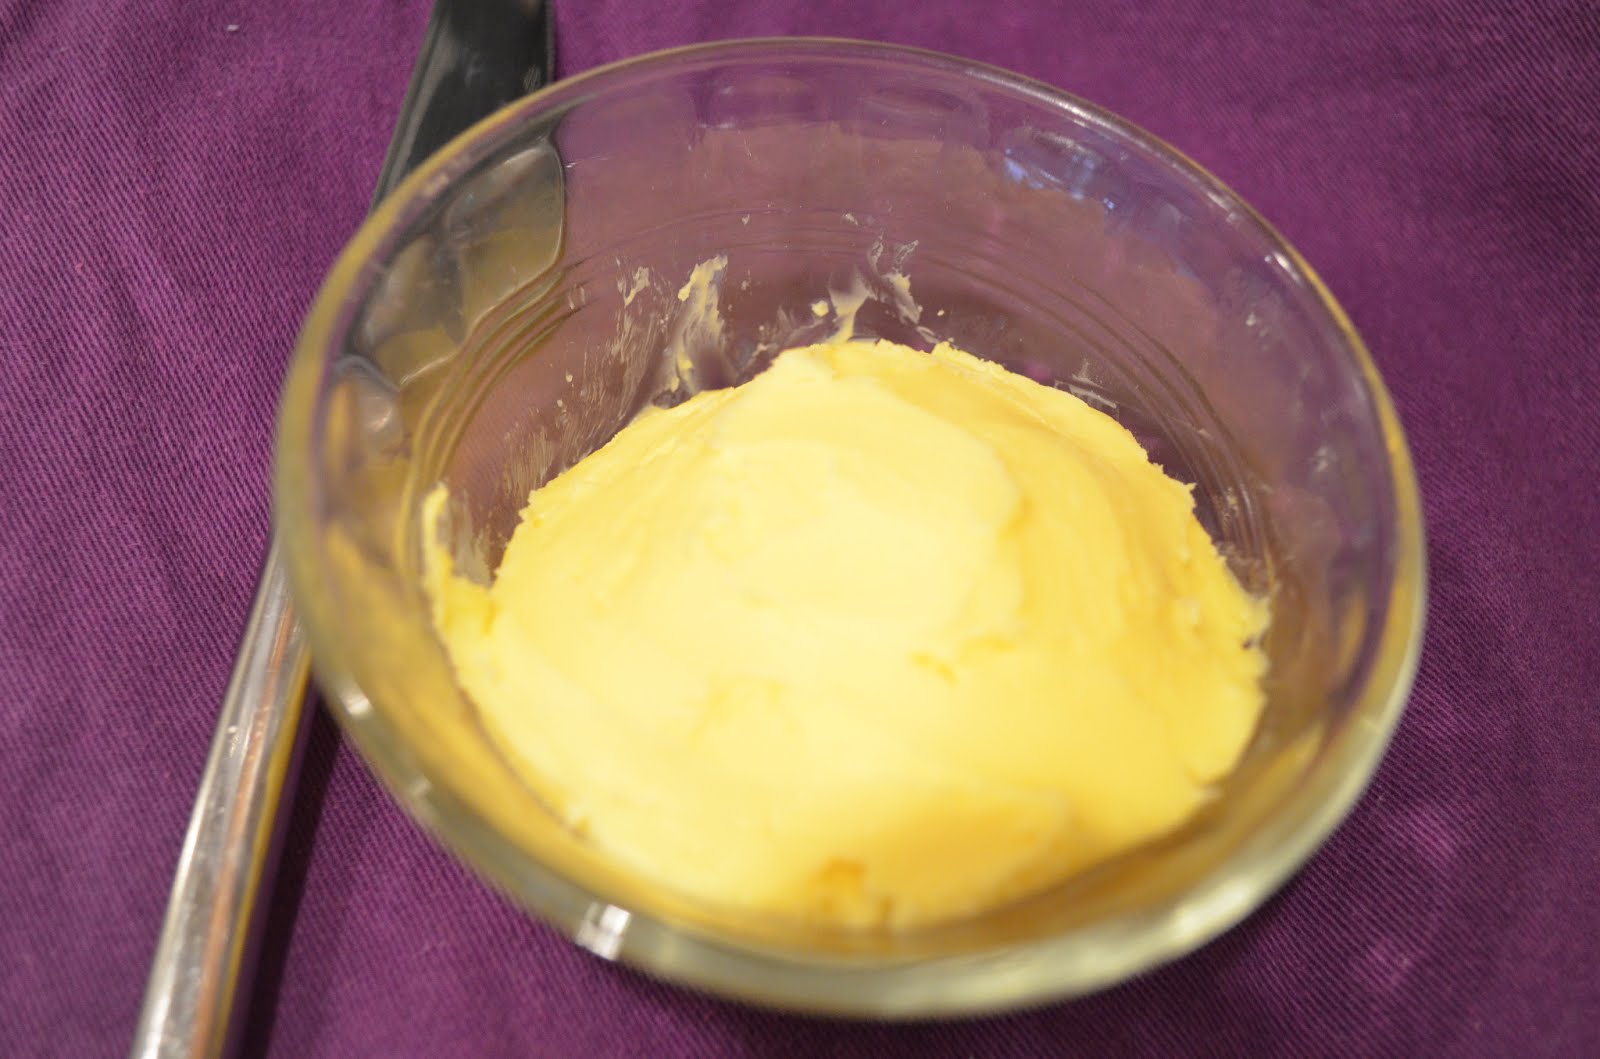
¾ cup butter, melted
1 cup hot sauce (I use Frank’s Red Hot)
6 Tbs brown sugar
1 ½ tsp paprika
1 tsp salt
2 Tbs balsalmic vinegar
¼ tsp cayenne pepper

Directions:

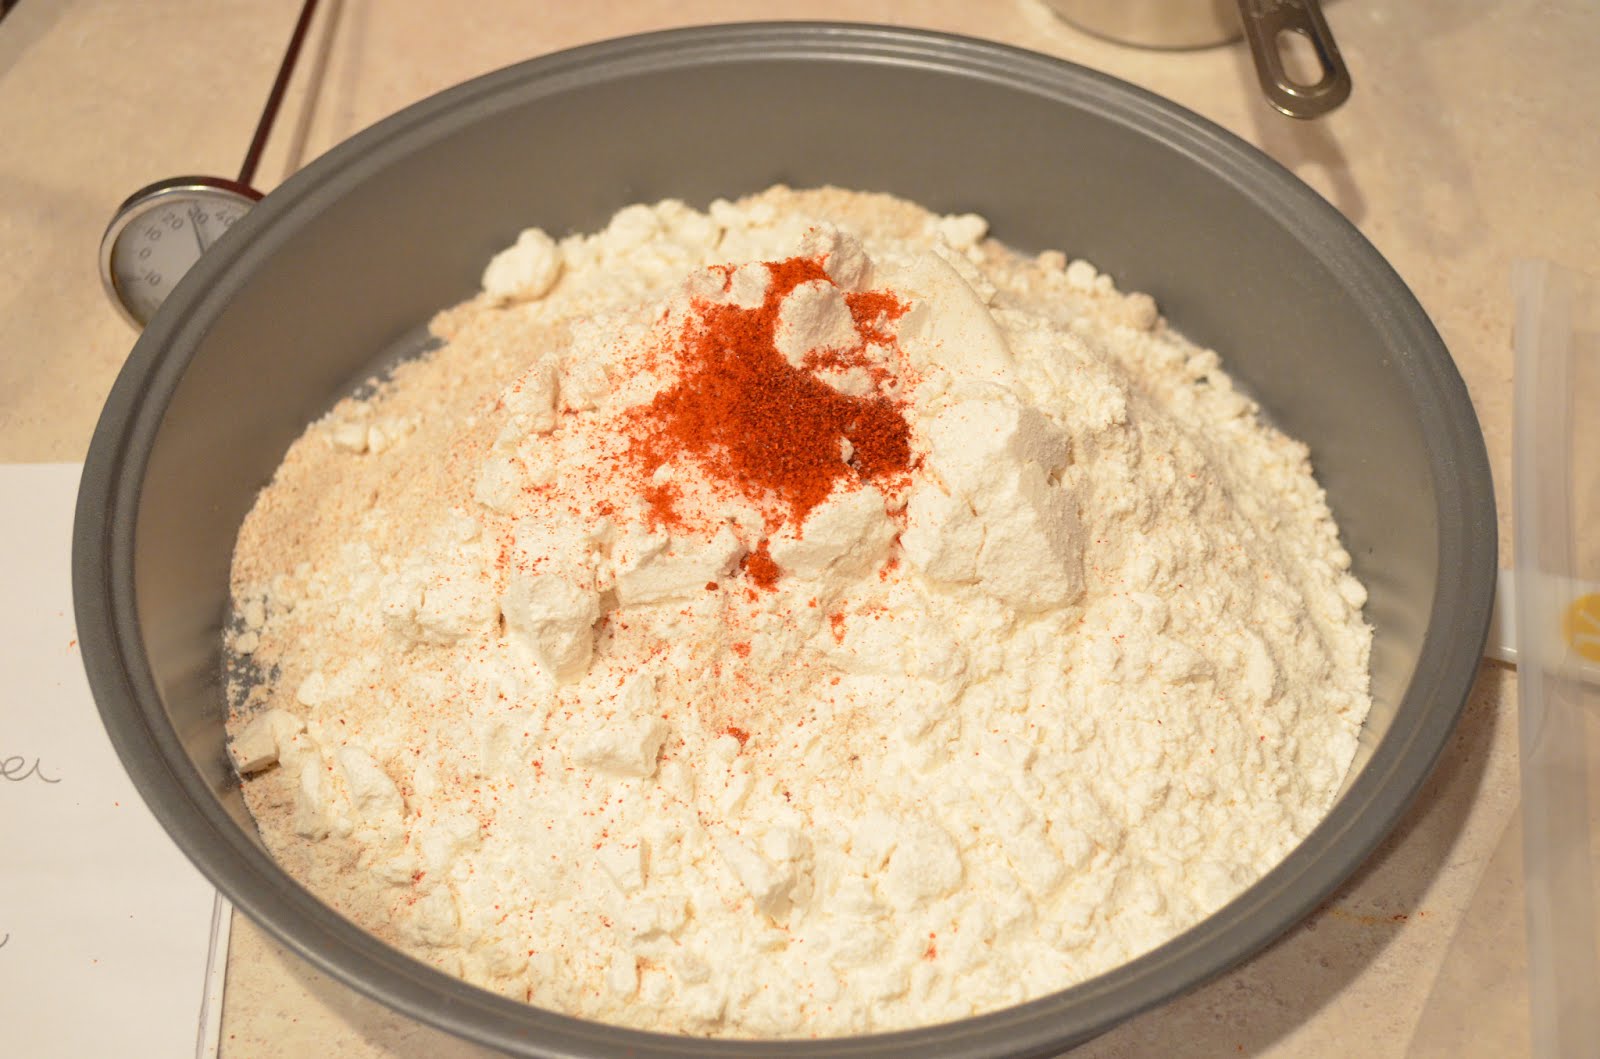
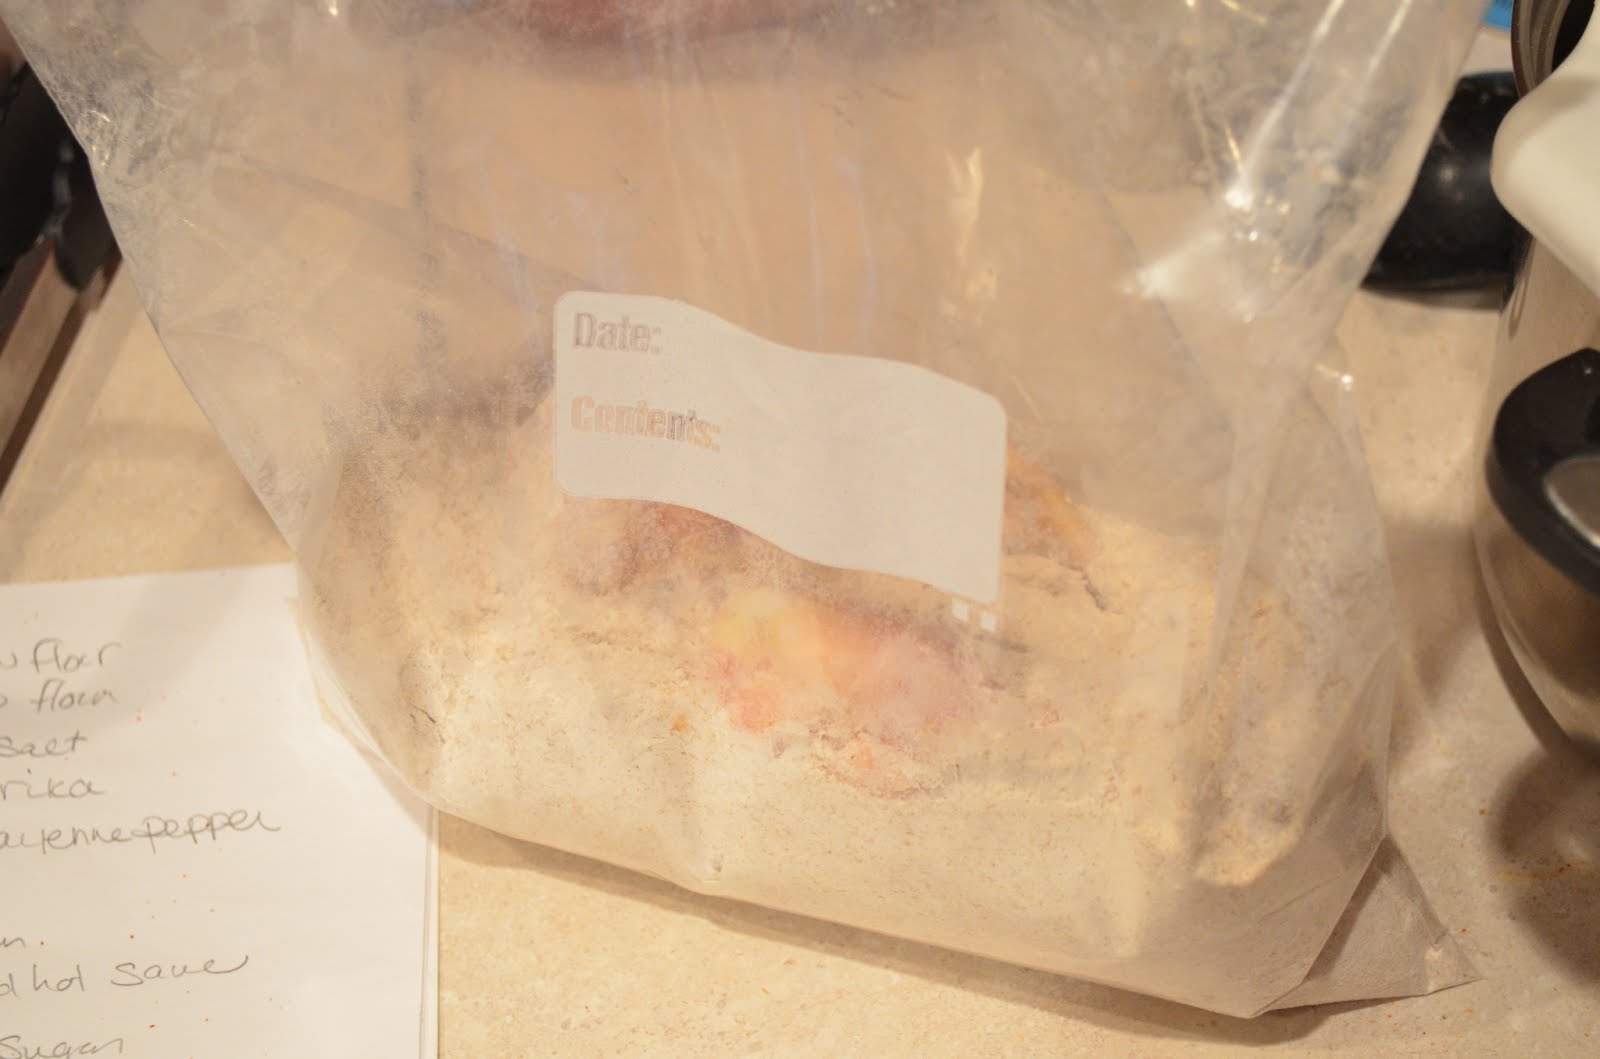
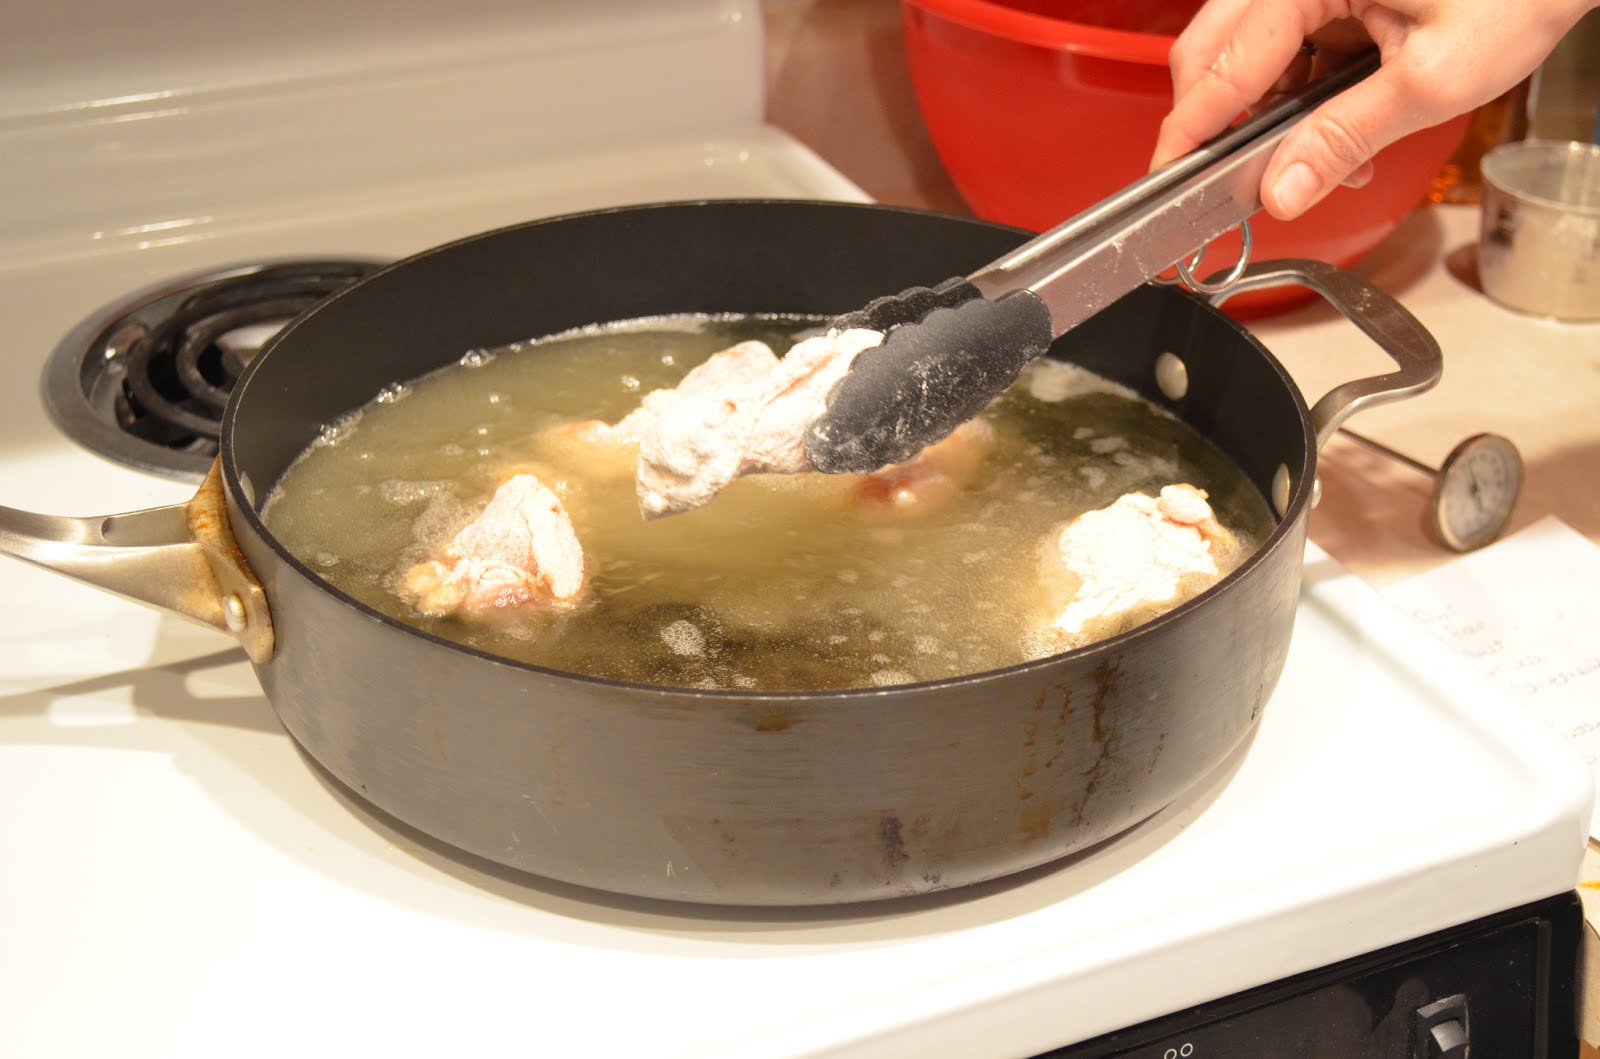
Start with thawed chicken, drain excess water or pat with paper towels.  Put both flours, salt, paprika, cayenne pepper in a gallon size zipper bag or large bowl shake or stir to combine.  Add chicken a few at a time and shake to coat until all chicken is coated in flour mixture.

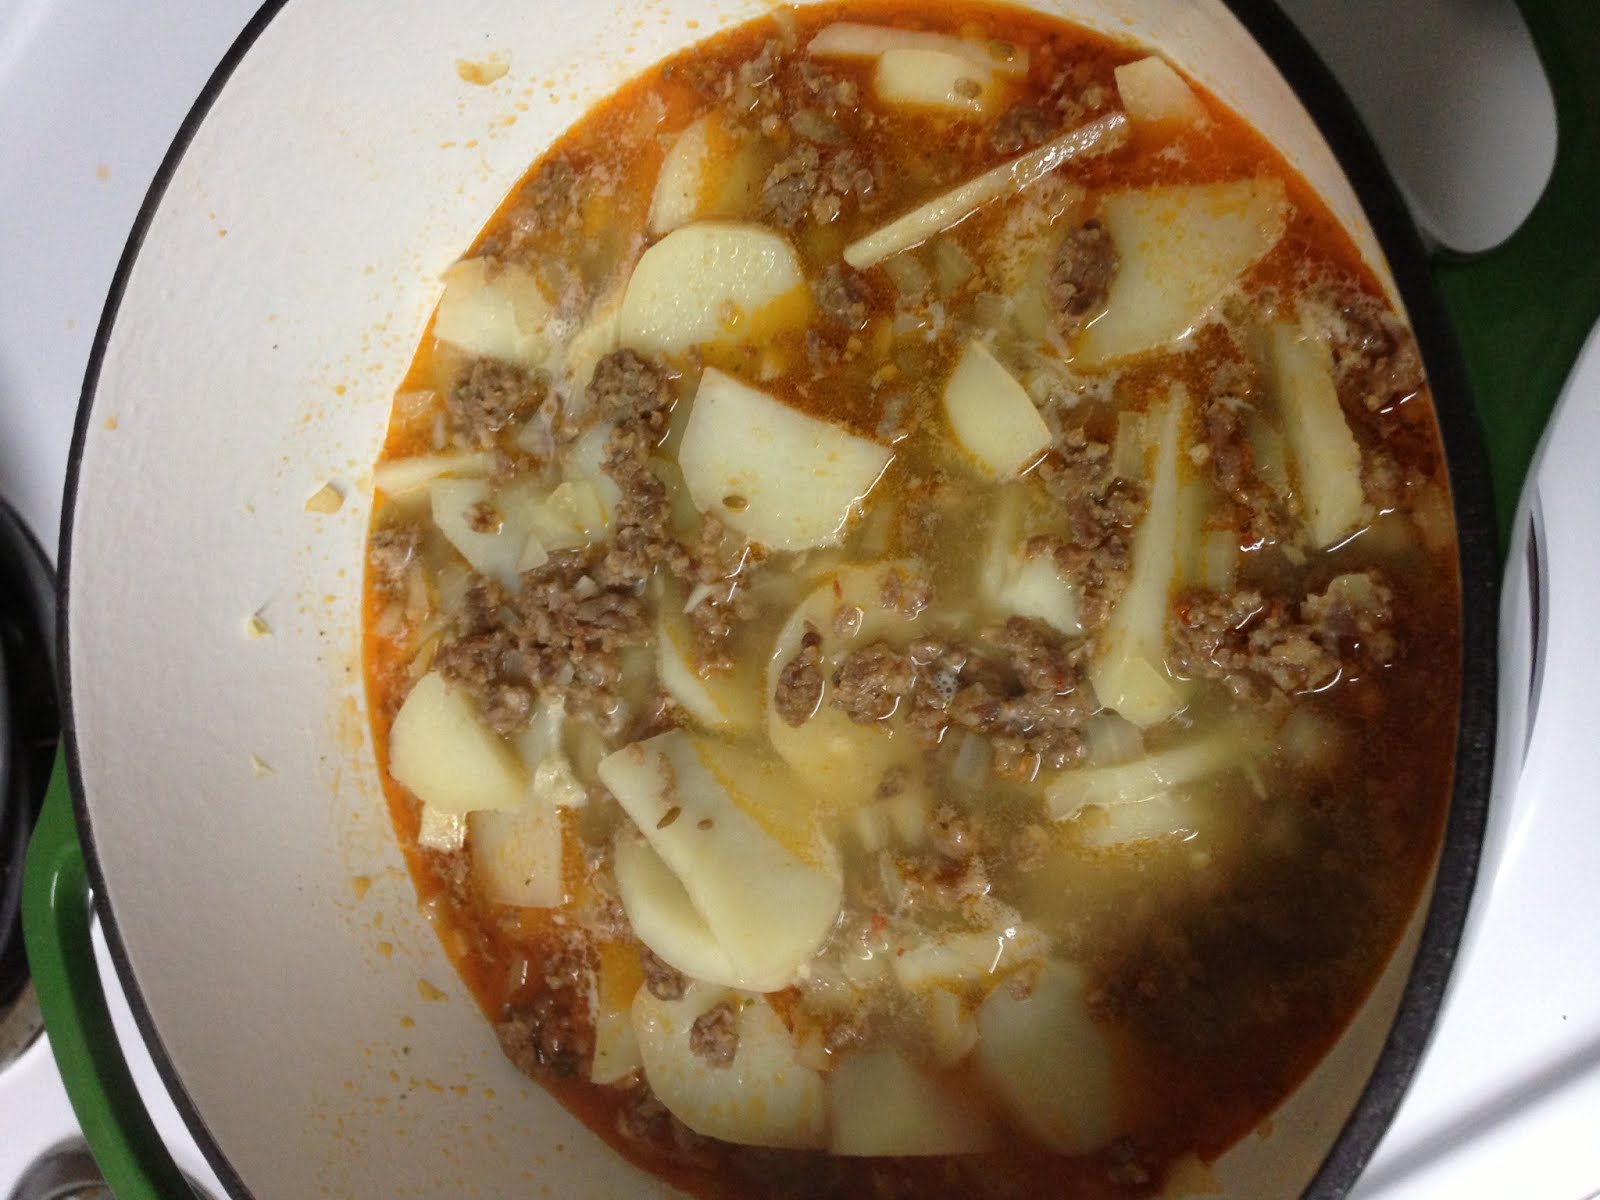
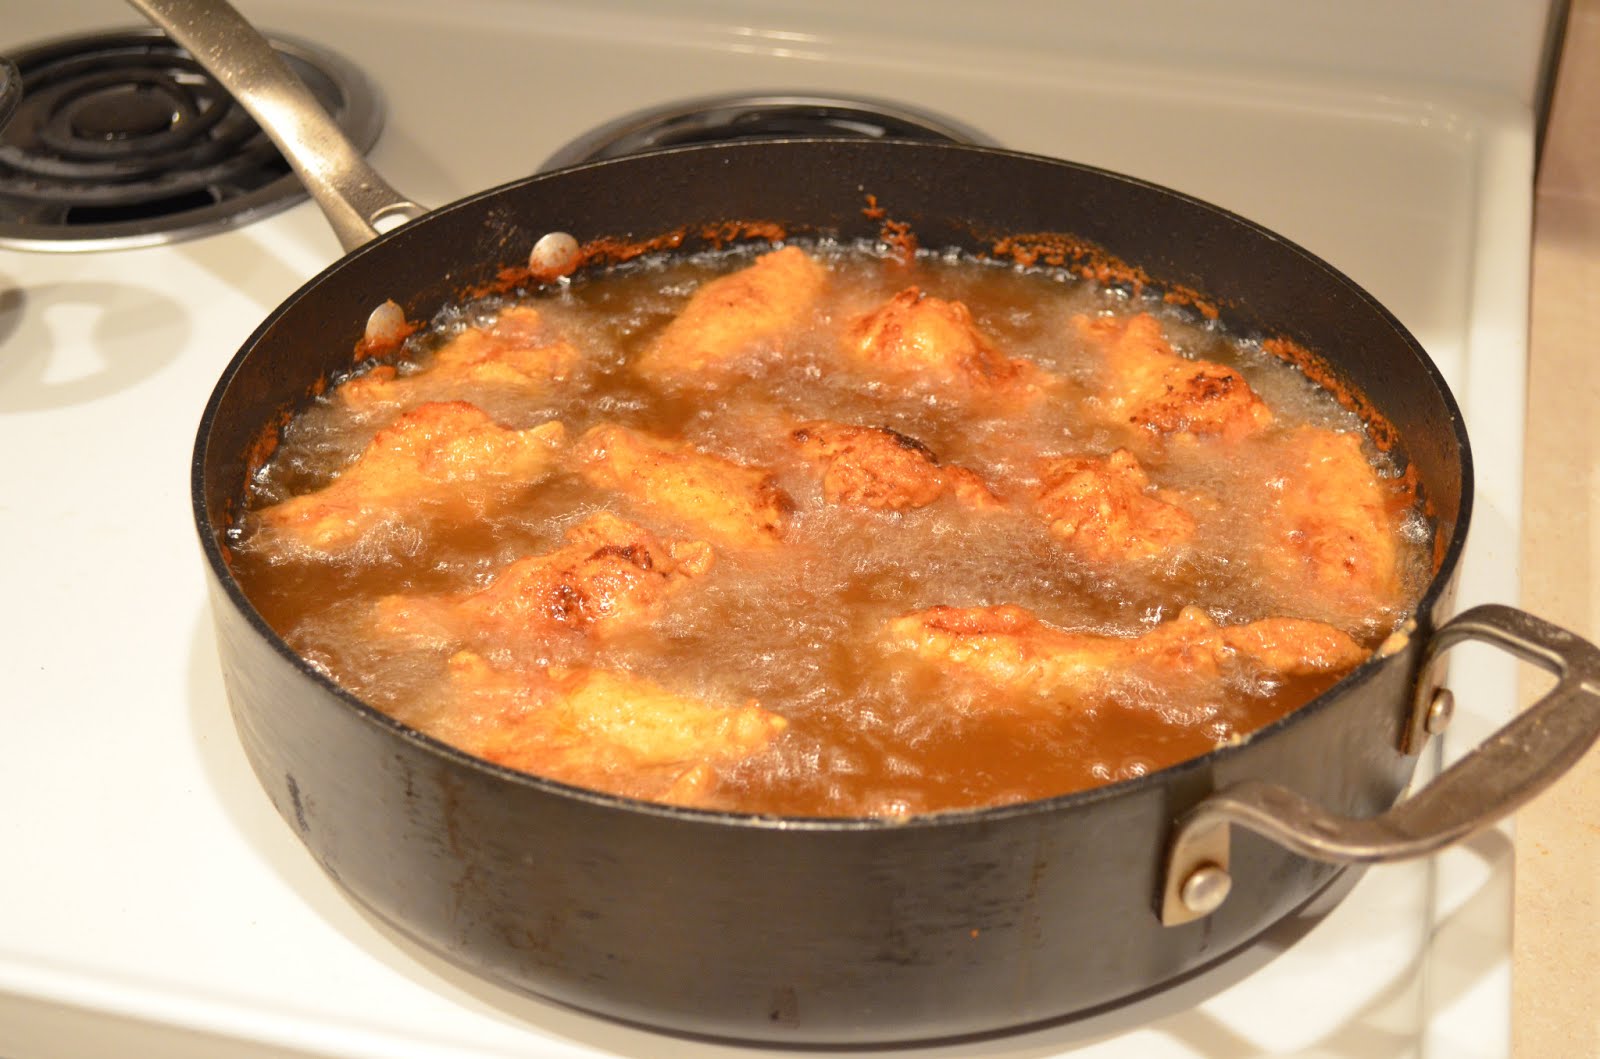
Put vegetable oil in pot and heat oil to about 350* F.  When oil is hot, add coated chicken to oil, being careful not to splatter.  Fry chicken for 6-8 minutes on each side.  Internal temperature should be at least 165*F.

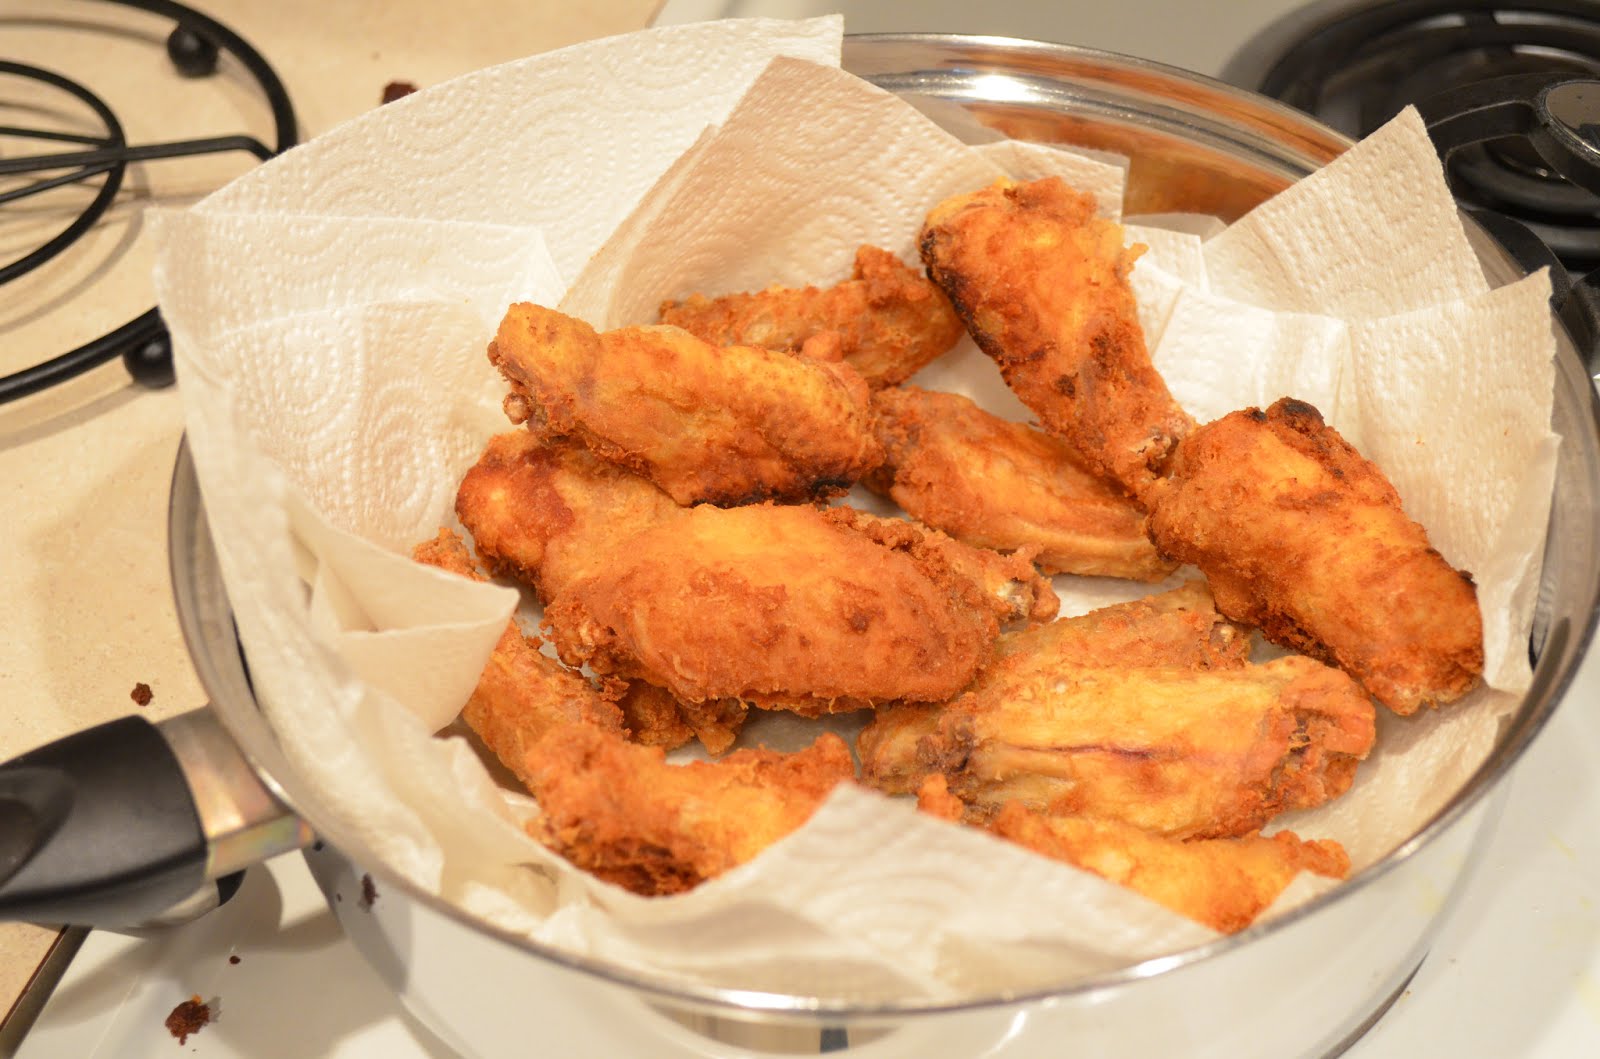
When chicken is cooked, drain on paper towels and set aside.

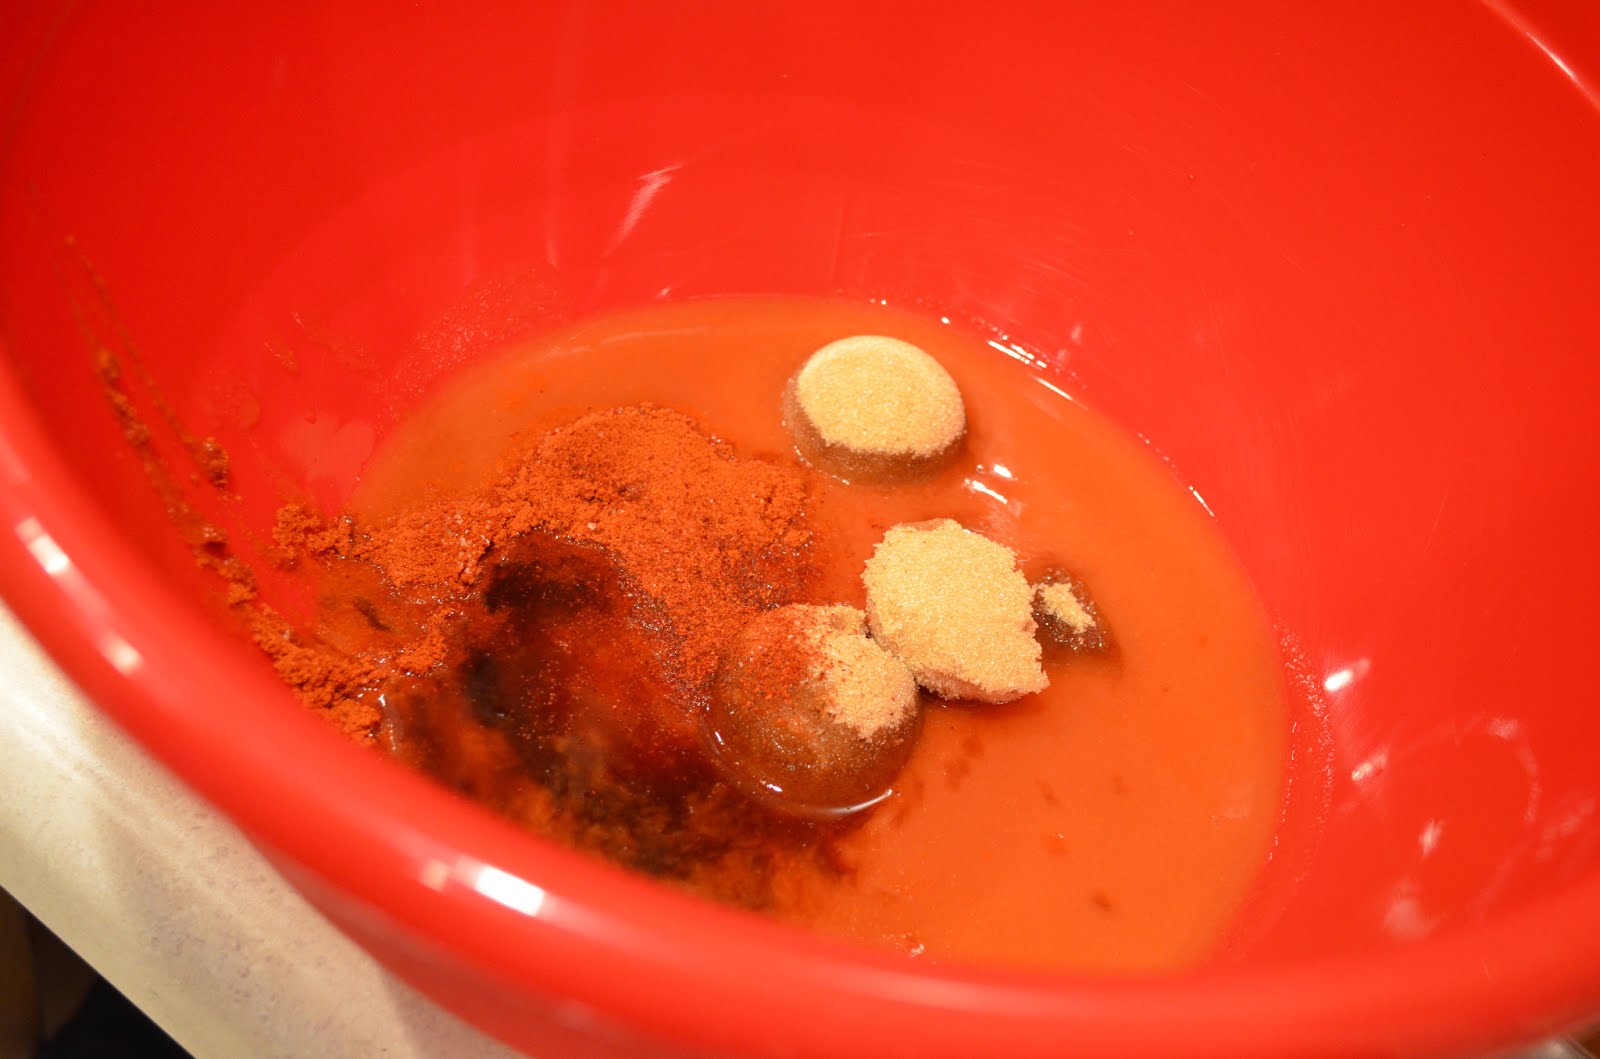
Now it’s time to make the sauce.  You can make this sauce ahead of time if you want, just make sure its room temperature or slightly warm or the butter in it will harden and it won’t coat the chicken well.

Combine melted butter, hot sauce, brown sugar, paprika, salt, vinegar and cayenne pepper in a large bowl and whisk until smooth.

Toss in chicken a few at a time, turning chicken over and spooning sauce on top to get it thoroughly coated.

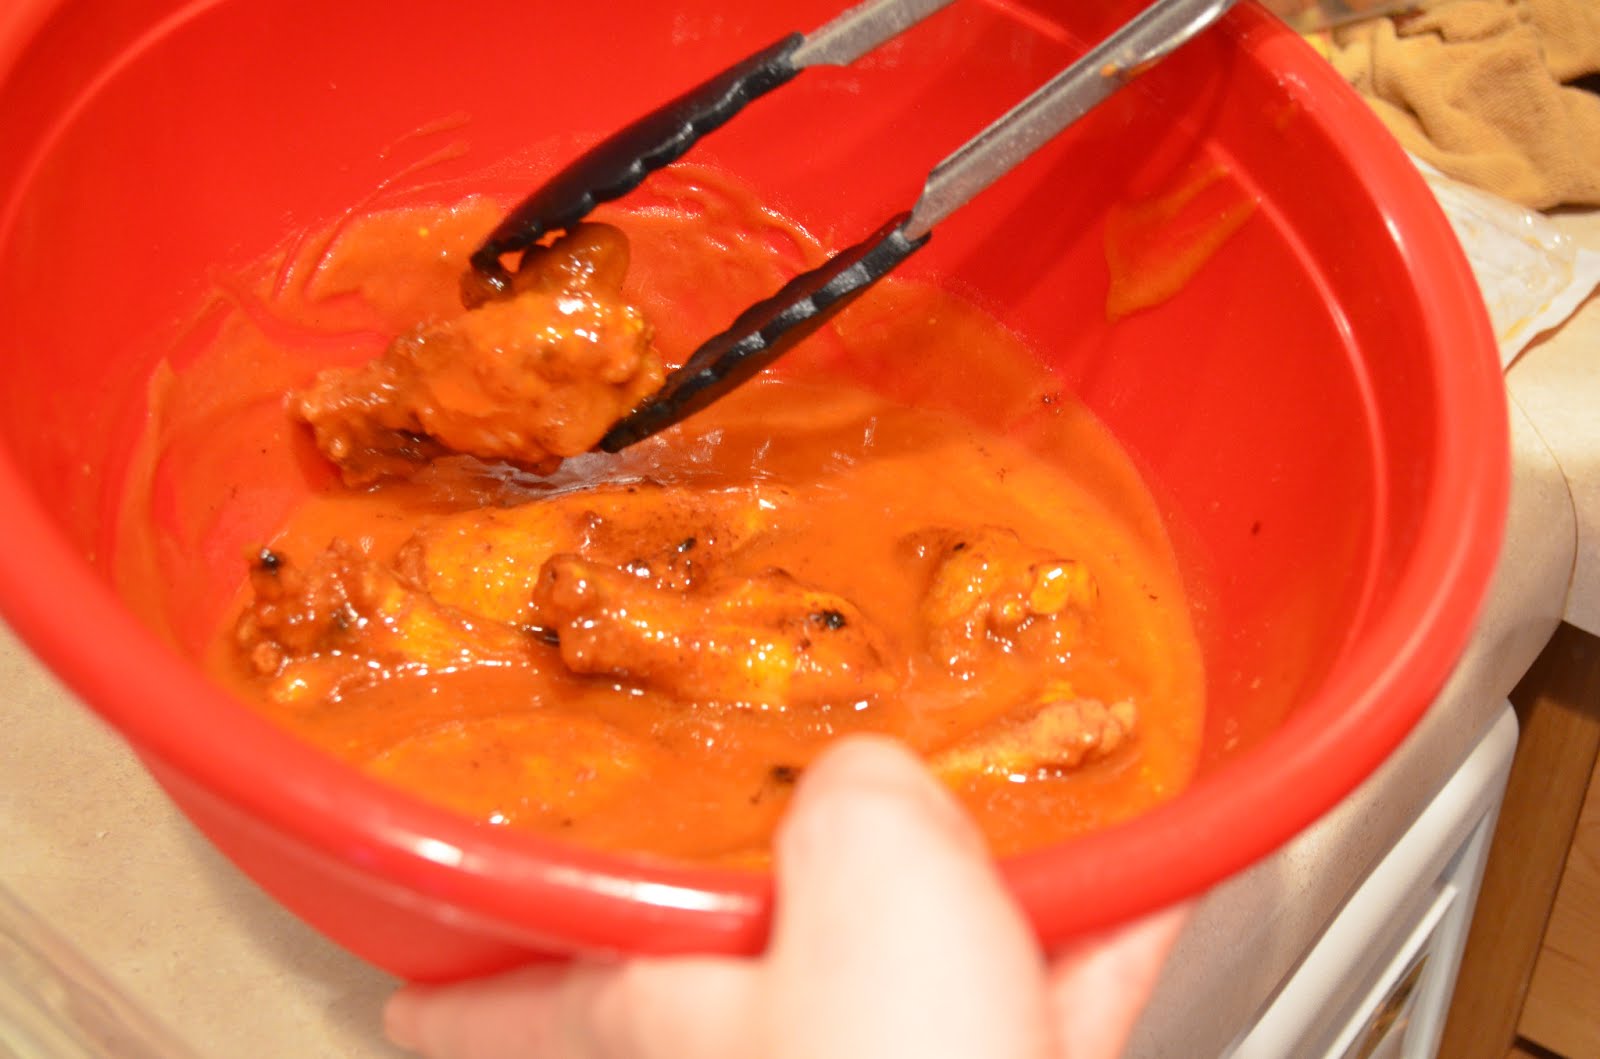
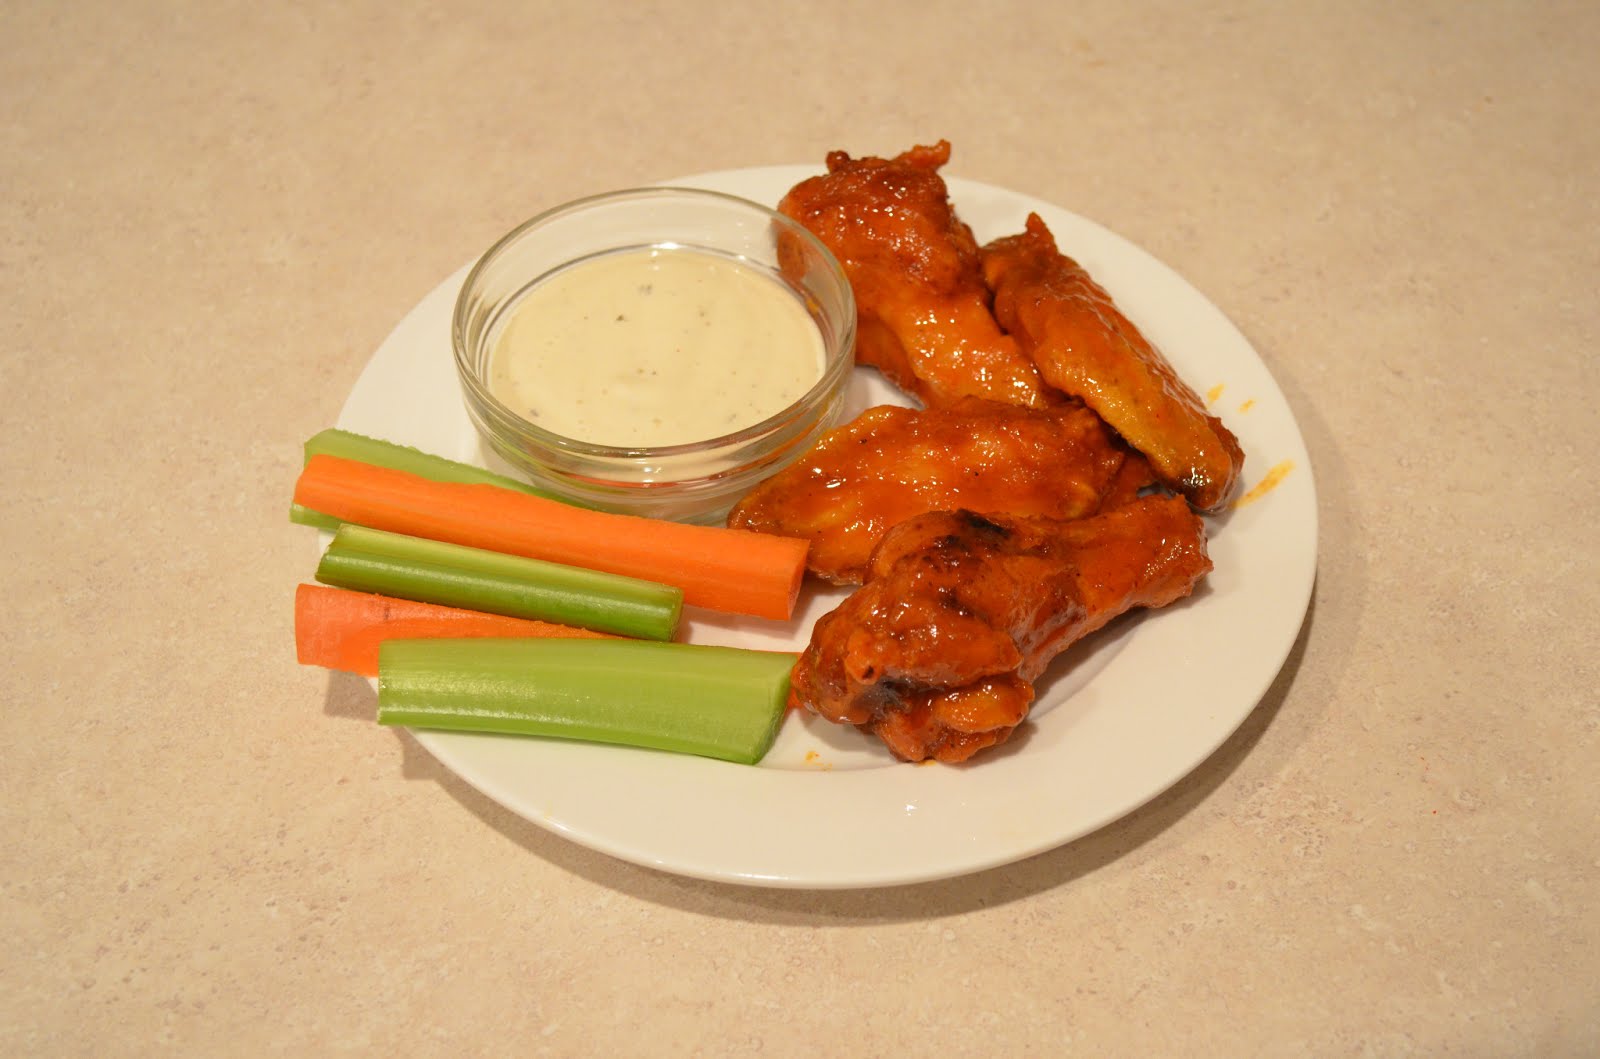
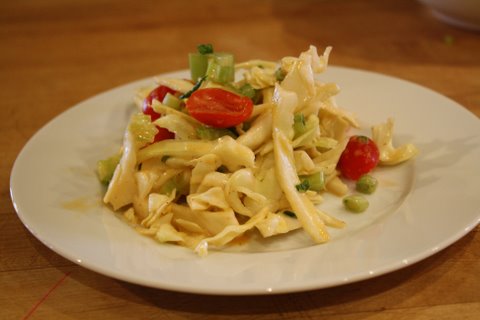
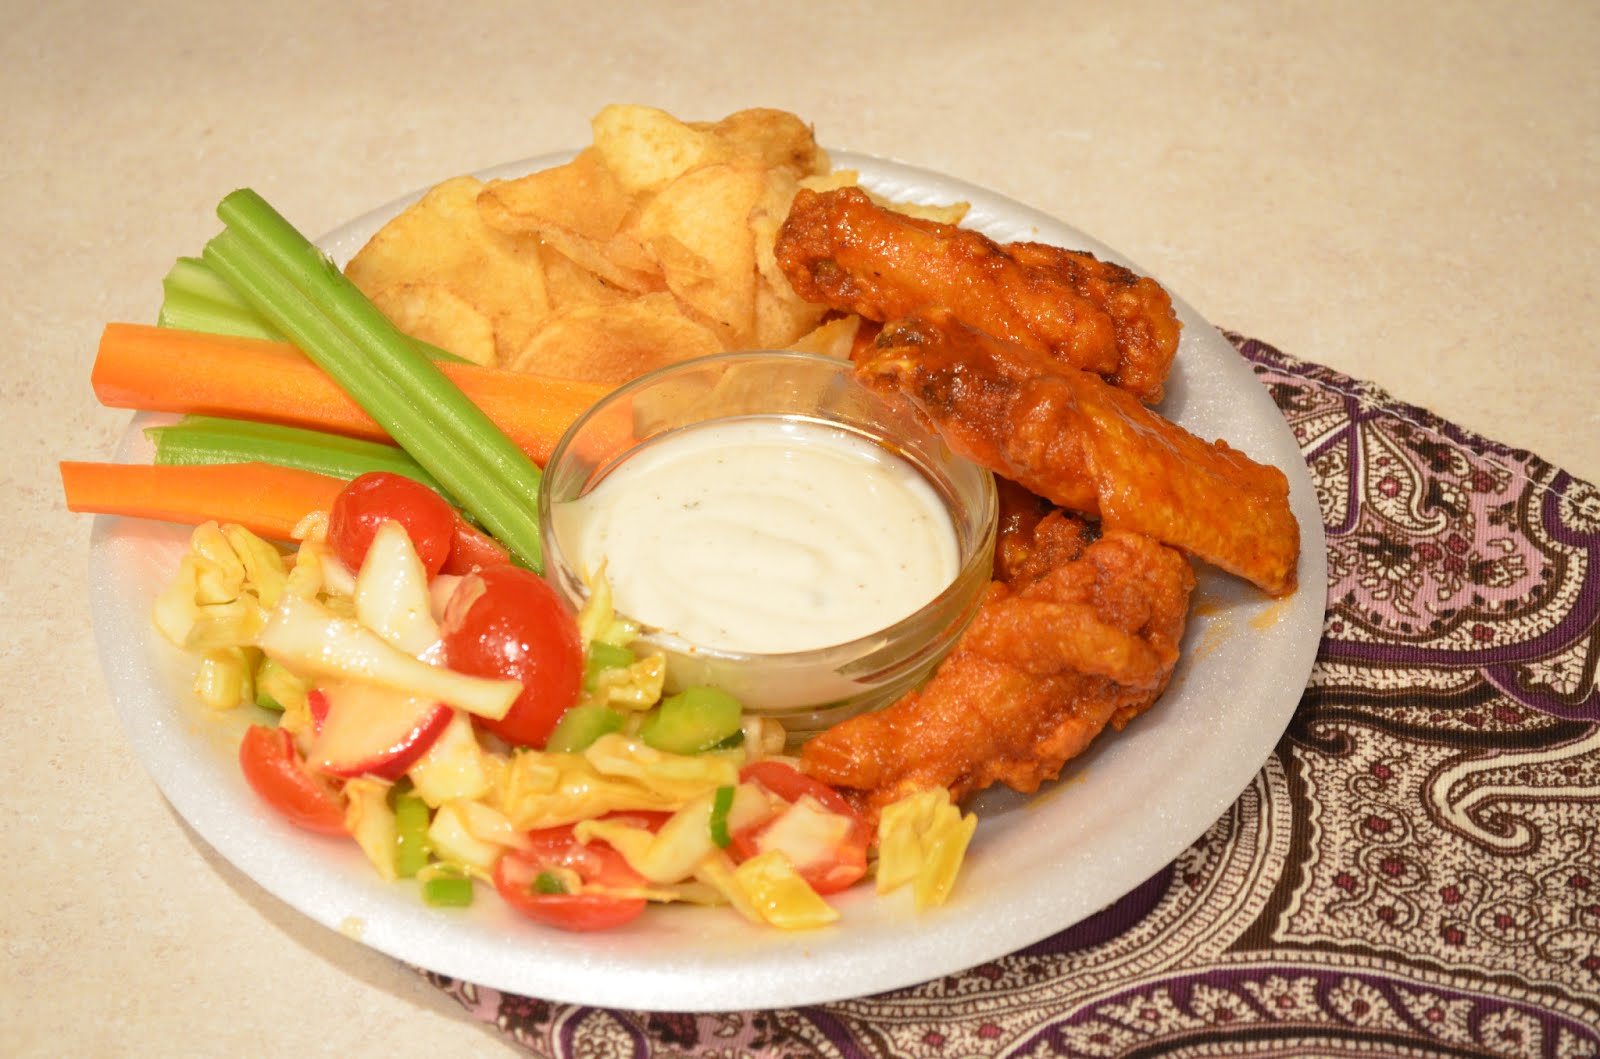
Place chicken on a tray or in a bowl, however you decide to serve it.  I served mine with a side of ranch dressing and my friend Sarah’s Spicy Cabbage Salad (pictured at top of page) and she has let me share that recipe with you!  The salad goes perfectly with the wings and is super simple to make.  You can make the salad ahead of time as well, just wait until you’re ready to eat to dress it, otherwise it will get soggy.  Spicy cabbage salad recipe below, enjoy!!!

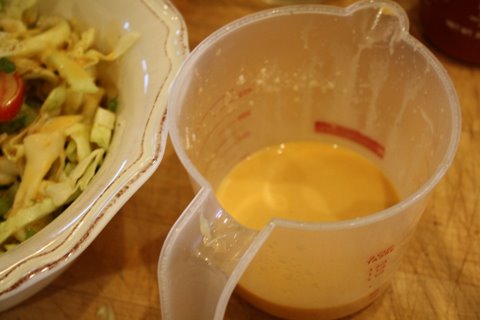
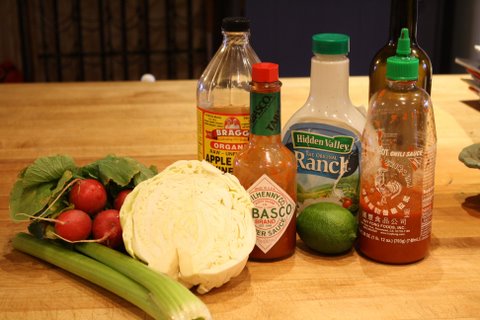
Spicy Cabbage Salad (by Sarah Goedhart)

Dressing:

Juice of 1 lime
2 dashes Tobasco
1TBSP Siracha sauce
2TBSP Ranch dressing
1/4 cup apple cider vinegar
1/3-1/2 cup Extra Virgin Olive Oil
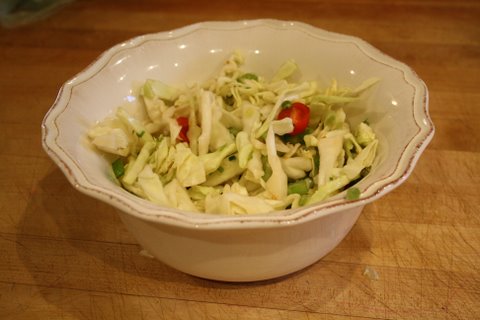
Salad:
1/2 head of Cabbage chopped
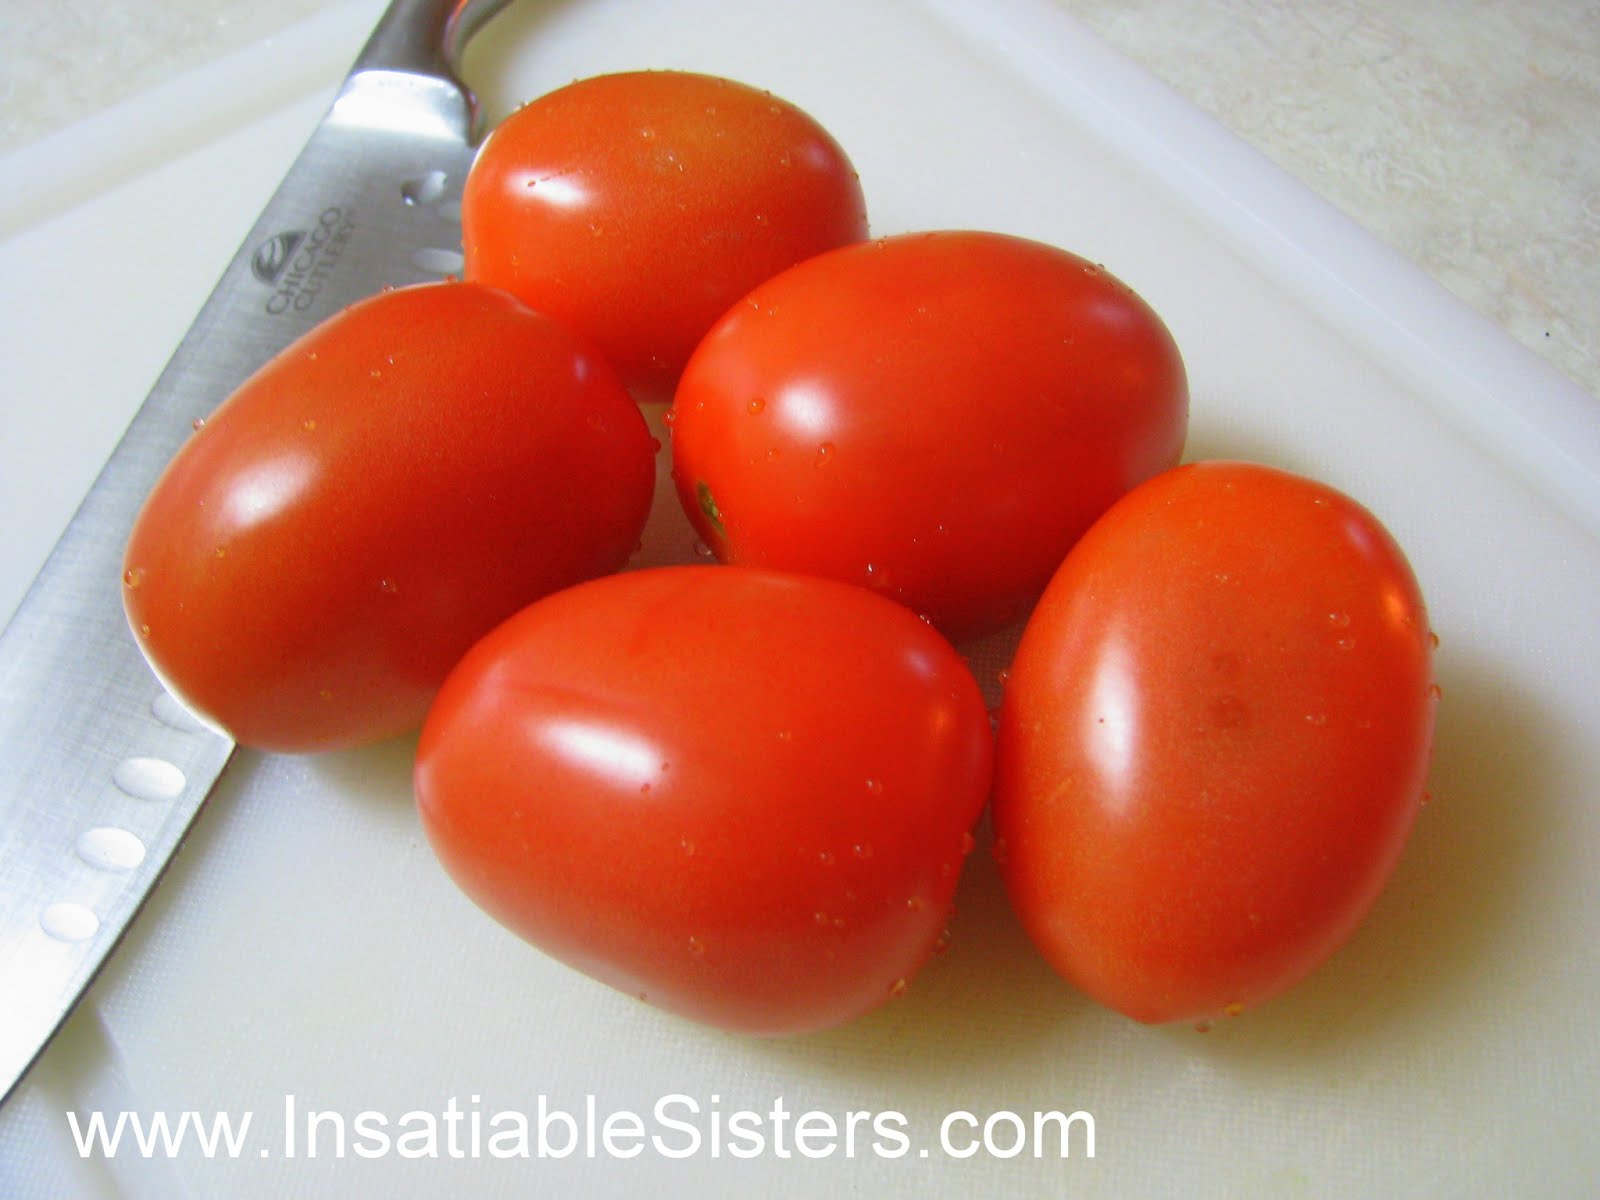
1 cup halved cherry or grape tomatoes
1/2 cup celery chopped
4 radishes halved and sliced
1 bunch of green onions (green and white parts) chopped

Toss the salad ingredients together.

Mix together the dressing ingredients and then blend with an immersion blender to emulsify.


Toss salad with dressing (I usually use about 1/2-3/4 the amount of dressing, just depends on your taste). Season with salt and pepper to taste. Salad can be made a few hours in advance and refrigerated. Best served as a side to Janna’s amazing hot wings 😉


Crunchy Honey Dijon Chicken

This chicken really needs no introduction. Its crunchy, tangy, and delicious, and takes less than 1/2 hour to prepare.

Ingredients:

2 lbs Boneless Skinless Chicken Breast
1 8.5oz bag Honey Dijon Kettle Chips
5 TBS Honey
3 TBS Dijon Mustard
2 TBS White vinegar

Directions:

Honey Dijon Sauce

Combine honey, dijon mustard, and vinegar in a bowl. Whisk until smooth.

**If you want extra sauce for dipping, make a double batch and reserve ½ for your meal.

Crunchy Honey Dijon Chicken:

Preheat oven to 350 degrees.

Cut your chicken so that all pieces are uniform in size. This recipe is tailored toward cutting the breast into three pieces: removing the thin end first, then splitting the thick part of the breast. You can do it however you like, but remember to adjust cooking time and coating amounts accordingly.

Throw chicken and honey dijon in a bowl, stir to coat each piece, and set aside. Remove about ½ of the kettle chips from the bag and set aside. You may not use these. Lay the ½ full bag out and use a rolling pin to break up the chips into crumbs.

Coat each piece of chicken thoroughly in chip crumbs. Spray a baking sheet with non-stick spray or olive oil and arrange the chicken evenly. Bake in a 350 degree oven for about 15 minutes, or until internal temperature reaches 165 degrees. If it needs a little extra browning, throw it under the broiler for a minute but watch it very carefully!

Drizzle with a little of the reserved honey mustard and enjoy!!
Final with Title

Soft Pretzels & Beer Cheese

Soft Pretzels

Janna:  I love soft pretzels.   I’m a sucker for the ones at the mall that are served with piping hot spicy “cheese!”  So when Joanie and I were discussing great Super Bowl food, naturally I thought of soft pretzels.  They are fairly easy to make, and go great with cheese or assorted mustards for dipping.  Plus you can make them the day before you need them.  In this case I am pairing pretzels with beer cheese!

Ingredients

  • 1 1/2 cups warm (110 to 115 degrees F) water
  • 1 tablespoon sugar
  • 1 1/2 teaspoons salt
  • 1 package active dry yeast (2 ½ tsp)
  • 4 ⅓ to 4 ½ cups all purpose flour
  • 2 ounces butter, melted
  • Vegetable oil, for pan
  • Large pot of water
  • 2/3 cup baking soda
  • 1 large egg yolk beaten with 1 tablespoon water
  • Pretzel salt or coarse kosher salt

Directions:

Combine the water, sugar and kosher salt in the bowl of a stand mixer and sprinkle the yeast on top. Allow to sit for a few minutes or until the mixture begins to get bubbly.  Add the flour and butter and, using the dough hook attachment, mix on low speed until well combined. Change to medium speed and knead until the dough is smooth, approximately 4 minutes.

Oil a large bowl with vegetable oil, put dough into oiled bowl and turn once, coating with oil.  Cover with plastic wrap and sit in a warm place for approximately 45 to 55 minutes or until the dough has doubled in size.

Preheat the oven to 450 degrees F.  Line two cookie sheets or large shallow pans, spray lightly with cooking spray or lightly coat with vegetable oil.  Set aside.

Bring the water and the baking soda to a rolling boil in an 8 quart sauce pan.

In the meantime, turn the dough out onto an oiled work surface (I spray my clean counter top with cooking spray) and divide into 8 equal pieces. Roll out each piece of dough into a 24-inch rope. Make a U-shape with the rope, holding the ends of the rope, cross them over each other until each end is back where it started and press onto the bottom of the U to form the shape of a pretzel. Place onto the cookie sheet pan.

Place the pretzels into the boiling water, 1 by 1, for about 30 seconds each. Remove them from the water using a large flat spatula.

Return to the sheet pan, brush the top of each pretzel with the beaten egg yolk and water mixture and sprinkle with the pretzel salt.

Bake until dark golden brown in color, approximately 11 to 13 minutes. Cool on a cooling rack for about 7 minutes before serving.  These are easily reheated in the oven or toaster oven for a few minutes.  I don’t recommend reheating them in the microwave because they will get soggy.  Below you will find the recipe for beer cheese.  Enjoy!!

Beer Cheese

So, I did a little research on beer cheese and discovered that it originated in Kentucky in the 1940’s.  It’s been a Kentucky staple ever since!  I’ve put my own spin on this beer cheese, adding cream cheese for a creamier texture.  Also, please note that this works best using a cheaper beer and it works best when beer is at room temperature and flat.  Mine was cold so I put it in a microwave safe cup and microwaved it till room temp and then stirred it a lot to flatten it.  I used Pabst in mine, you can use whatever you like!


(Note: picture shows a mini food processor, it ended up being too small so
I used a bowl with emursion blender instead).

Ingredients:

½ Lb sharp cheddar cheese (grated)
4 oz cream cheese (softened)
1-2 small garlic cloves (minced)
2 tsp Frank’s Red Hot Sauce (or any hot sauce)
¼ tsp worcestershire sauce
½ tsp cayenne pepper (add more to taste if you like it spicier)
½ tsp dry mustard
8 oz flat beer (room temperature)

Start by combining the cheddar and cream cheese in a large bowl.  use emulsifier, food processor or hand mixer to blend together until creamy 20-30 seconds.  Add all ingredients except beer and combine.  when well blended, slowly add beer and mix.  Add more hot sauce and cayenne pepper if you like it spicier.  Refrigerate for about an hour.  To heat, you can either microwave for about 20 seconds at a time until hot, or on low heat on stove top being careful not to scorch.

Mango Salsa

This sweet salsa is so simple to make, but the flavors are amazing!  The technique really needs no explanation, it’s just a lot of chopping, but I guarantee it will be worth the work!  Unlike many store-bought mango salsa’s, this one has zero tomato or peaches.  I like to let the mango be the star with just a few complimentary ingredients.  ~Joanie

Ingredients:

3 large mangos (or enough to yield about 4 cups, chopped)
⅓ cup red onion, finely chopped
1 cup fresh cilantro, chopped
Juice from 1 lime
Approx 1 tsp salt

Directions:

Peel and chop your mangoes into small cubes.

**If you’ve never worked with fresh mango before, keep in mind that mango has a flat core. If you look at the stem side, you will notice the fruit is oblong shaped. Slice along the length of the fruit on both sides of the stem, then repeat along the width. This will give you the largest pieces of flesh and will make chopping easier. There is still a lot of flesh left, so slice off as much as possible without getting into the fibrous core.


Finely chop red onion to yield about ⅓ cup. You may want to add more later, but start small. A little red onion goes a long way.

Wash and chop your cilantro. The easiest way I’ve found is to keep it in a bundle, like it comes from the grocer. Chop off most of the bare stem, then finely chop as you make your way up through the leaves. I like to use about 1 cup of cilantro. You can adjust according to your taste.  If you have way more cilantro than the recipe calls for, store the extra in a cup of water, like a bouquet of flowers.

Throw everything in a big bowl (if you haven’t already) and squeeze in the juice of one lime. Yes, you can use lime juice from a bottle, about 2 TBS.

Salt to taste, give a good stir, and devour!!

Although for our purposes today, we’re scooping this salsa with plain ol’ tortilla chips, there are so many more ways to enjoy it. It goes incredibly well with blackened halibut, or add it as a semi-sweet side for smoked ham. I’d love to hear what YOU paired it with!

Fabulous French Onion Soup

French onion soup is one of my favorite soups!  If I go to a restaurant and they have french onion soup, I always order it!  So today I’m going to make my version of this delicious soup, it does require a lot of hands on time, but I promise it’s worth it.  I asked my good friend Sarah Goedhart, who’s a winemaker at Hedge’s Family Estate, and owner of Goedhart Family Estate to write a little about a wine pairing for this dish.  I’m hoping Sarah will do this frequently, because I’m usually left scratching my head as to what wine to have with a certain dish and I usually end up texting Sarah from the wine section in the store anyway!!  To see Sarah’s wine pairing suggestions, scroll to the end of the soup recipe.  We hope you enjoy!  ~Janna

Ingredients:

Large stock pot

ladle or wooden spoon to stir

5-6 sweet onions (I use Vidalia or Mayan sweet)

4Tbs butter (not margarine)

1/4tsp salt

1/4tsp pepper

1 cup of red wine, I used Goedhart Syrah, a Cabernet or red blend would work as well.

3-4 sprigs of fresh thyme (dried will not do)

3 cups of vegetable broth, beef broth or I used vegetable “better than boullion”, follow directions on jar to make your stock.

About 1 ½ cups shredded Gruyère cheese (don’t use smoked Gruyère)

1 french baguette cut into 1-1 ½ inch rounds

Directions:

Slice onions into ¼ inch rings or smaller, put butter into stock pot and turn heat onto med.  When the butter is sizzling add the onion and salt and let sweat for a few minutes.  Stir occasionally so the onions don’t burn.  You will end up carmelizing the onions which will take close to an hour of cooking and stirring.  Hang in there!

This is what onions will look like after a few minutes of cooking and stirring.  Don’t worry if you get little scorched bits.

This is after about 40 minutes of cooking and stirring occasionally, were almost there!

When carmelized, the onions will have a deep caramel color and be very soft.  At this point add the 1 cup of wine, simmer until wine thickens (a few minutes).

Add the stock, thyme and pepper and let simmer a few minutes more.

Slice the baguette into about 1 ½ inch rounds, place on a baking sheet and turn oven on broil, broil for 2 minutes or until tops are golden, no need to turn.

Ladle soup into oven safe bowls, place one slice of baguette into each bowl on top of soup toasted side up.  Top baguette with about ¼ cup of grated Gruyère cheese.  Place bowls on a baking sheet and put under broiler for an additional 2-3 minutes or until cheese is bubbly and melted.

You have now made french onion soup!  This recipe will make about 4 large servings.  Below are Sarah’s suggestions on wine pairings.

Sarah:

French onion soup has a lot going on. You have the sweetness of the onions, the savory herbs, the rich broth and the nuttiness of the cheese. My preference a red wine that is on the rustic yet fruitier side such as an inexpensive Beaujolais-Village or a Cote du Rhone (usually both in the $11-16 range) and if you can’t find French, the CMS Red from Hedges Family Estate is a great stand-in! White wine can also pair well with this soup, I’d go with a dry white wine from Alsace, which would offer a refreshingly chilly cleanse after a bite of this luscious soup. Just be careful not to burn your mouth on this typically mouth-searing dish, otherwise it won’t matter what you are drinking!

Zuppa Toscana

This flavorful soup is incredibly easy and delicious, and most of the ingredients are probably already in your pantry. I love the peppery flavor of the kale, and I find that the salt in the Italian sausage is enough to flavor the whole pot.

Serves about 6.

Ingredients:

1 lb Italian Sausage (I like the hot stuff)

1 Large Onion, chopped

3 Fresh Garlic Cloves, minced

3-5 Medium Potatoes

32oz Chicken Broth

4 Large Kale Leaves

1 Cup Heavy Cream (optional)

Directions:

Brown Italian sausage on medium heat in a separate skillet.  Strain the grease out using a mesh strainer or slotted spoon, but DO NOT RINSE!

Wash and peel potatoes.  Cut in-half, then slice into 1/4in. pieces.

In a large soup pot, combine chicken broth, minced garlic, chopped onion, potatoes and cooked sausage.  Allow to simmer about 15-20 minutes or until potatoes are tender.

While soup is simmering, wash kale thoroughly and remove the spines. Tear into “spoon-sized” pieces.  When potatoes are cooked to your desired tenderness, turn off the heat and add the kale.  Make sure the kale is submerged in the hot broth.  Cover and let sit for about 5 minutes, or until the kale turns a bright green color.

Add cream, if desired (I don’t) and serve immediately.  It’s delicious with simple bread and butter on the side.  Enjoy!  ~Joanie

//

Tomato Basil Bruschetta

Joanie:  This recipe is definitely one of my most requested!  I don’t know if this qualifies as a true bruschetta since there is no olive oil in the recipe, but it’s still delicious!  You could substitute olive oil in place of the butter, but I have yet to try that.  This would actually be a perfect recipe to use Janna’s Homemade Butter.

***********************

Ingredients:

1 narrow baguette, French or the like

2 cups fresh diced tomatoes

1/3 cup minced red onion

Fresh basil, approx 20 large leaves (dried will NOT do!)

1/2 cup butter

Fresh garlic cloves (I use 4 or 5 large cloves, I like a strong garlic flavor)

1 cup shredded Parmesan cheese

***********************

Start with red, ripe tomatoes.  Finely dice yield approximately 2 cups.  Set aside in a bowl.

Mince red onion, add to tomatoes.

Chiffonade basil leaves by stacking them, rolling them lengthwise, and slicing them into thin ribbons.

Add basil to tomato mixture.  Salt to taste.  Set aside.

Heat oven to broil.

Slice baguette on the diagonal to desired thickness.  I like mine about 3/4 inch.   Arrange on a baking sheet and gently toast them on broil in your oven.  WATCH THEM CAREFULLY so they don’t burn.  You want these to be slightly golden and crusty.  They will go back into the oven for final step so don’t let them get too dark.  Remove when toasted.

In microwave safe bowl, add 1/2 cup of butter and minced garlic.  Microwave until melted and creamy.  Give butter mixture a stir, then add generously to each slice of toasted baguette.  I like to make sure the garlic pieces are evenly distributed on the bread.  Don’t go cheap on the butter!  This adds SO MUCH flavor to the recipe.  Next, use small slotted spoon to add tomato mixture to each slice of bread.  Top with shredded Parmesan cheese.

Place back in the oven and broil.  Again, WATCH CAREFULLY!  They are ready when cheese is melted and bruschetta is hot.

Most of this batch was eaten within minutes, so this is all I could get for a picture!

//

Homemade Butter Is Better!

So here it is, our first blog post!  This has been a long time coming, as we have been talking about putting together a cookbook for years.  However, it was Janna who said “I want to start a food blog!”  That idea has now become a reality and we are so excited to get started!

__________________________________________________________________________________________


Janna here!  I’ve been thinking hard about what recipe I want to share first.   I want it simple, yet intriguing…maybe a little inspiring.  So I’ve chosen BUTTER.  Yes, butter!  You will not believe how easy it is to make your own butter.

I had just started working in the kitchen at Hedges Family Estates Winery, with Deborah Culverhouse, the Liason.  Deb (as we all call her) told me we were going to make butter and I thought, seriously?  Where’s the wooden butter churner and the rickety front porch?

Deb pulled out her food processor and some heavy cream and it literally took under ten minutes to make delicious, creamy, sweet butter!  This was only the first of many fantastic things I would learn from Deb.

AMAZING!!!

To make your own butter, you will need:

8oz heavy cream (unpasturized or pasturized but NOT ultra pasturized, I use pasturized, organic, grass fed)

Food processor, stand mixer or hand mixer with a paddle attachment (a whisk attachment will NOT work)

Rubber spatula

Cheese cloth or mesh colander

Very cold water

Fine sea salt

Put cream into mixing bowl or food processor and start on med/high.  Cream will start to thicken and will resemble whipped cream in about 4 minutes.  Continue mixing.

The cream will “break” and the butter will start to separate from the buttermilk at about 6 minutes.  The butter will look dry and grainy.  The buttermilk will slosh out at this point so, use the splash guard attachment on your mixer if you have one.

*Note:  The “ghosty” look of the pictures is just the paddle spinning.  Don’t turn your mixer off during the churning process, even for pictures.  =)

Drain the buttermilk out of the bowl (you can reserve it to use in another recipe).  Press the butter up against the side of the bowl with a rubber spatula, squeezing excess buttermilk out.  Drain off buttermilk again.

Scrape butter into bottom of bowl and add about ½ cup of the cold water.  Turn mixer on low for about 10 seconds.  Press butter against the bowl again and drain water.  Do this 2 or 3 times.

As a last step, to make sure all the buttermilk and water is out, put the butter into a mesh strainer and press with rubber spatula over the sink or a bowl.  Turn butter and press several times.  It may be useful to pat lightly with a paper towel to get all the moisture off the surface of the butter.

*If you don’t have a mesh strainer, you can do what Deborah does and wrap the butter in a cheesecloth and press excess moisture out.

At this point you have delicious homemade butter!  Aren’t you proud of yourself?  It was easier than you thought huh?  I don’t make this every time I want butter because it is a little more spendy than buying it already made, but for some recipes (like homemade bread), no other will do than freshly made butter!  Your friends and family will be completely impressed and will think you were hunkered over the churn all day!!

If you want your butter salted, use a fine grain sea salt and stir it into the butter.  a little goes a long way so start with a very small amount (a pinch) and add to taste.

Enjoy!!

*******************************************************************************************************

Update:  1/15/13

Here’s a couple snapshots.  Top: Janna’s butter next to a store-bought stick of butter.  Bottom:  Joanie’s first attempt at butter.  Turned out lighter in color, but still delicious!

JannasButterJoaniesButter

//