Turkey Shepherd’s Pie

Close up.jpg

Today is St. Patrick’s Day, and what better way to celebrate this Irish holiday than with some traditional Irish fare.  And you can’t get any more “traditional Irish” than Shepherd’s Pie.  Originally called “Cottage Pie” this hearty dish was a means to use up roasted meat of any kind.  The Shepherd part didn’t come into play until 1877, and is generally used when the meat is lamb (mutton).

However, I am not a fan of mutton, plus it’s super expensive, so I opted for a more economical, typically American choice: ground turkey.  Affordable, lean, and easy to find in any grocery store, ground turkey can be a great substitute in many recipes that call for ground lamb, wild game, or beef.  The mild flavor is like a blank canvas with so many possibilities to please your palate.  If you prefer to go the traditional route, you can use mutton or beef, or even a mixture of the two, in place of the turkey.

There are quite a few steps that take you back and forth so don’t forget to read the recipe through first!  There’s a lot going on, but all the steps are oh, so worth it!  I hope you enjoy my spin on this dish.  Enjoy!  ~Joanie

Ingredients:

Mashed Potatoes:
6-8 Medium potatoes, peeled
3 Tbs butter
1 tsp garlic powder (optional)
1/2 cup full fat sour cream
Salt to taste

Pie Filling:
1 lb Ground Turkey
1 1/2 Cups fresh or frozen corn
5 Tbs butter, divided
1 Cup onion, diced
3 Celery stalks, chopped
3 Large carrots, peeled and chopped
2 Tbs all purpose flour
2 Cups turkey or vegetable broth
4-6 sprigs of fresh rosemary
1 tsp ground thyme
2 Tbs Worcestershire sauce
1 cup frozen English peas
Salt & fresh ground pepper to taste
Ingredients.jpg

Directions:

Peel and quarter potatoes.  Fill a large stock pot with water, add the potatoes and bring to a boil over medium-high heat.  Once potatoes are tender, drain and set aside.

In a deep skillet or sauce pan, brown meat.  Remove the cooked meat from the pan and set aside.  Keep the pan and drippings for a later step.  (If you’re using ground beef or lamb, you may want to drain it, as these meats are much fattier than turkey.)

While the meat is browning, you should have time to caramelize the corn.  Add 1 tablespoon of the butter and the corn to a skillet and cook on medium-high heat until you see it start to turn dark golden brown, about 10-15 minutes.  Caramelizing the corn brings out the sugar and adds a really yummy layer of flavor.  Adjust the heat accordingly if it starts to scorch, you don’t want burned corn ruining your yummy dinner!  Caramelized Corn.jpg

In the pan you browned the turkey in, add 2 Tbs of the butter and let it sizzle on med-high heat for about 1 minute.  Don’t let it burn.  Add the onion and cook for about 2 minutes.  Add the carrots and celery all at once, reduce heat to medium and let it all cook together for about 5 minutes.Trinity.jpg

Make a well in the middle of the veggie pan and add 2 tablespoon of butter and 2 tablespoon of flour and whisk together to form a roux.  When the roux is golden in color, slowly begin to add about 1/2 the turkey stock, whisking as you go.  Roux.jpg

Once the mixture begins to thicken, add the rest of the stock, the fresh rosemary sprigs (whole, you’ll fish them out later), the thyme, Worcestershire sauce, English peas and salt & pepper.  Let this all cook together on medium heat for about 10 minutes.Rosemary.jpg

Now would be a good time to pre-heat your oven to 400 degrees.

Back to the potatoes: Add the butter, garlic powder, sour cream and salt to the potatoes and whip with a hand mixer on medium speed until just creamy.  Fill your piping bag/tool using a large star tip, if using, and set aside…you’re almost there.

Remove the spent rosemary sprigs from the vegetable filling.  Make sure you get all the woody stems, those are no fun to chomp down on!  Add the browned turkey and the caramelized corn to the vegetable filling.  Filling.jpg

Transfer mixture to an oven safe baking dish, making sure to leave about an inch of clearance from the top.  I used a 2 quart round dish.  This would also be really cute in individual-sized cast iron pans, but I don’t have those.  Yet.
Oven Safe.jpg

Pipe the potatoes onto the top of the filling.  If you don’t have a piping bag, smooth individual spoonfuls of potatoes onto the filling mixture, starting around the edges and working your way to the center.  Whether you’re using the piping or spooning method, make sure the potatoes create a good seal over the filling.
Pipe Potatoes.jpg

Potatoes.jpg

Into your 400 degree oven it goes, MAKE SURE to put a cookie sheet or piece of foil under it because it will most likely drip…mine does every time.  =)
In the Oven.jpg

Bake for about 20 minutes or until potatoes are golden brown.  If it’s bubbling around the edges but the potatoes aren’t the color you want, you can broil it for 1-2 minutes but watch it very, very, very carefully!

The insides will be scorching hot, so let it cool and set up for at least 5 minutes before serving.  Dish up and enjoy!  This one makes great leftovers too!
Finish 2 with Title.jpg

Taco Soup

Tacos are one of my favorite foods and I usually make them for dinner at least once a week in one combination or another.  Tacos also make great leftovers, check out Joanie’s Southwest Enchilada recipe for a great use of leftover taco fixins!!  This week it was all about taco soup, hot and steamy, and especially satisfying with loads of cheese and cilantro to garnish. I love it SPICY (surprise, surprise), and I mean make-your-eyes-water-and-your-mouth-drool kind of spicy.  Luckily, my husband also loves a little heat.  We keep a giant jar of chili paste in the fridge and use it on almost everything.  Of course, you can make this recipe as mild or as spicy as you wish.  To make it extra fiery, try adding diced fresh jalapenos, powdered cayenne pepper or just dump in some tapatio!  To tone down the heat a bit just use plain diced tomatoes instead of the ones with green chilies and don’t use tapatio or hot sauce at the end.

I’ve been on a couponing kick lately and have gotten some great deals on canned beans, taco seasoning, canned diced tomatoes and even tortilla chips!  So I put it all together in a big pot (or crockpot) and voila: lovely, spicy, mouth watering taco soup!  This soup is perfect paired with a cold, wintery evening, and like most soups even better for lunch the next day.

Makes about 6, 1 cup servings.

Taco Soup Ingredients

Ingredients:

2 Tbs butter
1/2 sweet onion, finely diced
6-8 chicken tenderloins or about 3 breasts, cut into bite sized chunks
0ne packet of taco seasoning
A few dashes of fresh ground black pepper
2 cans chicken broth
1 can diced tomatoes with green chilies, with juice
1 can black beans, drained but not rinsed

Garnish:
Tortilla chips, roughly crumbled
Shredded cheddar, Colby jack or Mexican blend cheese
Chopped fresh cilantro
Tapatio or other hot sauce, if desired
Sour cream

Method:

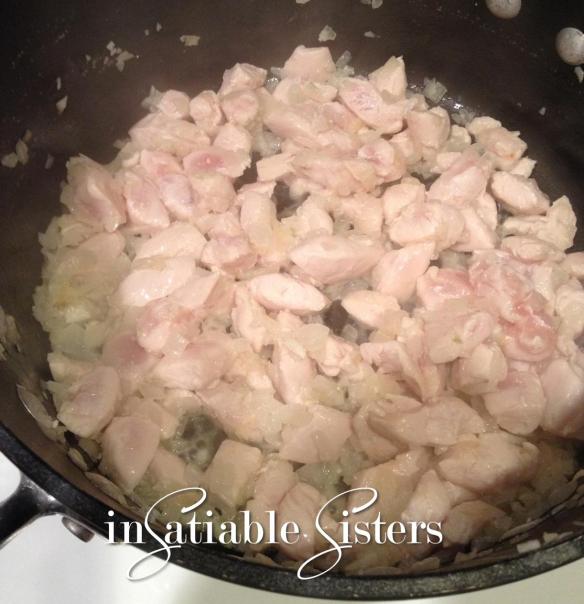
In a large soup pot cook chicken and onion in the 2 Tbs butter until chicken is cooked through and onion softens.Taco soup Meat

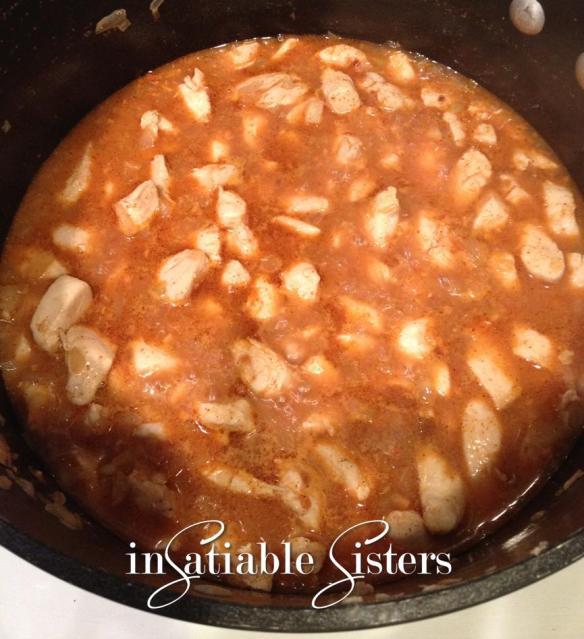
Add a few dashes of freshly ground black pepper, about 1/2 a can of the chicken broth, and the taco seasoning.  Stir around and scrape the bottom of the pan to unstick all those yummy chicken bits.Taco Soup Simmer

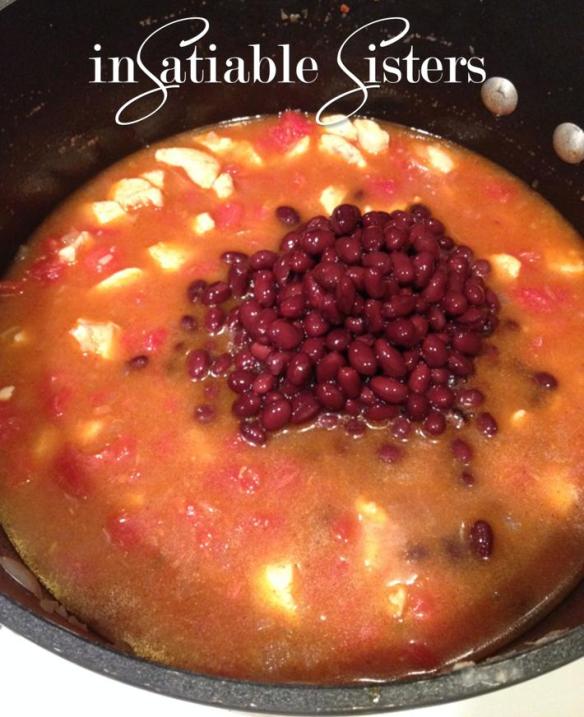
Let simmer for a couple minutes, stirring occasionally and adding a little more broth if it gets too dry and thick.  Add the rest of the chicken broth, the diced tomatoes with chilies and the black beans and let soup come back to a simmer.  Salt as needed.  🙂Taco Soup Beans

Taco Soup End

Ladle the soup into bowls and garnish with shredded cheese, crumbled tortilla chips, sour cream and cilantro!  I put a few dashes of hot sauce in it as well.  Enjoy!Taco Soup Final w Title

Wheat n Honey Bread

There’s something satisfying about making food from scratch using delicious, wholesome ingredients.  I love knowing exactly what is in the foods that my family and I are eating, and I think we all appreciate it more when there’s a little elbow grease involved in making it.  My sister in Alaska frequently grinds her own wheat for bread (she also has six kids and a full time job).  I would LOVE to do this, but in reality I just don’t have the kitchen space for a wheat grinder right now.  Hopefully in a few months I will have that needed space, and someday I hope to grow my own wheat too.  For now, I buy my flour.

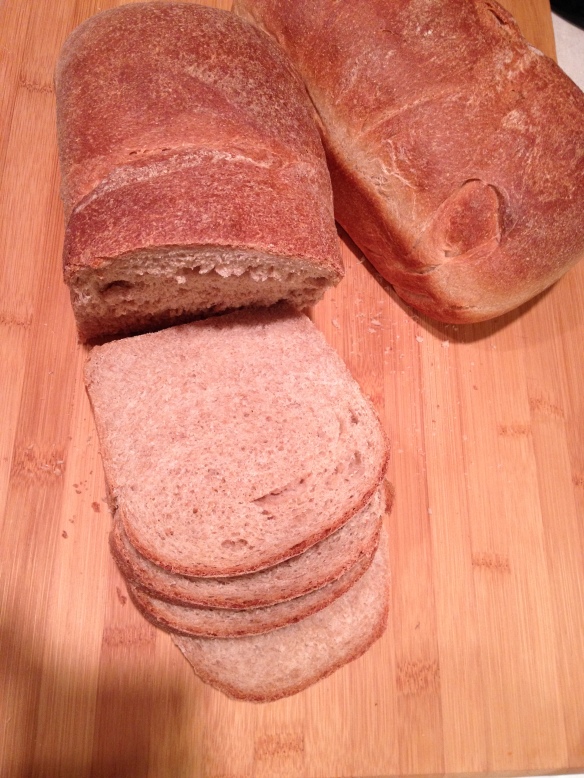
This recipe is the best I’ve found to make yummy wheat bread that is perfect for slicing for sandwiches or toast.  I used it for French toast this morning and it was delicious as well!  As you can see, this bread is pretty versatile and you won’t want store-bought bread after you make this.  This bread was adapted from a cookbook called Baking With Julia (Childs).  I’ve changed a few things and added a couple more to fit my tastes.  The wheat gluten I’ve added is essential for getting a good rise and a light, fluffy loaf.  You can find wheat gluten in your local super market.  Also, don’t skimp on the kneading, you don’t want to end up with a brick!
IMG_4726
Ingredients:

2 1/4 cups of warm water (105-115 degrees Fahrenheit)
1 Tbs active dry yeast
1/3 cup honey
2 cups (plus 1/4 cup for kneading) all purpose flour
3 cups whole wheat flour
1 1/4 Tbs salt
1/4 cup wheat gluten
1 Tbs vegetable or canola oil, plus more for oiling the bowl

Directions:
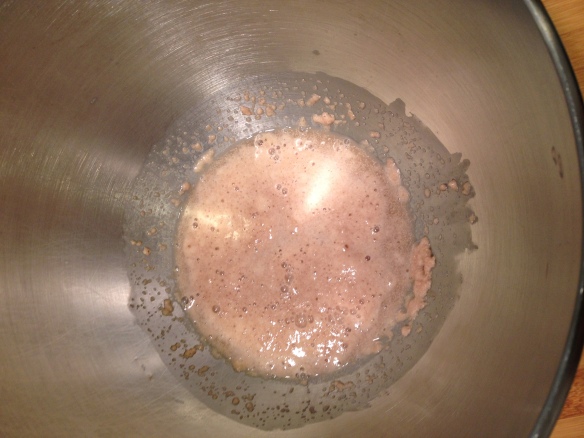
Pour 1/2 cup of the warm water into the bowl of a stand mixer.  Add the yeast and honey and whisk slightly to blend.  Allow the mixture to rest for approximately 5 minutes until bubbly.IMG_4707

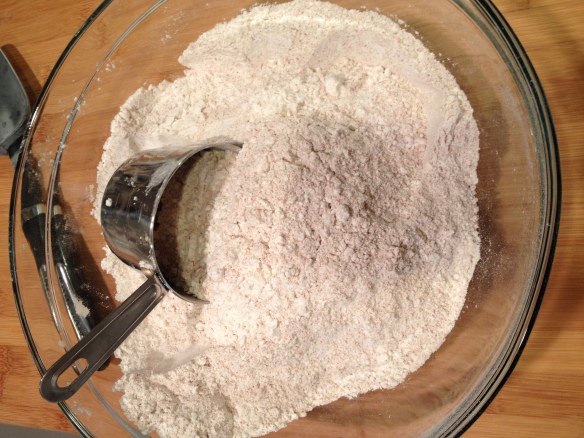
In a separate bowl, combine 2 cups of the all purpose flour and 3 cups of the whole wheat flour, gluten and salt.  Stir to combine and set aside.
IMG_4706

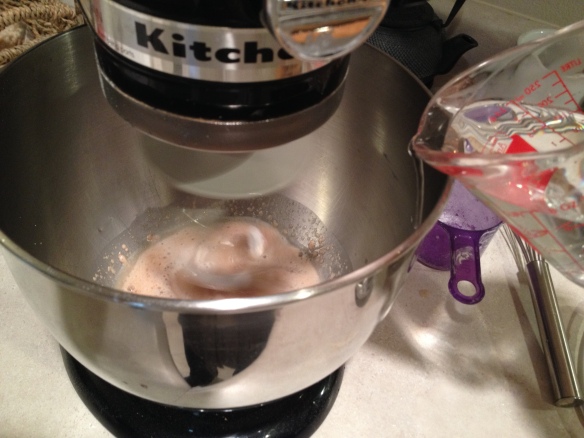
Using your mixer on low speed with a dough hook attached, add the rest of the warm water to the yeast mixture, also add the oil and about half of the flour mixture one cup at a time, scraping sides as needed.IMG_4708

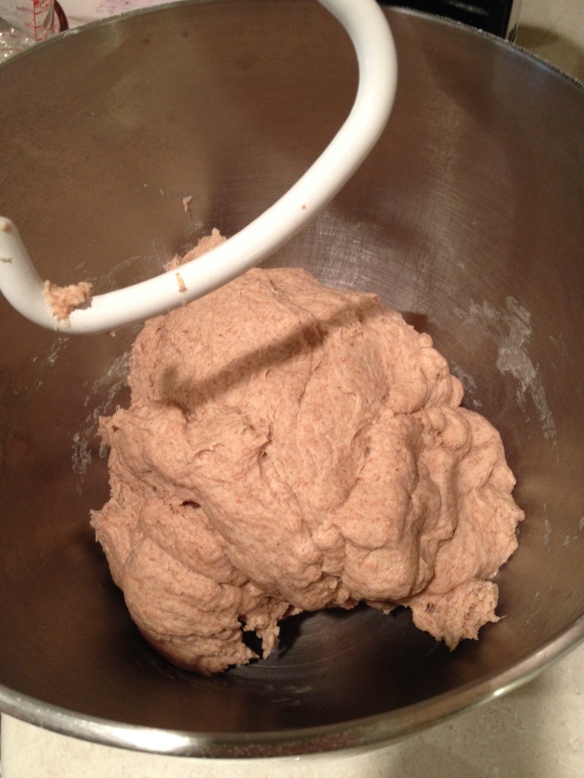
On low speed, add the rest of the flour.  Increase the mixer speed to medium, stopping to scrape down the bowl and hook as needed, until the dough comes together.
IMG_4711

If dough is too dry add a teaspoon of water, if too sticky, add a tablespoon of a/p flour. Continue to knead at medium speed for about five minutes, until the dough is smooth and elastic.  You can skip kneading by hand in the next step if you increase kneading time in the mixer by five minutes.  I don’t recommend this though.  Your mixer motor could get really hot and possibly burn out.  Kneading dough by hand is more romantic anyway and it’ll make you appreciate the bread more.  Also, you’ll get killer arms and shoulders if you do this on a regular basis!
IMG_4713

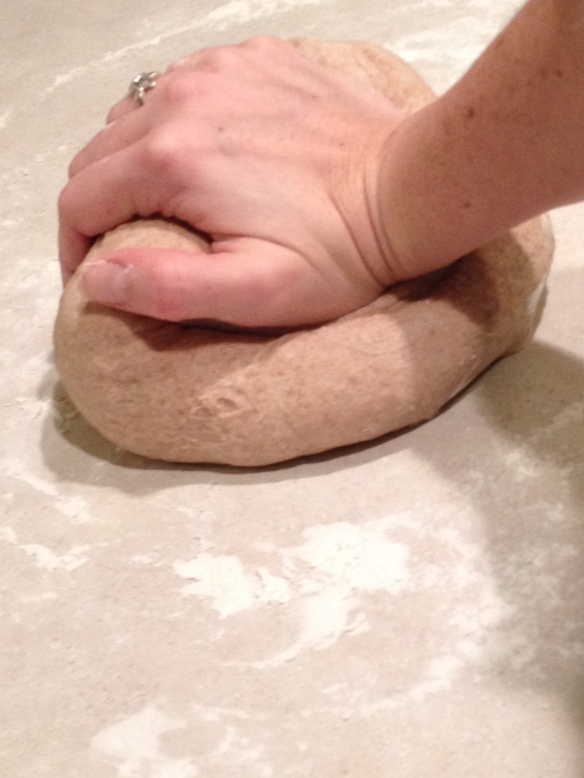
Flour a clean counter top and put dough out.  Knead the dough by hand for 8 to 10 minutes.   This dough will be slightly sticky(tacky) even after it’s kneaded sufficiently.  If the dough is really sticky (sticks to your palms while kneading) add flour a sprinkle at a time until it barely sticks to your palm when kneading.

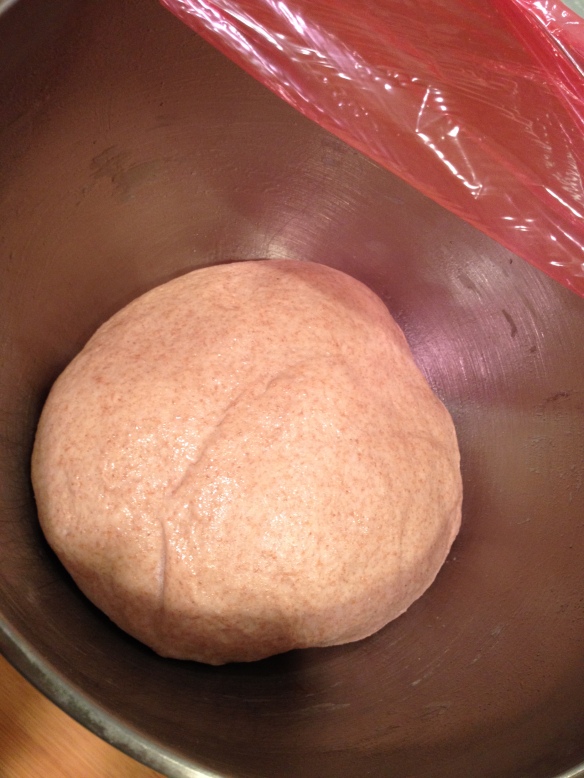
Once you are done kneading, shape the dough into a ball and place it into a large oiled bowl (big enough to hold at least double the volume of your dough).  Turn dough once to coat both sides.  Cover the bowl tightly with plastic wrap and let the dough rest at room temperature until it doubles in volume, about 1 1/2 hours.
IMG_4715

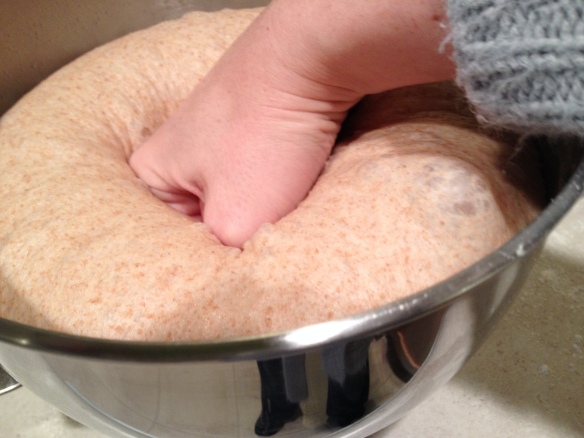
Oil or butter the bottom and sides of two 9×5 (I recommend glass) loaf pans and set them aside.  Punch down the dough and turn it out on to a lightly floured surface.
IMG_4717

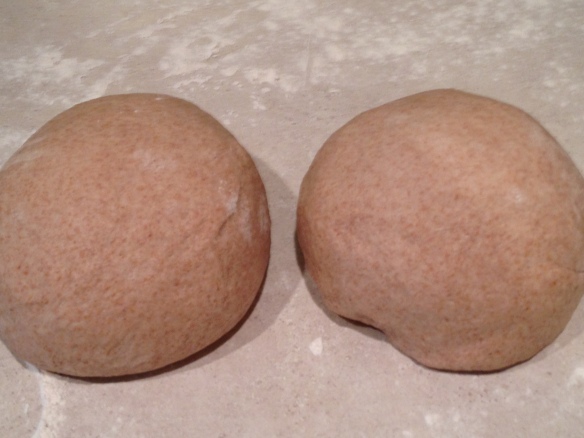
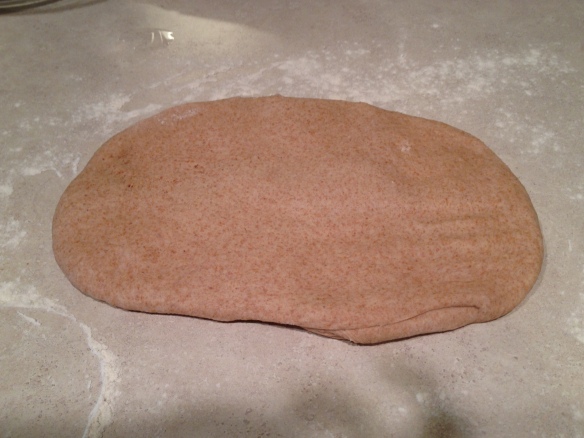
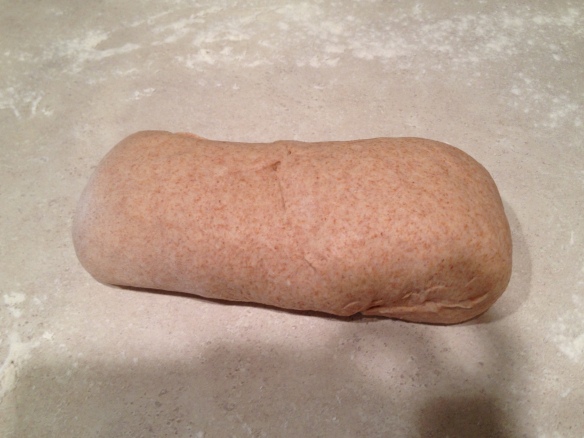
Divide the dough in half.  Using your hands or a rolling pin, roll the dough into a 9×12 rectangle.  The dimensions don’t have to be perfect, but it should be uniform.  with your dough laying vertically start rolling the dough (snuggly, but not tight) roll it all the way to the other end and pinch to seal the edges.  Gently tuck the ends under to make it look nice and set the bread in the loaf pan.
IMG_4718

IMG_4719

Turn the dough so that seem side is down and tuck in the ends just enough so the dough will fit nicely in the pans.
IMG_4722

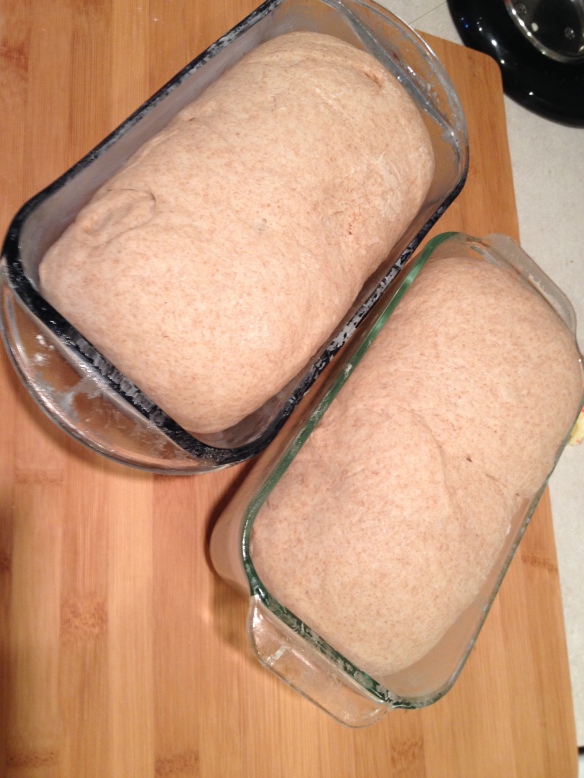
Drop the dough in the pans and cover loosely with oiled plastic wrap (the easiest way to oil plastic wrap is to spread it on a flat surface and spray with cooking spray, then pick it up two edges and drape over the dough).  Allow the dough to rise again until about double in the pans.  This will take about another hour.
IMG_4723

IMG_4725
In the meantime, turn oven on 375 degrees Fahrenheit.

The breads is risen sufficiently when it is about double and if you poke a finger into it, the impression your finger makes stays in the bread.  Bake in the oven for about 25 minutes.  The internal temperature should be 200 degrees Fahrenheit when bread is done.
IMG_4698

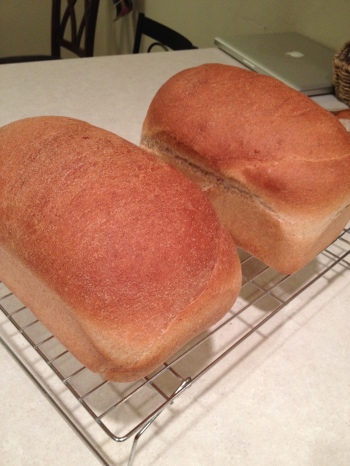
Turn bread out onto cooling racks right away and let them cool to almost room temperature before slicing.  Keep bread sealed in a plastic bread bag, it should last for 2-3 days before getting dried out.  You can also freeze it.

Southwest Enchiladas

Taco salad is a staple in my household.  We probably have it 3-4 times a month.  I cook and season the meat and make a bean salad, then it’s a free-for-all where we each get to build our own salad.  The only problem is we ALWAYS have leftover meat and beans and, even though we love it, we get kind of bored after the 2nd day of taco salad leftovers.  That in mind, I decided to work on a dish that would use all those leftovers and turn it into something new.  SUCCESS!  Those same savory southwestern spices carry over beautifully into this dish, but in the form of a hot, gooey, delicious enchilada.  And the best part is, they are so easy, even if you don’t have a bunch of leftovers to use up.  Prep takes about 20 minutes and baking is minimal since the filling is already hot.  We still love Taco Salad, but now we also look forward to “leftover” enchiladas.

This full recipe makes a about 18 enchiladas.

Ingredients:
1 lb ground beef or turkey, or pre-cooked shredded chicken*
2 Tbs taco season
1 can black beans, drained and rinsed
1 cup frozen corn**
3 green onions, chopped
¼ cup fresh diced tomato
½ cup fresh cilantro
1 Tbs lime juice
1 Tbs cumin
1 tsp garlic powder
1 tsp salt
3 +/- Tbs coconut or canola oil
18 +/- corn enchiladas
2 10 oz cans red enchilada sauce
1 1/2 cups shredded mexican blend cheese

*If you want to make this a vegetarian dish, simply replace the meat with an additional can of beans or about 1 1/2 cups cooked quinoa.

**You can also use grilled sweet corn when it’s in season, which is what I prefer.  The grill adds so much flavor!

Directions:

Preheat oven to 375 degrees Fahrenheit.

If using ground beef or turkey, brown meat in a skillet.

Add taco season and 1/4 cup water to meat and allow to simmer about 5 minutes.

To the skillet add beans, corn, tomatoes, 2 of the onions, cilantro, lime juice and spices. Reduce heat to medium low and allow the mixture to heat through.

In a separate small frying pan, heat oil on medium-high heat.  Once it’s hot, fry the tortillas one-by-one, about 10 seconds on each side.  Drain on paper towels and allow tortillas to cool enough to handle.

Coat the bottom of a 9×13 pan (or 2 8×8′s as I did) with a few tablespoons of enchilada sauce.

Spoon about ¼ cup of filling mixture into each tortilla plus a pinch of cheese.  Fold over filling and place enchiladas seam-side-down in the pan.

Top with remaining enchilada sauce.

Cover with remaining cheese and green onion.

Bake for about 20 minutes or until cheese is melted and starts to brown.  

Pile on sour cream, diced avocado, shredded lettuce, black olives, jalapeno’s or whatever toppings your prefer.  Eat up!