
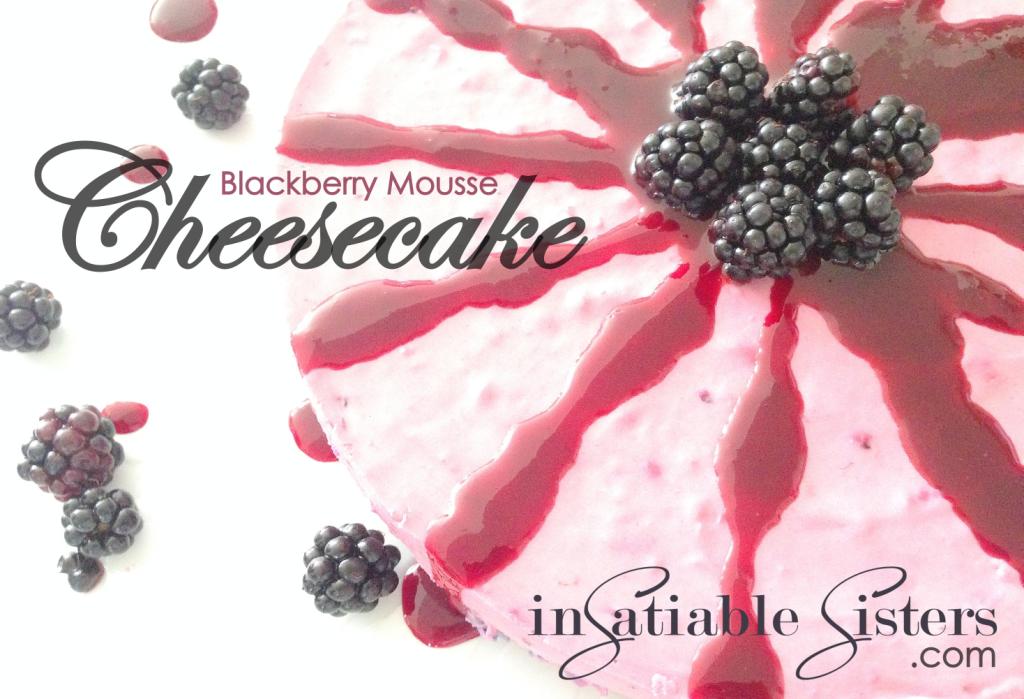
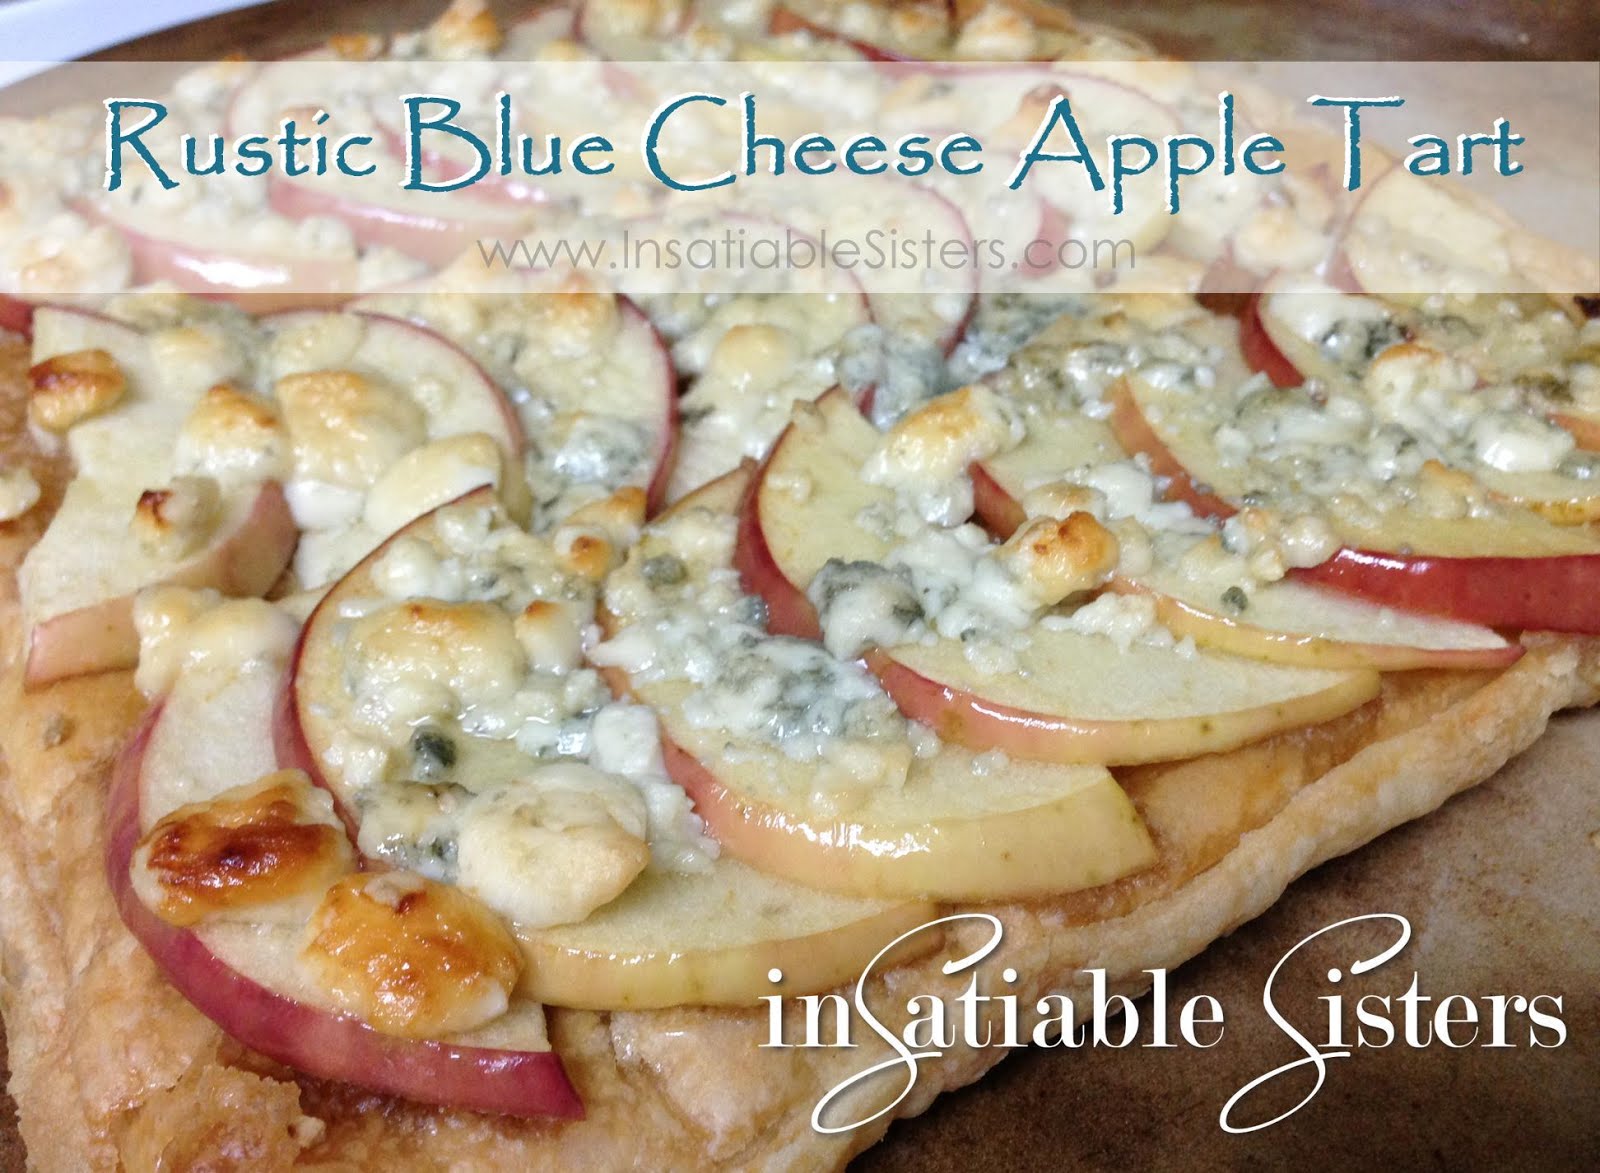
Imagine a dessert that’s sweet, tart, silky, crunchy, rich and fluffy all at once. Are you imagining Key Lime Cheesecake? This sweet treat is one that will awaken all your senses…and is quite possibly my favorite dessert! It’s so refreshing when it’s served ice cold on a hot day.
Occasionally, I take orders for baked goods/desserts and this one is the one that’s most requested. Don’t be intimidated by all the steps, it’s really quite simple! You can even prepare the crust ahead of time or, if you’re really in a pinch, you can purchase prepared graham cracker crusts (this recipe fills 2!). That being said, I highly recommend making your own crust with the addition of the unsweetened coconut. The coconut really adds something special! You can usually find it in the bulk section of the grocery store. If not, ask! Want to present your cheesecake in a more festive way? Scroll to the bottom for a fun variation: cheesecake mini’s!
Go ahead, try this one!! Your time and effort will be rewarded!
Ingredients:
Crust
1 package Graham Crackers (about 1 ½ cups, crushed)
½ cup unsweetened coconut
⅓ cup granulated sugar
6 tbs butter, melted
½ tsp cinnamon
*If you choose not to use coconut, just increase your graham cracker crumbs to 2 cups.
Cheesecake
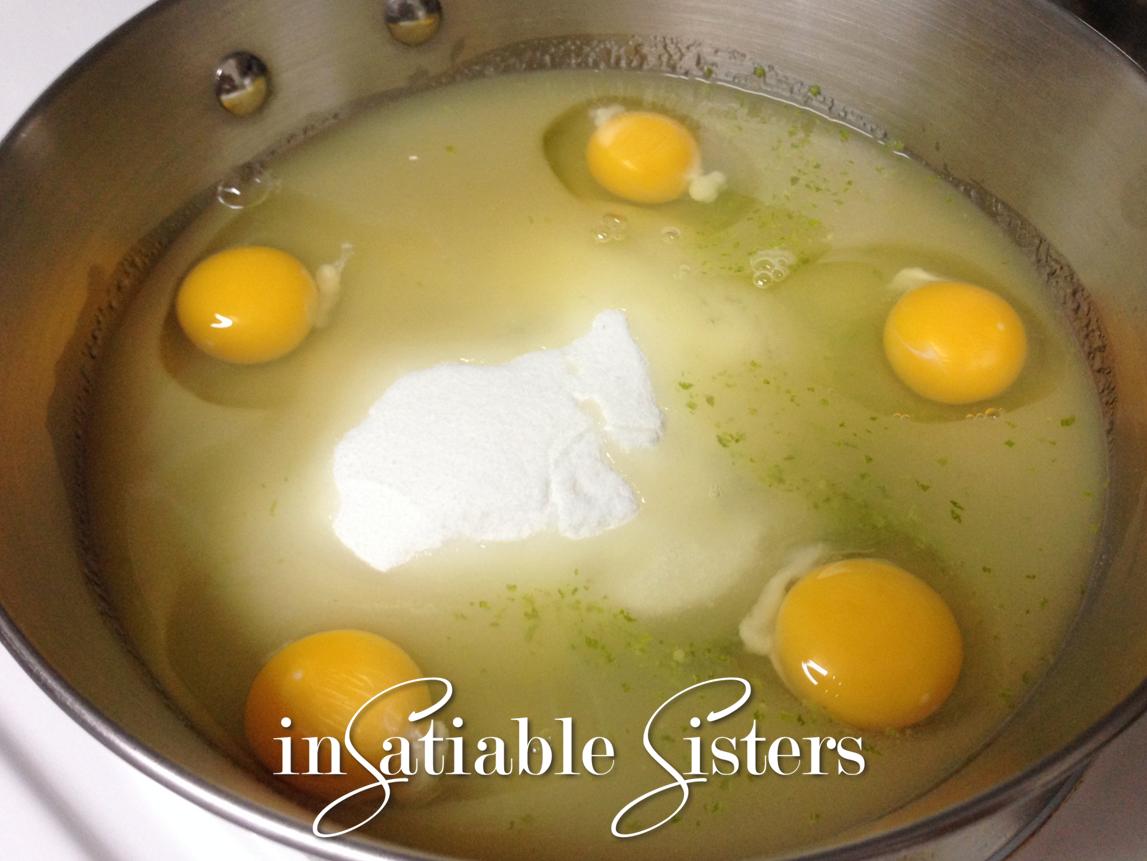
1 cup Nelly & Joe’s Key Lime Juice
¼ cup water
2 envelopes unflavored Knox gelatin
1 ½ cups granulated sugar
5 eggs
zest from 1 lime
½ cup butter, softened
2 8-oz packages cream cheese, softened
1 cup heavy whipping cream
Optional: additional heavy whipping cream to decorate plus granulated sugar to taste.
Special Equipment: Springform Pan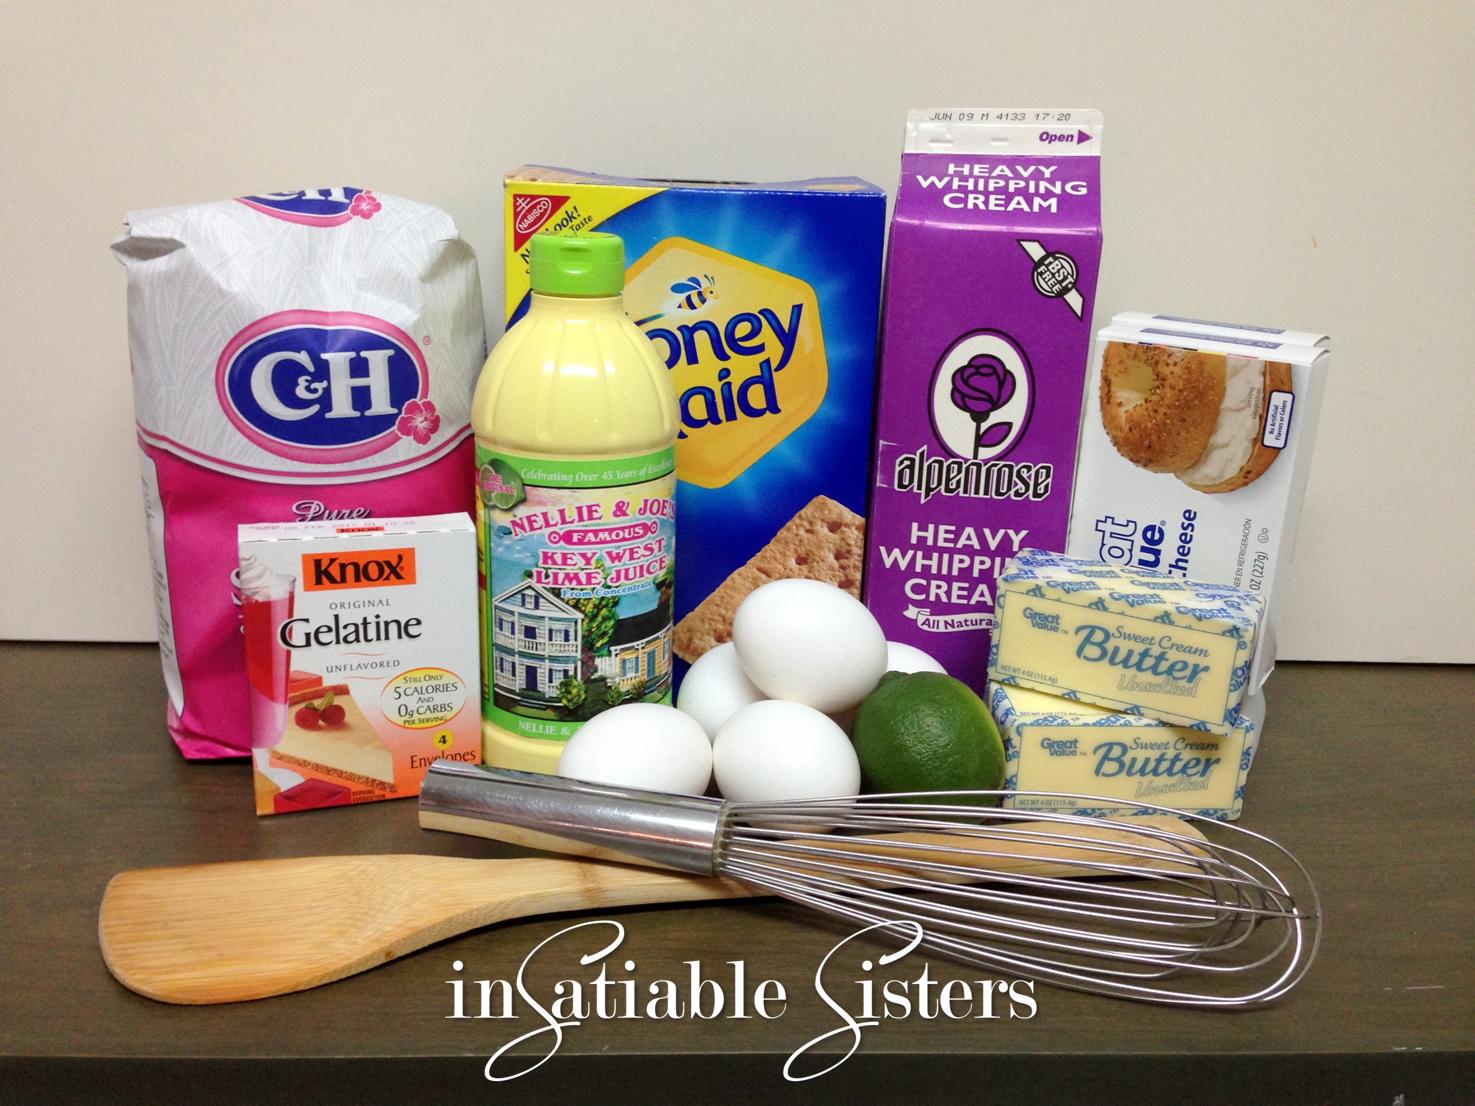
Method:
Preheat oven to 375* F.
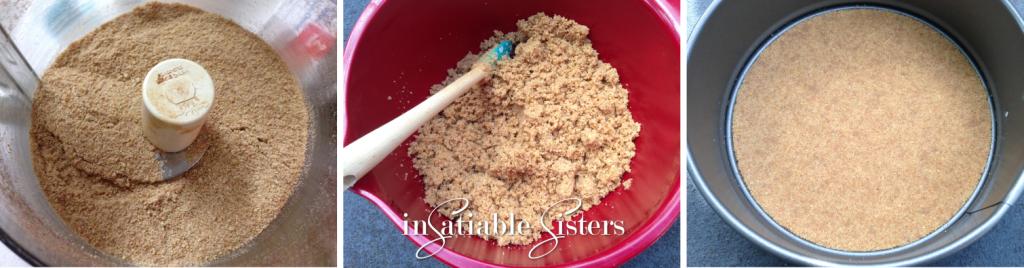
In a food processor, process graham crackers until they turn to coarse crumbs, add in coconut and pulse until combined. 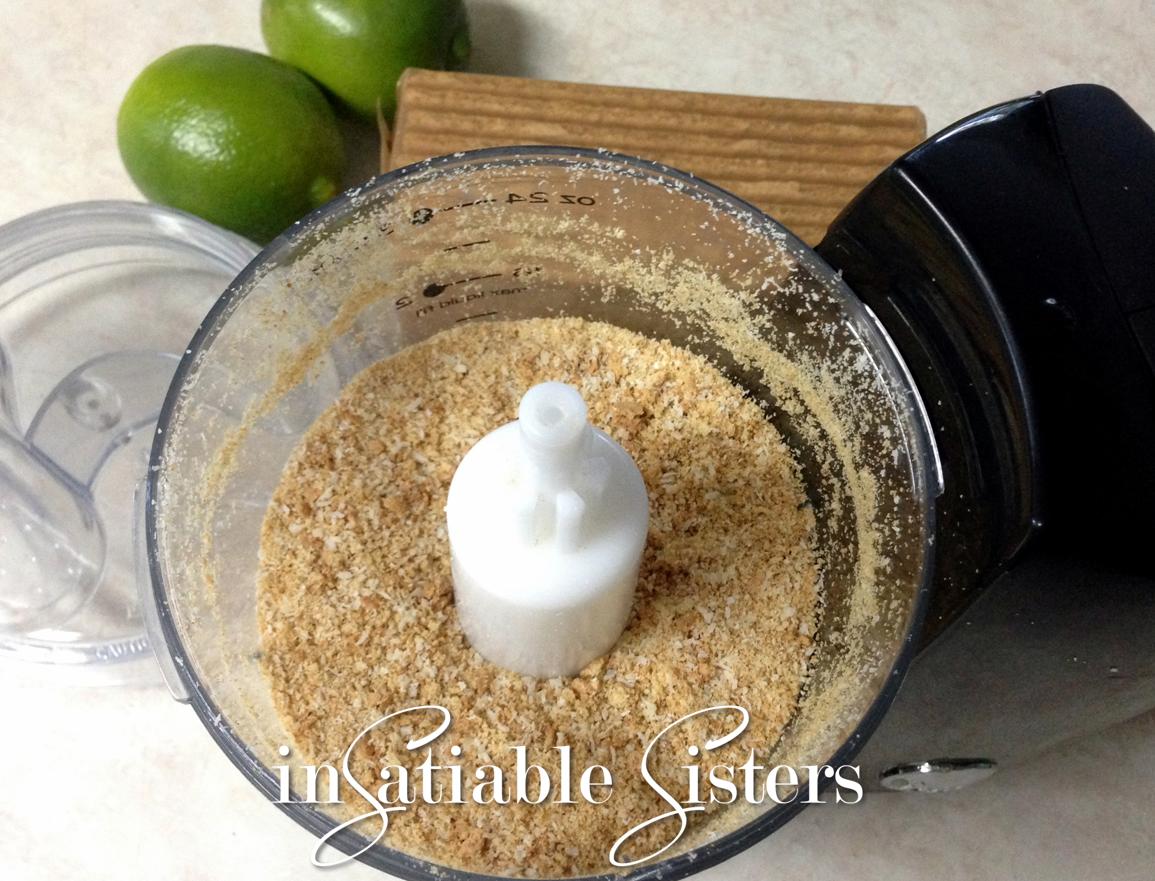
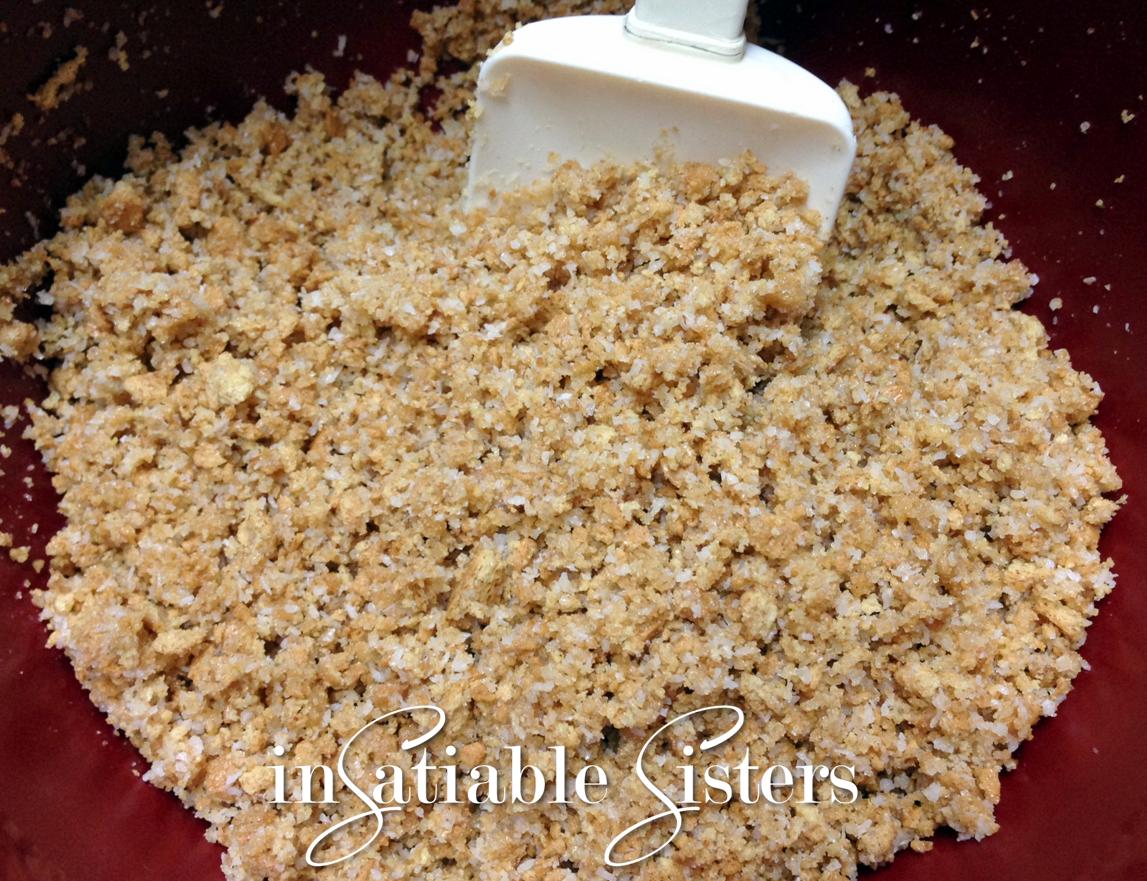
Transfer to a bowl, add melted butter, sugar and cinnamon. Stir until thoroughly combined and mixture clumps.
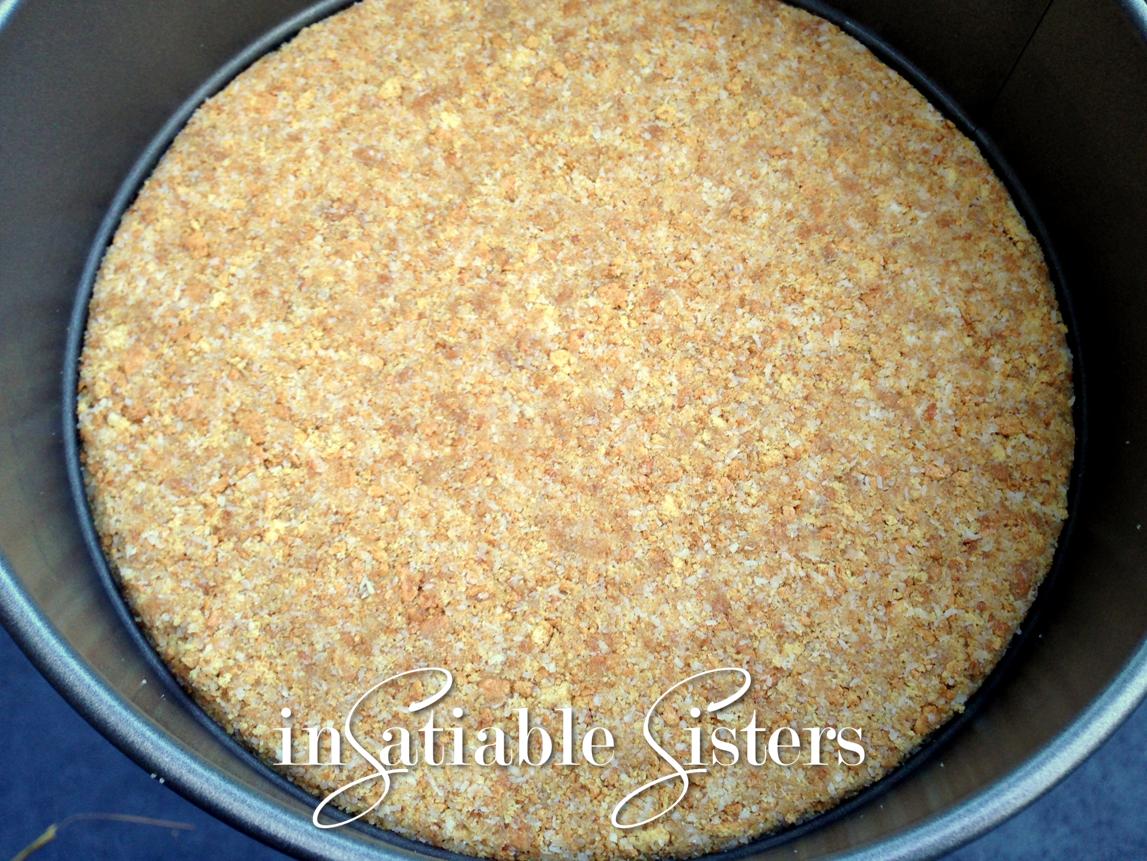
Press crumbs firmly into the bottom of an ungreased springform pan. Bake for 7 minutes. Remove and allow to cool completely.
In a 2 qt saucepan, combine lime juice, water and gelatin. Let stand 5 minutes. Add sugar, eggs, and lime zest. 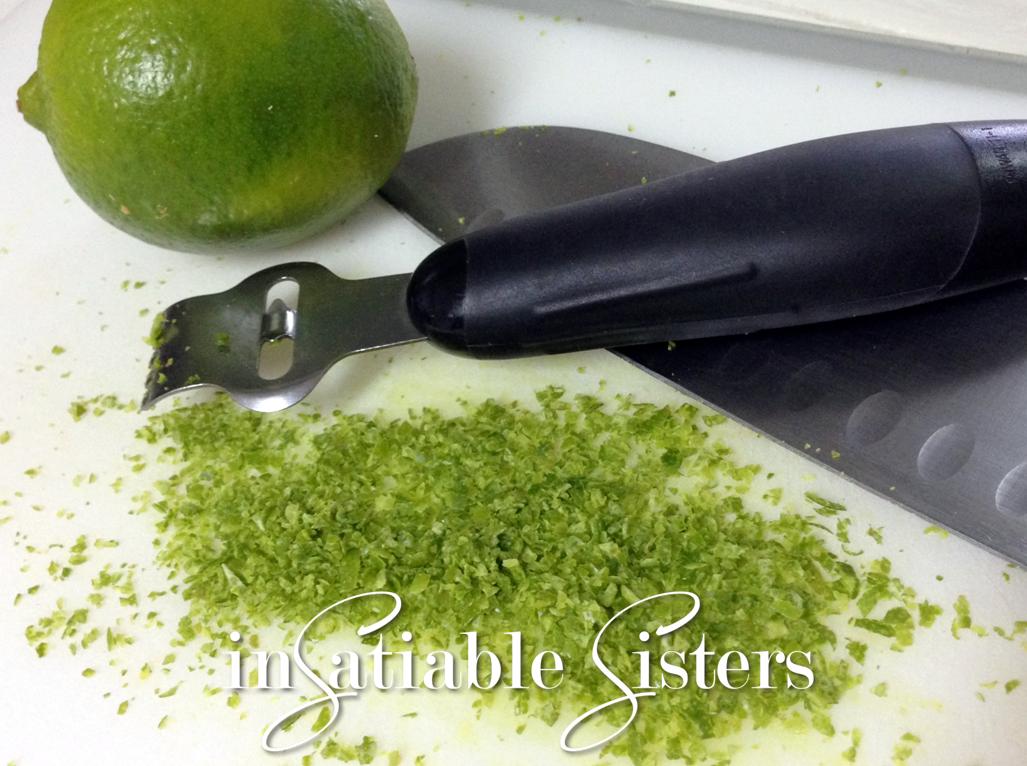
Whisk up the mixture until completely combined and cook over medium heat, stirring constantly until it just begins to bubble. DO NOT allow it to boil. Remove from heat and set aside.
In a large mixing bowl, beat butter and cream cheese together until well combined.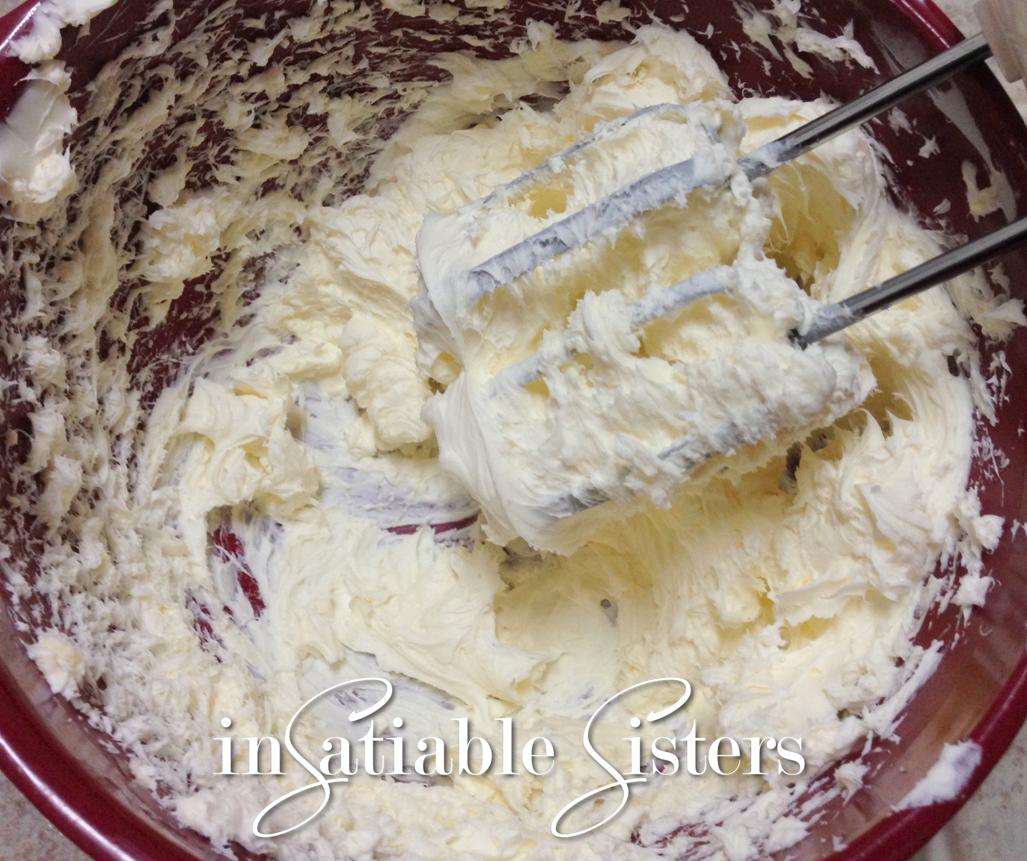
Pour the hot lime mixture into the cream cheese mixture. Beat with an electric mixture until thoroughly combined, approximately 2 minutes.
Refrigerate for about an hour, stirring occasionally. You want the mixture to cool down, but not set up.
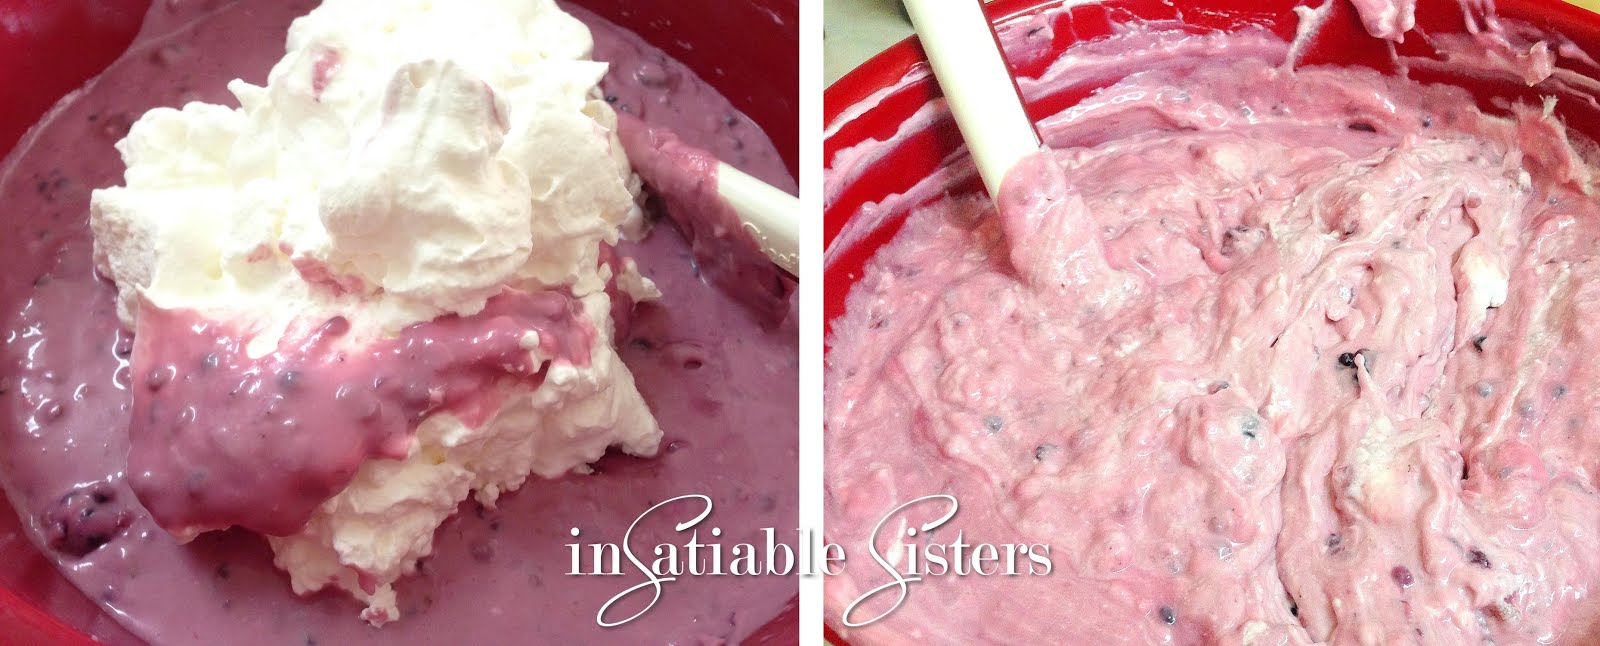
In a separate bowl, whip heavy cream until stiff peaks form. (DO NOT add sugar.)
Once lime mixture is cool, fold in the whipped cream. Make sure you combine it well, but some marbling is okay.
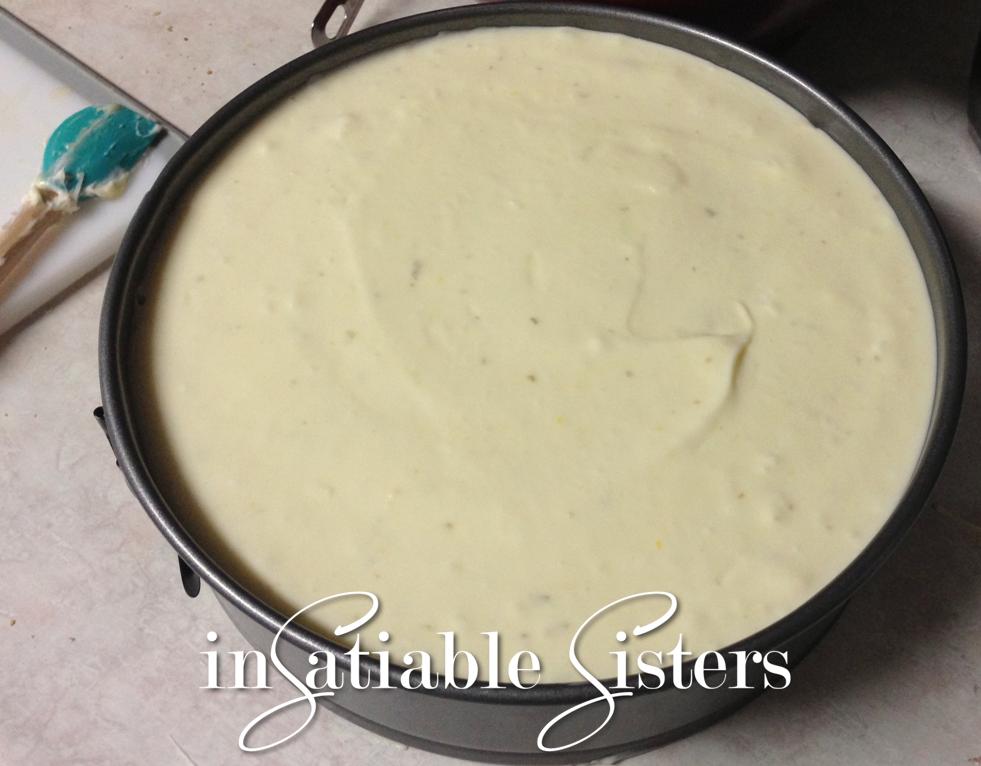
Pour mixture into the prepared crust, smooth out the top and refrigerate for several hours to allow cheesecake to firm up.
Once cheesecake has set, run a knife around the edge of the springform pan to loosen the edges. Slowly release the clasp and press the cake up out of the pan. You can remove the bottom piece of the pan by putting a sheet of parchment over the top of the cheesecake, putting a cutting board (or other flat surface) over the parchment, then flipping the whole cake over. Insert a butter knife between the pan and crust and the crust should pop right off. Place your serving platter on top of the crust and flip the cheesecake back over. Carefully remove parchment from the top.
You can serve your cheesecake naked, or decorate with whipped cream.
Whip approximately 1 ½ cups heavy whipping cream in a metal bowl until stiff peaks form. Add in sugar to taste, one tablespoon at a time, until desired sweetness is reached.
Use the whipped cream in a piping bag or frosting gun to create all sorts of designs. My favorite is the roses and stars (pictured), which is created by using a 2D star tip. 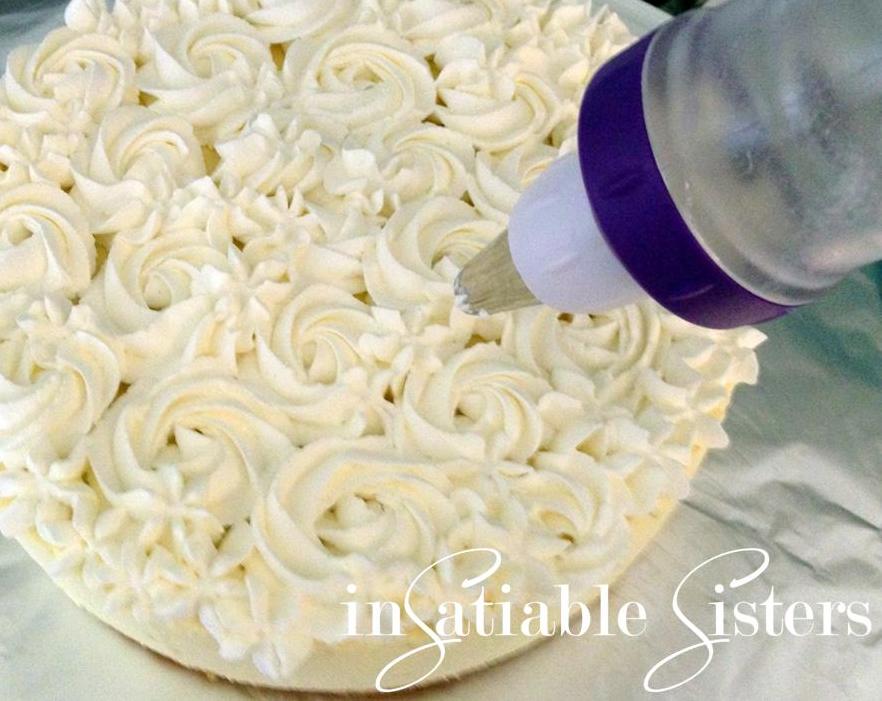
Variation:
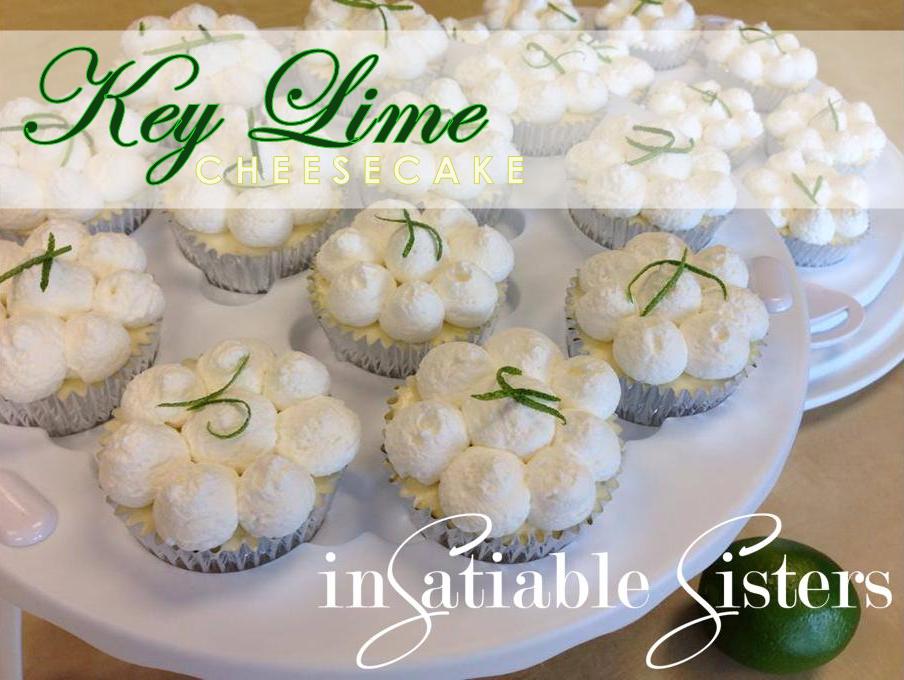
You can create cheesecake mini’s, which is my personal favorite way to prepare this dessert, and it’s a lot easier to serve. Fill cupcake pans with paper or foil liners.
Note: You cannot prepare the mini’s in batches, they must all be done at once. If you don’t have at least 24 spaces in cupcake pans you can purchase disposables at any dollar store/grocery store.
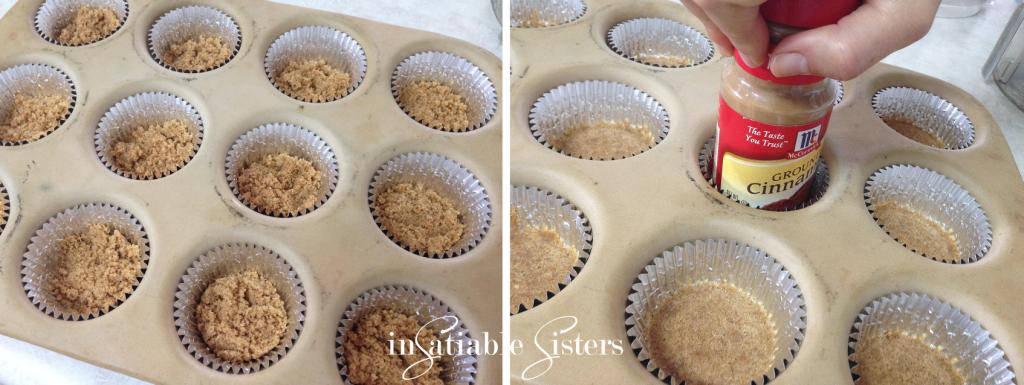
Press about 1 tablespoon of the crumb mixture into the bottom of each. I like to fill all the cups before pressing to ensure the mixture is spread evenly. Bake about 7 minutes at 375.
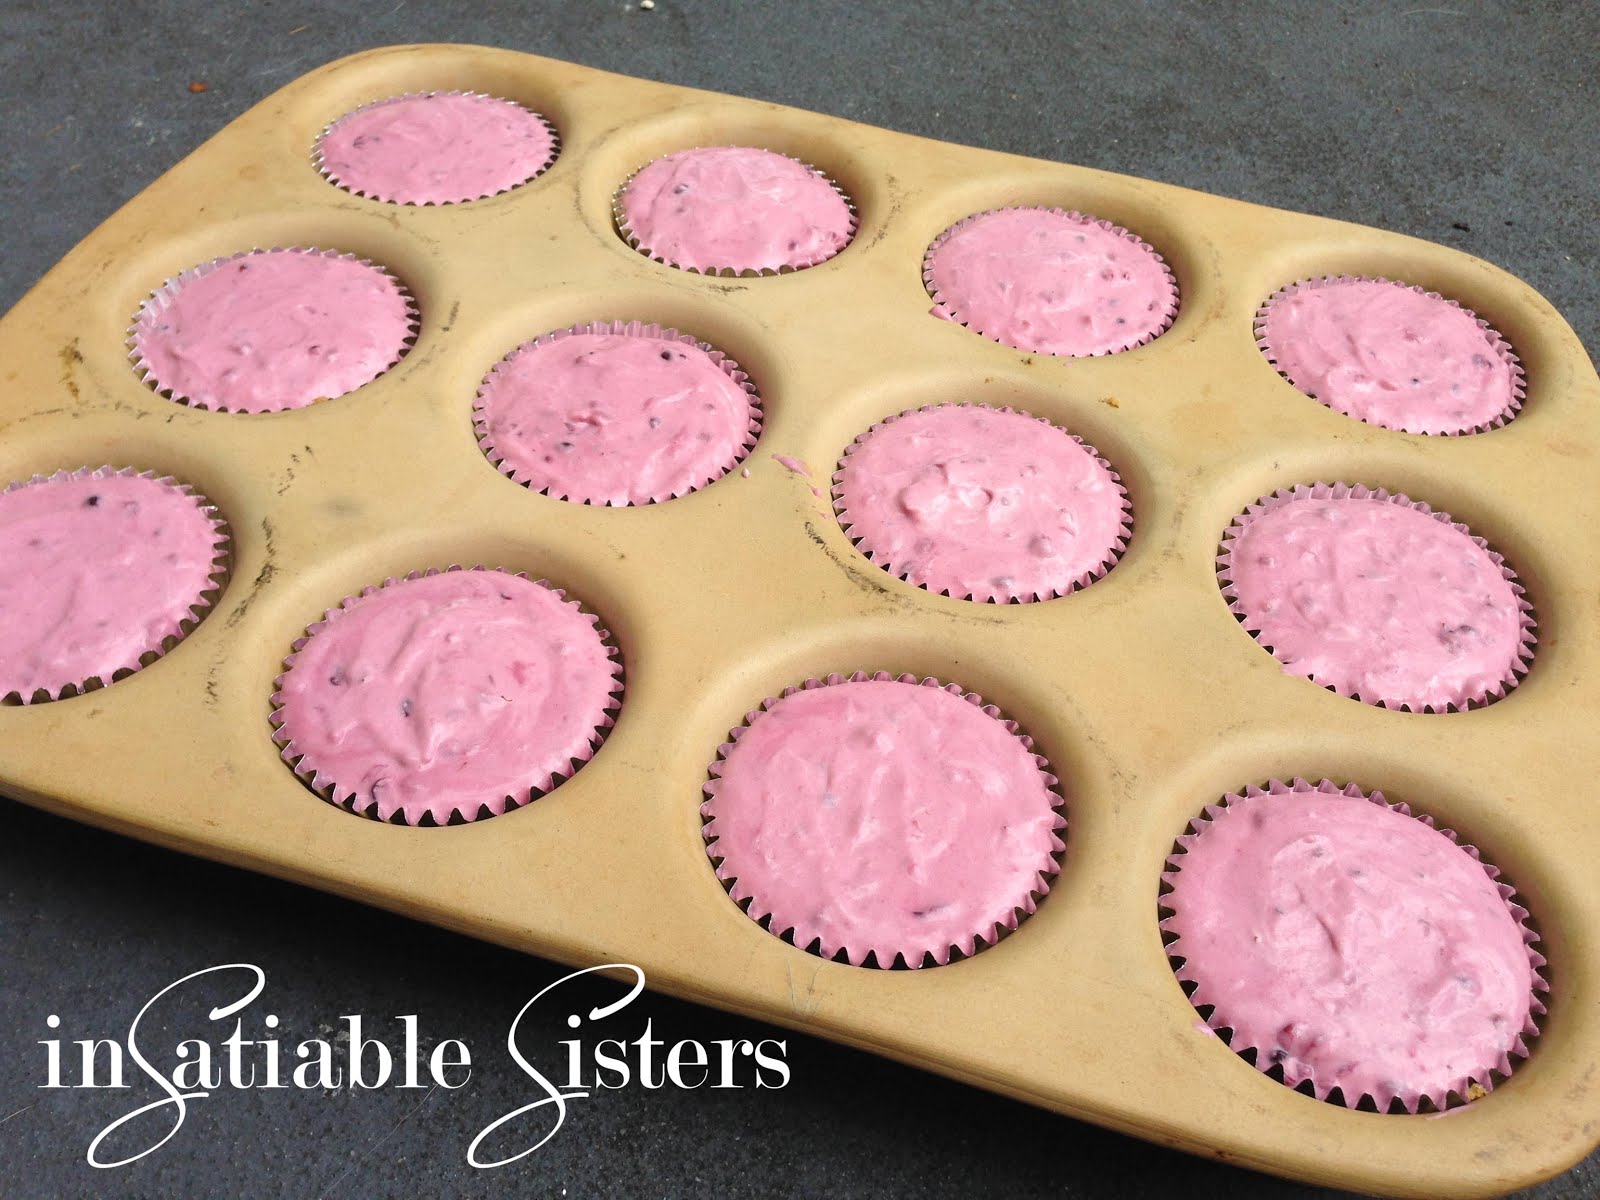
Fill each cupcake with the prepared lime mixture, you should have more than enough to fill each cupcake to the very top (any excess can be refrigerated and enjoyed without crust). Refrigerate until cooled and set, at least 2 hours. Garnish with whipped cream and lime zest.
Serve ice cold and enjoy!


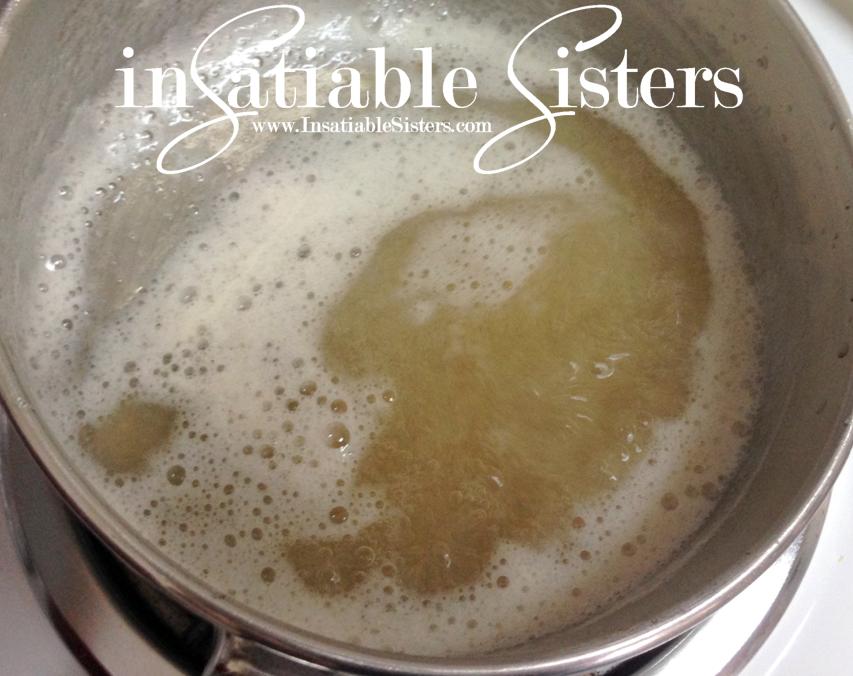
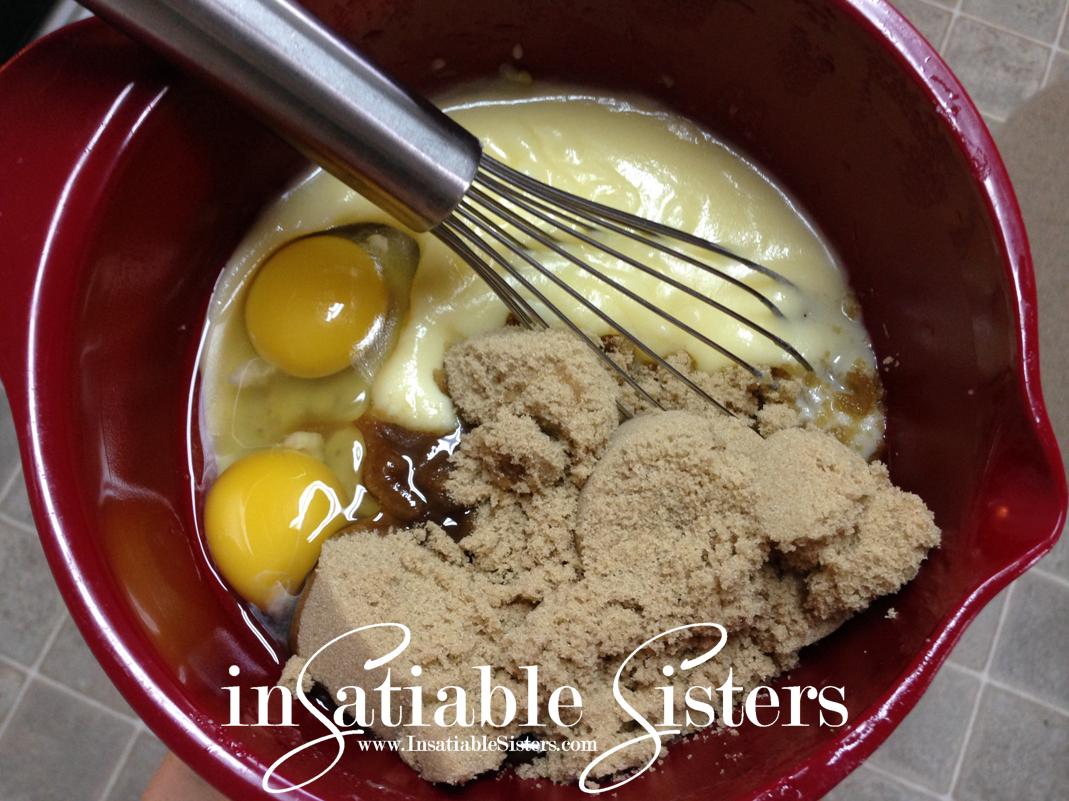
 Add sugar and butter and cook on medium heat until thickened, stirring constantly, about 10-12 minutes. Resist the urge to turn up the heat to avoid scorching


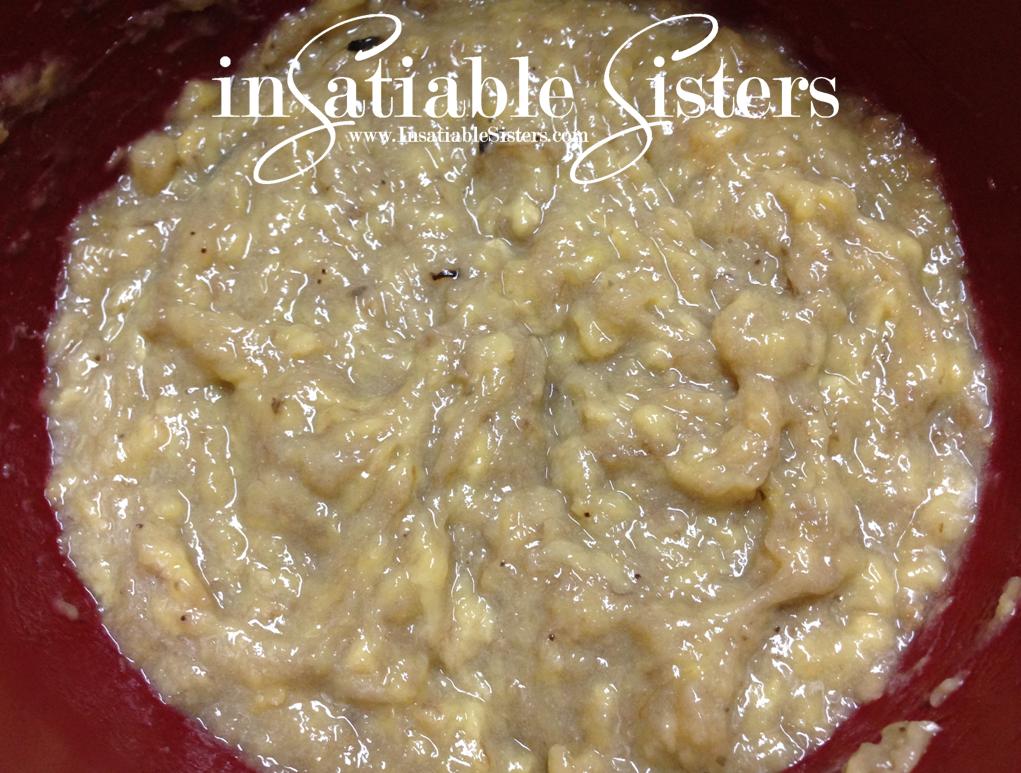
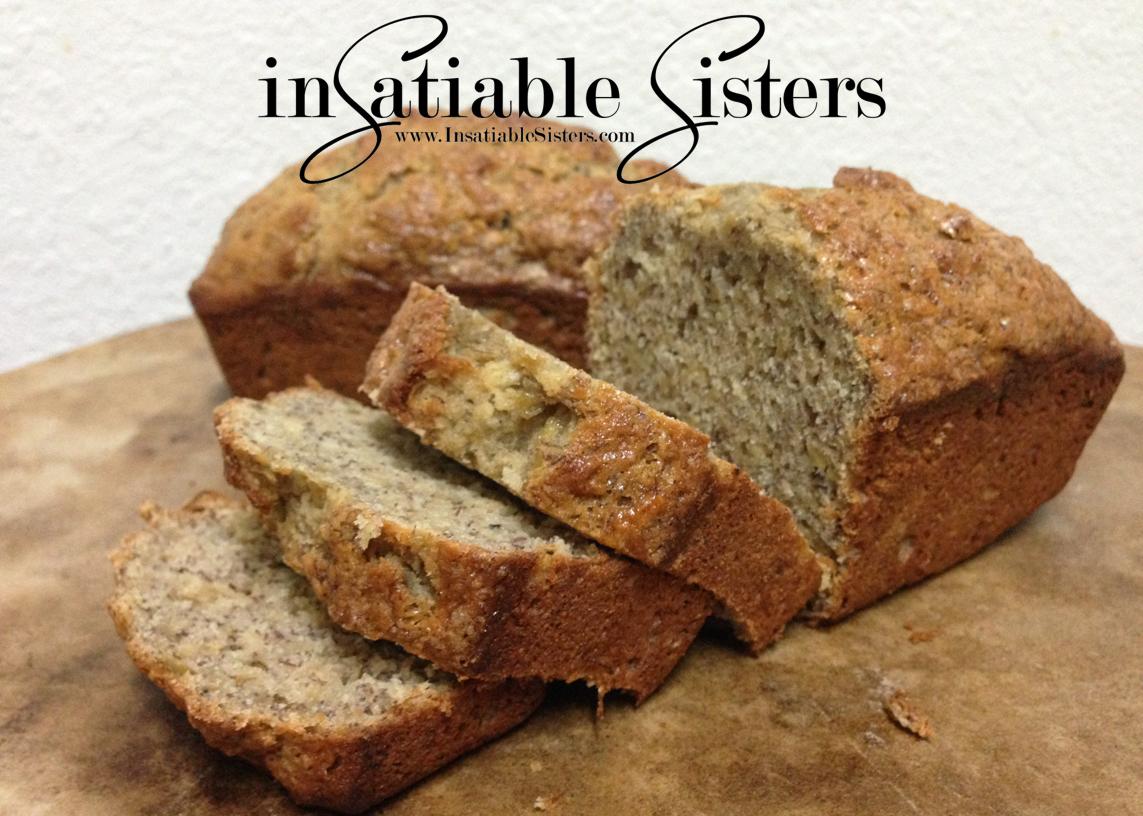
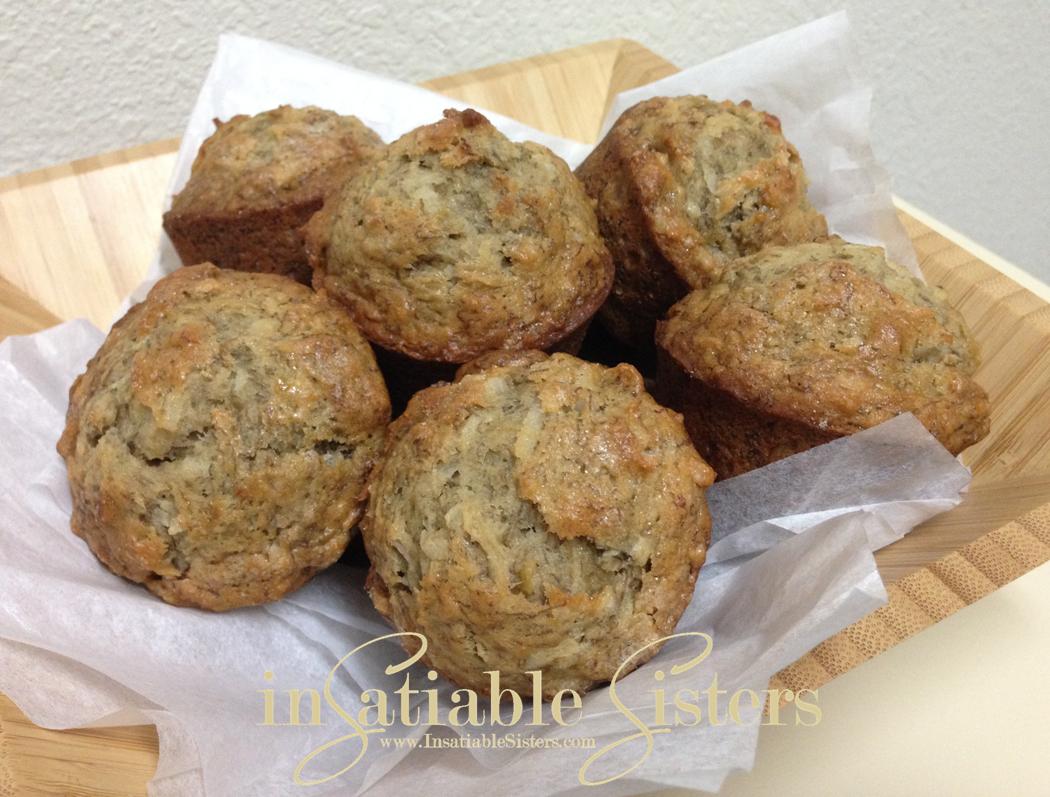
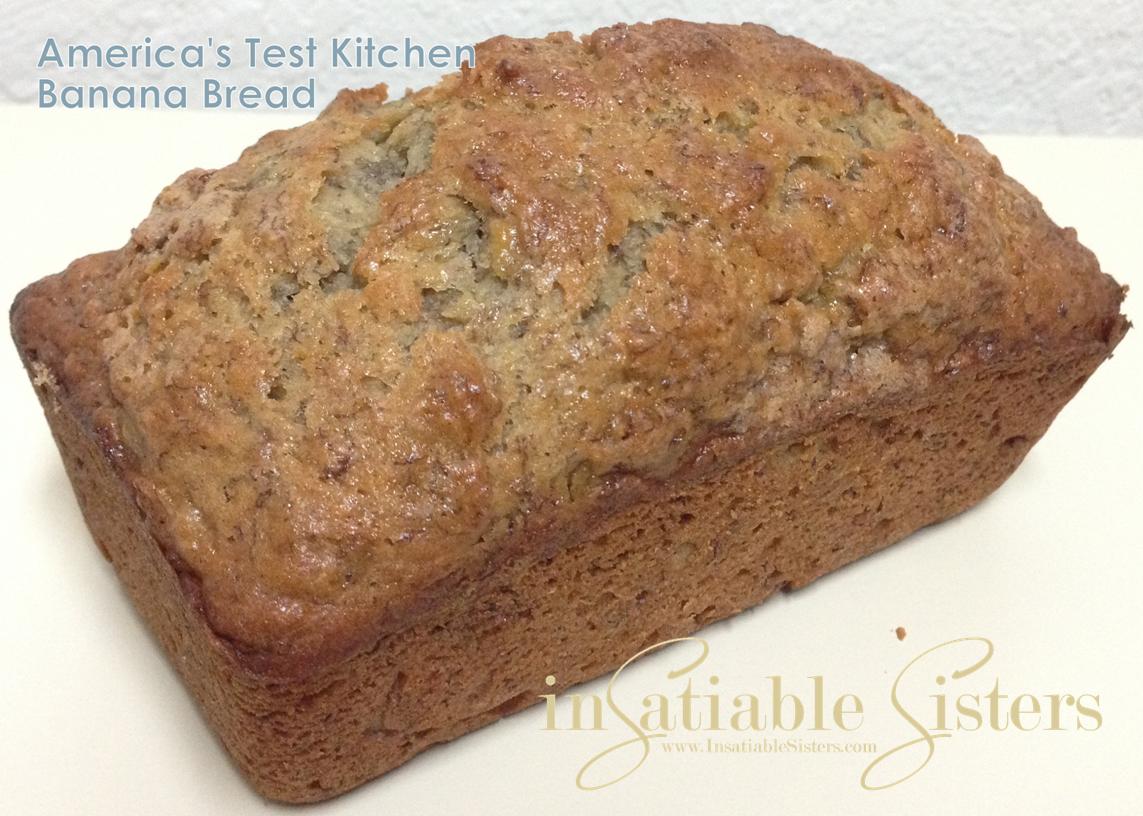 I have been baking banana bread as far back as I can remember. It was one of the first things I learned how to make by myself when I was a kid. I remember pulling the steaming loaves out of the oven and being so proud of my creation! They never lasted long, and to this day, banana bread is one of my favorite comfort foods.
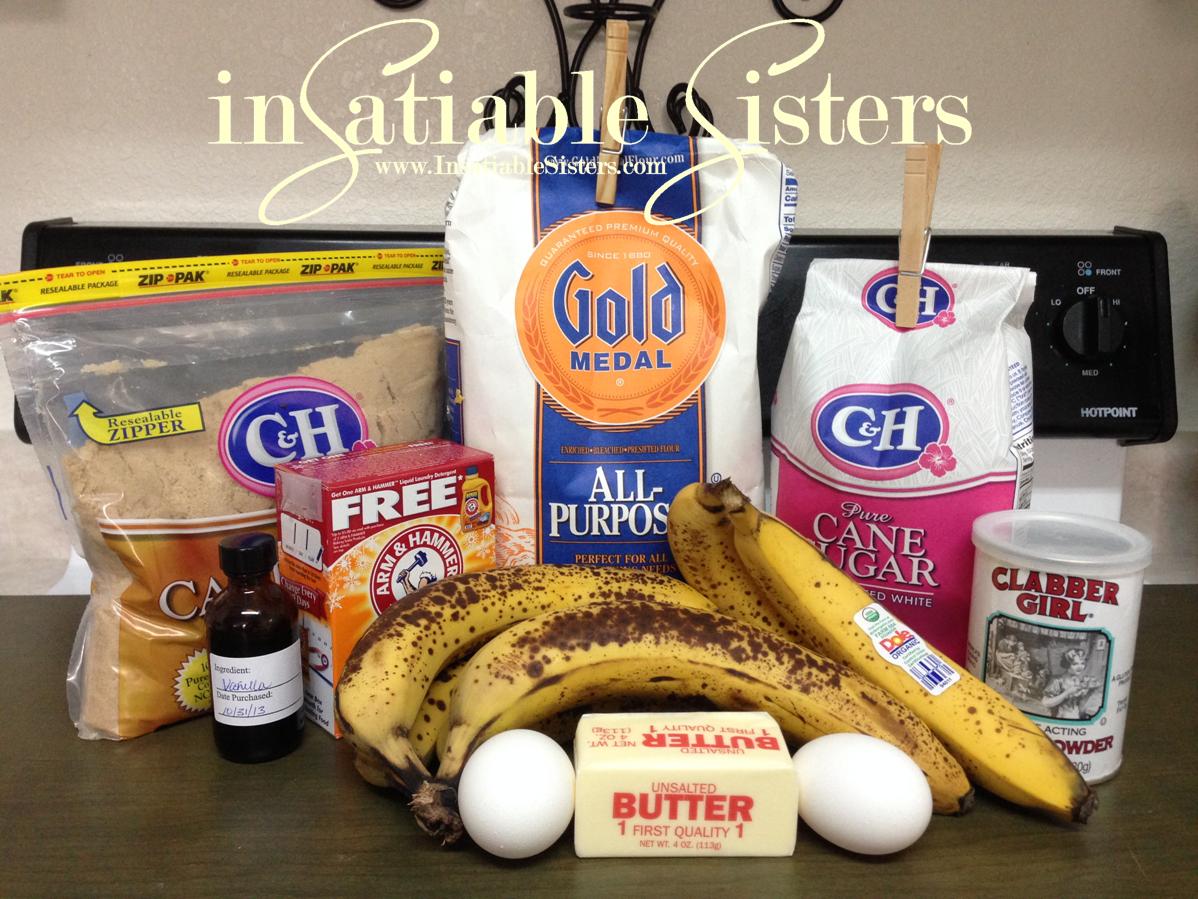
