Gooey Marshmallow Treats

Picture11
Also known as Rice Krispies Treats, these simple squares are a fun finger food that will instantaneously transport you back to childhood.  Rice Krispies Treats were invented in 1939 by Malitta Jensen and Mildred Day at the Kellogg Company home economics department as a fund raiser for Camp Fire Girls. (source: Wikipedia)
And what’s not to love?  Crispy rice cereal is generously coated in fluffy sugary marshmallows so it’s bound to be delicious.  Best of all, they are fast, easy and inexpensive.  Yes, they are full of carbs, sugar and delicious full-fat butter.  But that’s what dessert is all about!  Indulge a little….

Ingredients:
16 oz mini marshmallows, divided
4 oz butter + some for greasing (Coconut oil can be used for a dairy-free treat.)
1/4 tsp salt
6 cups crisp rice cereal
OPTIONAL: 1 cup chocolate chips, mini chips, mini m&m’s, caramel chips, etc.

Directions:

Generously grease a 9×13 pan with butter.

In a large pot, melt butter on medium-low heat.  Stir in HALF the mini marshmallows and continue to stir until they are completely melted and form a gooey cream.

Add salt and stir.  Remove from heat immediately.

Pour cereal into the pot and fold it into the melted marshmallows until all cereal is thoroughly coated with marshmallow.
Picture12

Add the additional whole marshmallows and any optional chips that you want.  Quickly fold them into the cereal.  You don’t want this second addition of marshmallows to melt, it’s so delicious when you bite into a fluffy whole marshmallow!

Turn the mixture out into your buttered pan and press it flat with clean, buttered hands.  It’s delicious when it’s warm, but they will cut much more easily if you allow them to cool completely.  RC

*Tip: If you have leftover chips, consider melting them and drizzling over the top of the cut squares.  Yum!
Gooey Marshmallow Treats

Zesty Fried Pickles

pickleAnyone who knows me knows that pickles are one of my favorite foods.  I’m obsessed with pickles, so I’m always looking for new and fun ways to incorporate them into my meals.  These fried pickles are addictive and are a fun finger food!  Who needs utensils, right?  Everytime I make them they are gone in a matter of minutes!  These go perfectly with my hot wings on game day, GO SEAHAWKS!!!!  Or my pretzels and beer cheese!  Fried pickles and beer cheese?  I think I’m on to something!!
~JannaDSC_0119

Ingredients:

About 3 cups of dill pickle chips, drain on paper towels.
1 cup all purpose flour
1 cup whole wheat flour
1 tsp salt
1 tsp paprika
½ tsp cayenne pepper
¾ tsp dill weed or fresh chopped dill
1 cup of buttermilk
1 qt vegetable, (canola or peanut oil works too) oil for frying

Directions:

Combine all dry ingredients into a bowl, put buttermilk into separate bowl.  Make sure your pickles are well drained.DSC_0122

Heat oil in a 4 to 6 quart heavy bottomed pot to about 350 degrees F.  Dunk ½ a cup or so of pickles into the buttermilk, coating all sides.  Shake off excess buttermilk and put into the flour mixture, toss the pickles around so they are all coated.
DSC_0124

Fry in the hot oil until golden (2-3 minutes) and let them drain on paper towels for a few minutes.  Repeat with the remainder of the pickles.
DSC_0125

Enjoy as they are or for an added kick of flavor dip them in ranch or bleu cheese dressing spiked with hot sauce!!  These go fabulous with a cold beer!

Orange Essence Zucchini Bread

Zucchini is one of the most abundant fall vegetables here in the US.  And zucchini bread is one of the most popular ways to use it up, especially when your garden produces an abundance of overgrown, deep green squash.  While I don’t have a garden (just a few tomato plants on my patio), one of my associates at work has generously shared this years zucchini crop.

Quick breads often seem more like cake than bread, and I’m ok with that.  Classic zucchini bread is so comforting and delicious!  However, I wanted my zucchini bread to really stand apart, so I started baking.  And baking.  And baking.  I don’t know how many loaves and muffins I’ve given away in my quest for the perfect bread, but it’s been a lot!  However, it has been well worth it because I really do believe that this is the best zucchini bread I’ve ever had.  It’s subtly sweet with just a hint of orange while still maintaining that classic zucchini bread flavor.  If you like to drizzle yours with a sweet glaze, I’ve included directions for a quick orange glaze that perfectly compliments it.  I hope it’s your new favorite!

Ingredients:

3 cups all-purpose flour
1 teaspoon salt
1 teaspoon baking soda
1 teaspoon baking powder
3 teaspoons cinnamon
3 eggs
1 cup vegetable oil
1 cup brown sugar
1 1/4 cup granulated sugar
zest from 1 large orange
3 teaspoons vanilla extract
3 cups grated zucchini
1 cup chopped walnuts or unsalted pistachios (optional)

Orange Glaze (optional):
1 cup confectioners sugar
1 teaspoon fresh squeezed orange juice
¼ teaspooon orange zest

Makes about 2 full-sized loaves, 4 mini-loaves, or about 24 muffins.
Ingredients.jpg

Directions:

Prepare your loaf pan or muffin tins.  I highly recommend using parchment if you’re making loaves because, for some reason, this bread seems to stick to my stoneware EVERY time if I don’t.

Preheat oven to 325 degrees F (165 C)

Using a vegetable peeler, peel the zest off the orange being careful to get as little white pith as possible.  Toss the orange peel and the granulated sugar into a food processor fitted with a steel blade and pulverize until the peel is very finely minced into the sugar.  Set aside.Orange Sugar 1.jpg

Sift flour, salt, baking powder, baking soda and cinnamon together in a bowl.  In a separate bowl, beat eggs, oil, vanilla, brown sugar and orange sugar together.  Add sifted ingredients to the wet mixture and beat will.
Mix Logo.jpg

Stir in the zucchini and nuts until well combined.  Pour batter into prepared pans.

Bake for 40-60 for a loaf pan.
Bake approx 30 minutes for muffins.

Test doneness by inserting a toothpick or small tester into the middle.  When it comes out clean, it’s done!

Allow bread to cool in pans for about 20 minutes (not necessary for muffins using liners), then turn them out and let it cool completely.

To prepare optional glaze: whisk sugar, orange juice and zest in a bowl until smooth.  Drizzle over bread.

Enjoy!
Title 2.jpg


Rustic Blue Cheese Apple Tart

Rustic Blue Cheese Apple Tart.jpg

I can’t recall the day I decided that I actually like blue cheese.  For years I considered it a disgusting, smelly hunk of mold, hardly classifiable as food.  Then one day, it was like someone flipped a switch and now, I crave the stuff!

This delicate recipe is a little twist on a blue cheese pizza that was prepared during a cheese class at my favorite local produce store, Chuck’s Produce.  Their resident “Cheese Whiz,” Andrew, allowed us to taste several varieties of blue cheese in various different ways.  One of the cheeses he sprinkled over his apple pizza and topped with agave syrup.  It was delicious!  For my version, I replaced the pizza dough with the lighter puff pastry, which I think lends itself better for a breakfast item, and used organic clover honey as the drizzle.

Aside from the incredible sweet & savory combination, you’ll love this recipe because it uses minimal, common ingredients and it is really quick and easy to prepare, while still being impressive in both flavor and presentation.

Are you a blue cheese lover?  If not, maybe this recipe will change your mind.  If you already love it, enjoy!

Ingredients:

1 sheet puff pastry
1-2 fresh apples, sliced (Honey Crisp or Pink Ladies taste great!)
½ cup blue cheese crumbles
Honey (enough to drizzle)

Ingredients.jpg

Directions:

Follow thawing directions on the puff pastry box.  Lay pastry sheet out flat on a baking sheet.  Bake in a 350 degree oven for approx 15 minutes, or until golden brown.  Pastry will puff up…a lot!  It’s okay, it,s puff pastry, that’s what it’s supposed to do!  Once golden, remove from oven.  Puff.jpg

Slice and core apples and arrange evenly on the cooked pastry.  Top with blue cheese crumbles and drizzle with honey.4 pix.jpg

Bake for about 15 minutes or until blue cheese is golden and apples are soft.

Serve warm.Picture2.jpg

America’s Test Kitchen Banana Bread

I have been baking banana bread as far back as I can remember.  It was one of the first things I learned how to make by myself when I was a kid.  I remember pulling the steaming loaves out of the oven and being so proud of my creation!  They never lasted long, and to this day, banana bread is one of my favorite comfort foods.

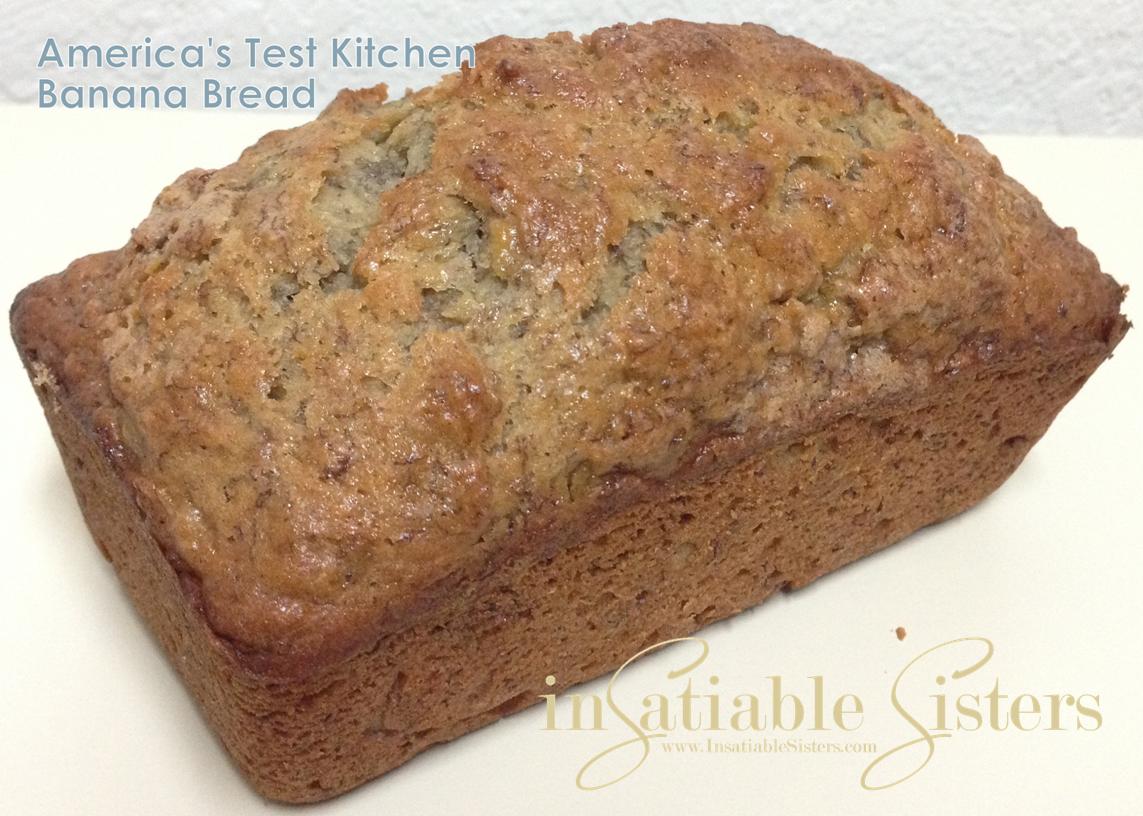
This recipe is not the same recipe I used growing up.  It is a creation of America’s Test Kitchen and was introduced to me through a foodie friend at work who generously shared the banana bread she had made with the rest of the office.  Although I wasn’t fast enough to snag a piece out of her bread from the break room, she did provide me with the recipe.  After hearing the comments around the office, I knew I had to make it for myself. Seriously, this is the most banana-y banana bread I’ve ever had and it is so incredibly moist!  Don’t scoff at the little bit of extra work with the bananas because THAT is what makes it so incredible.  Just do it, you will be rewarded!

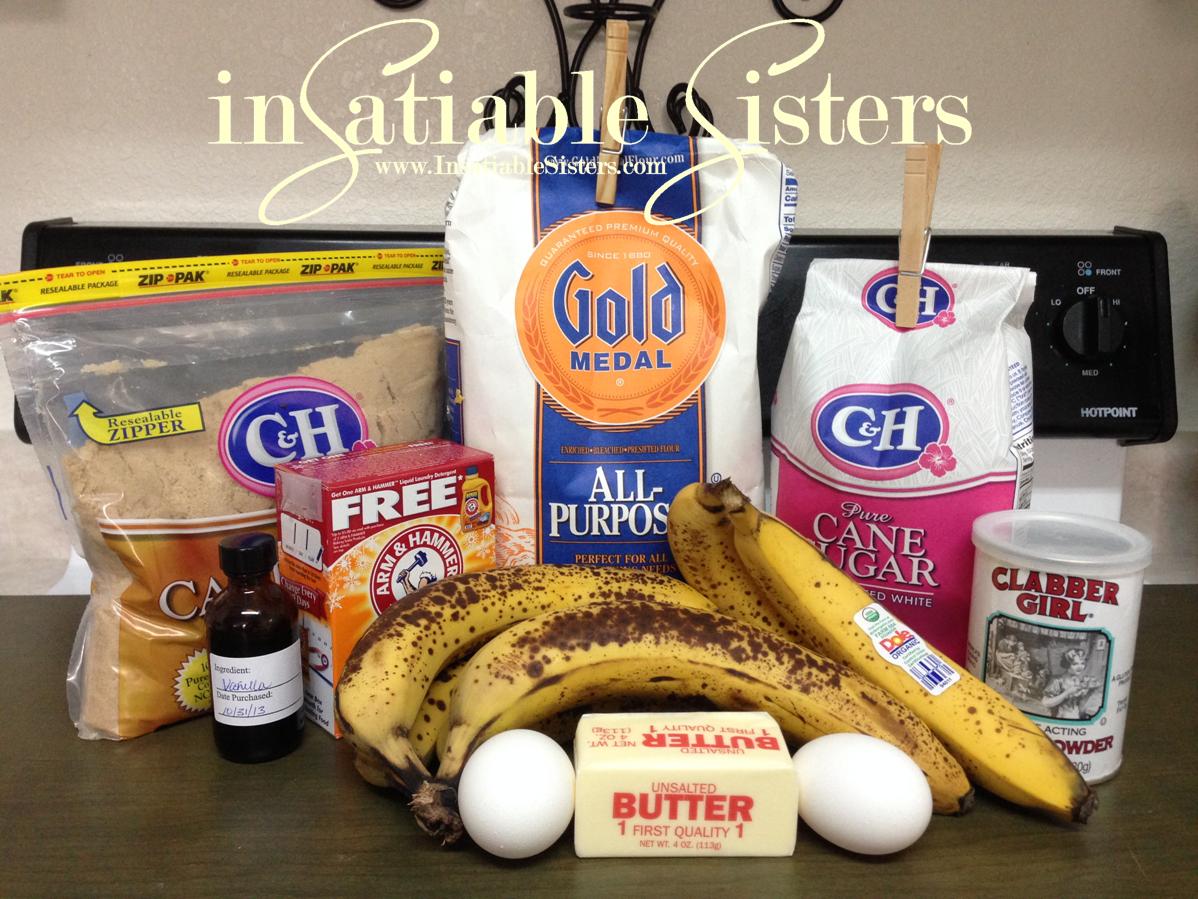
When selecting bananas, be sure to use those that are heavily speckled, or even black.  If you are one of those people who freezes bananas, this is YOUR recipe!! The darker the banana, the sweeter and more developed the banana taste will be.  A lot of grocery stores will even sell these “overripe” bananas at a deeply discounted price.  Yes, those mushy, black banana’s seem really gross, but trust me, you’ll be hoarding them in your freezer like they are gold once you’ve seen (and tasted) what they can do.

Ingredients:

1 ¾ Cups unbleached all purpose flour
1 tsp baking soda
½ tsp table salt
5 large very ripe bananas, peeled
8 Tbsp (1 stick) unsalted butter, melted and cooled slightly
2 Large eggs
¾ cup packed light brown sugar
1 tsp vanilla extract
½ cup walnuts, toasted and coarsely chopped (optional)
2 tsp granulated sugar

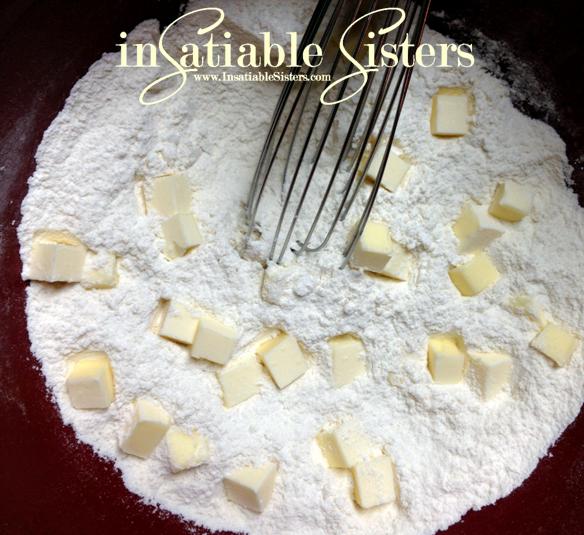
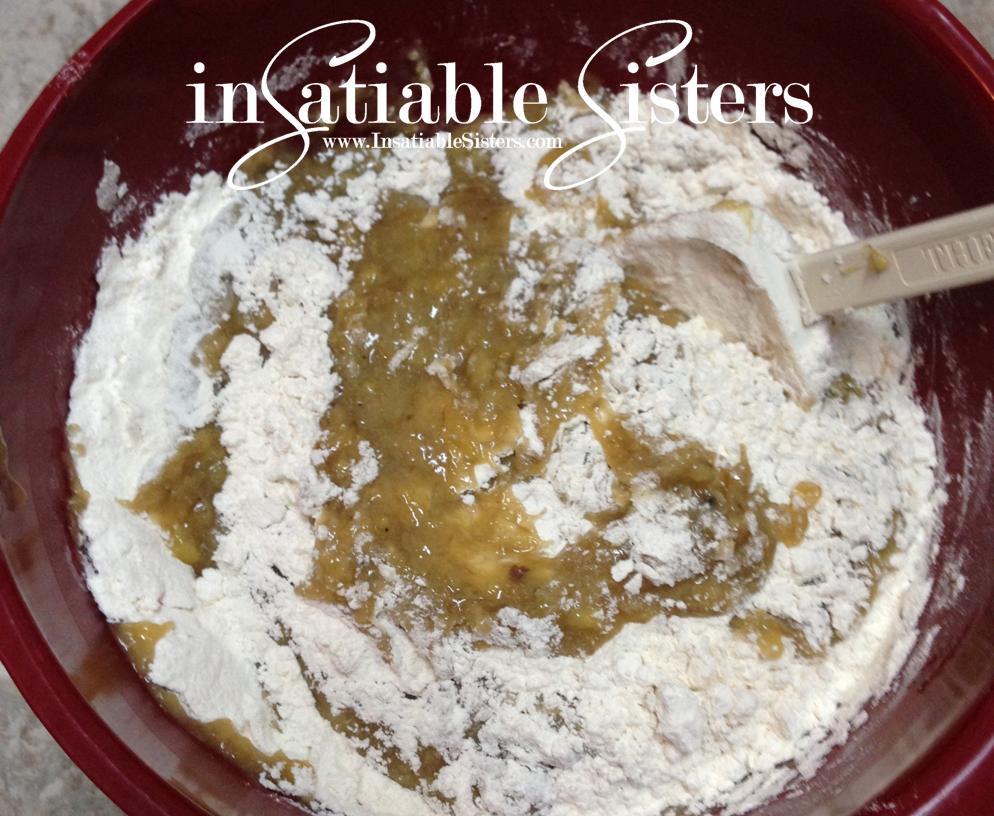
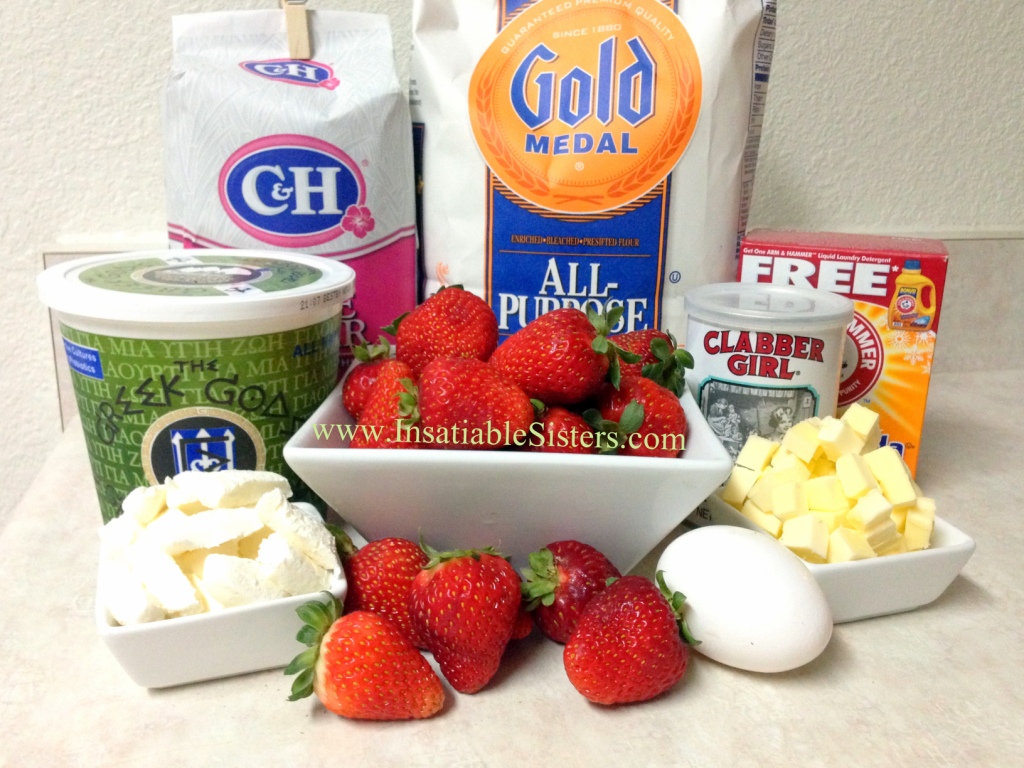
**Note:  The photo below shows baking powder, which is NOT in the recipe…my mistake!

Directions:

Preheat oven to 350 degrees.

Spray an 8 ½  by 4 ½ inch loaf pan with nonstick cooking spray.

Whisk flour, baking soda, and salt together in a large bowl.

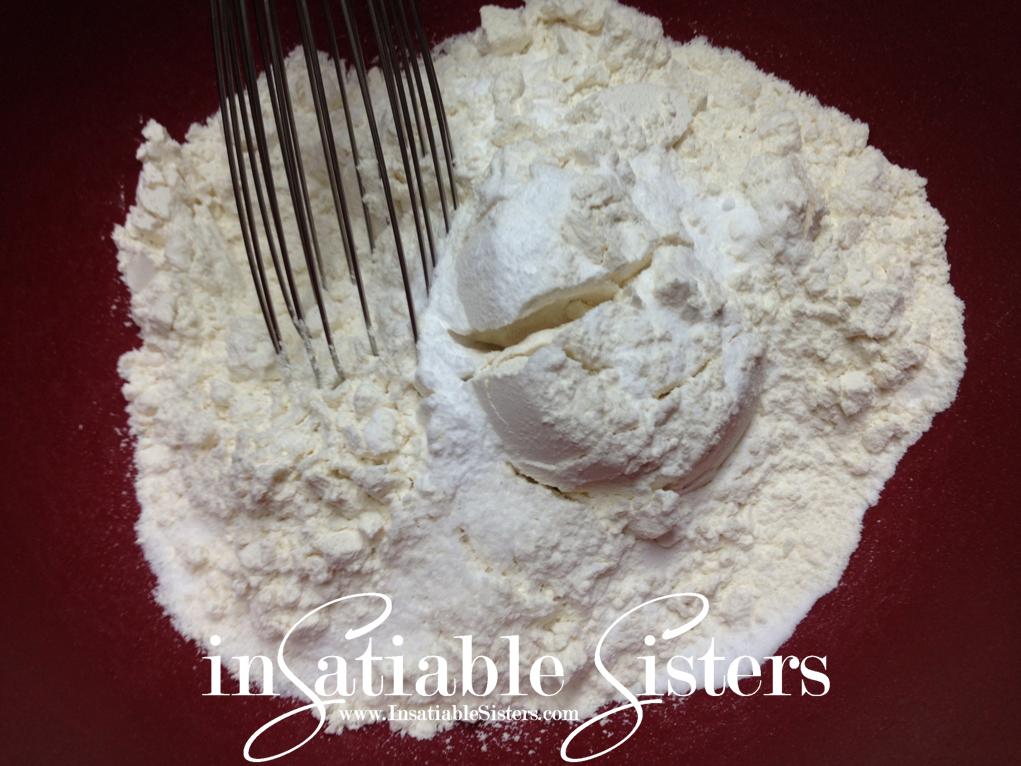
Place bananas in a microwave safe bowl.  I used a round casserole dish with a lid.  You can use plastic wrap with a few cut steam vents to cover if you don’t have a lid, but personally I avoid putting plastic in the microwave.  

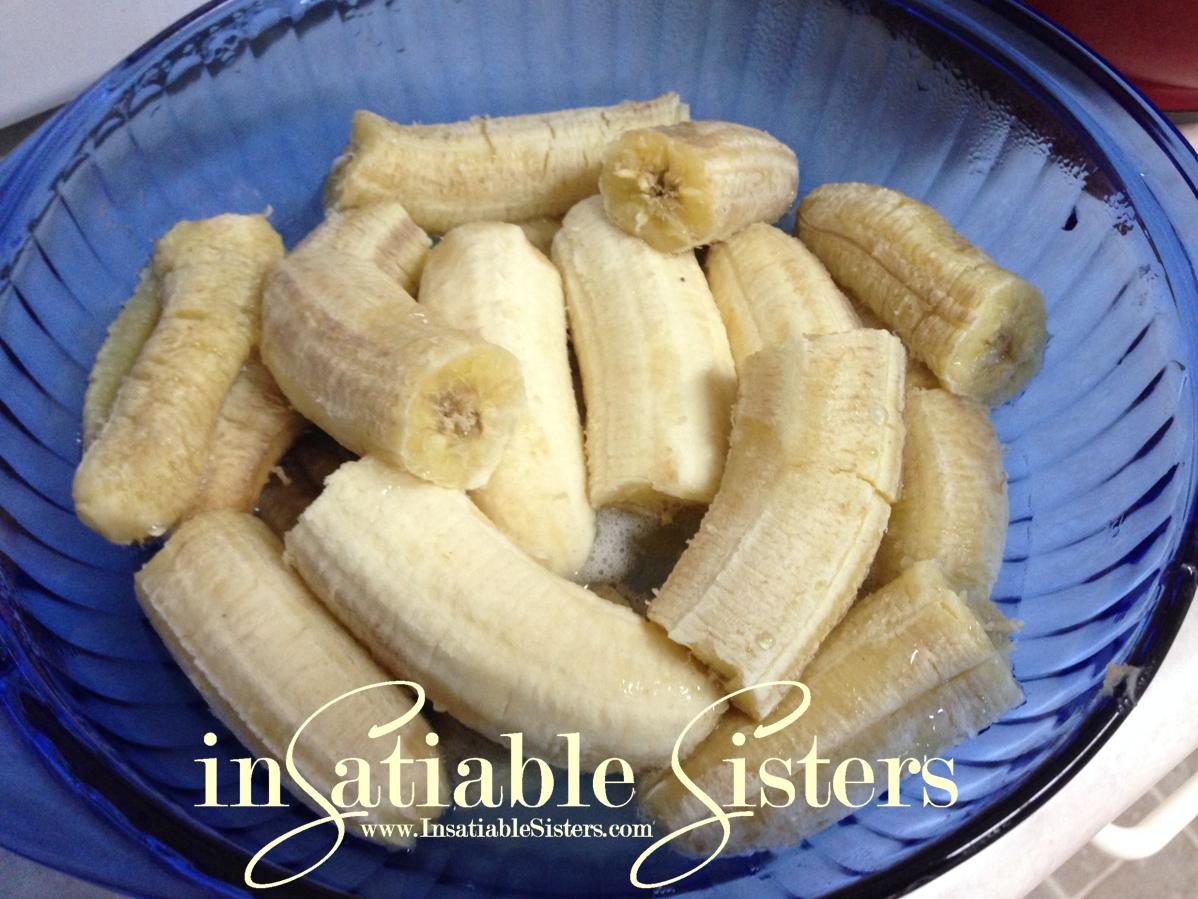
Microwave on high power until bananas are soft and have released most of their liquid, about 5 minutes.Transfer bananas to a fine mesh strainer placed over a bowl and allow them to drain, turning the bananas occasionally for about 15 minutes.  You should end up with ½ – ¾ cup of liquid.  

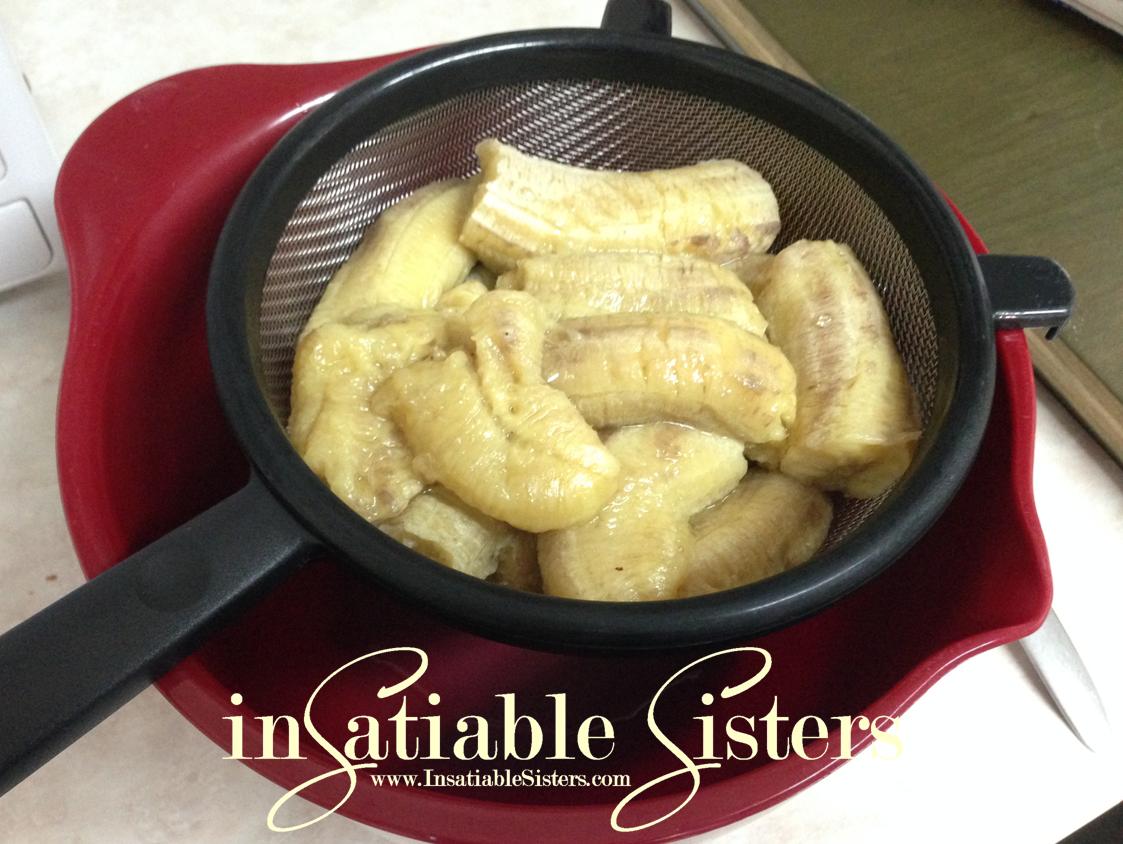
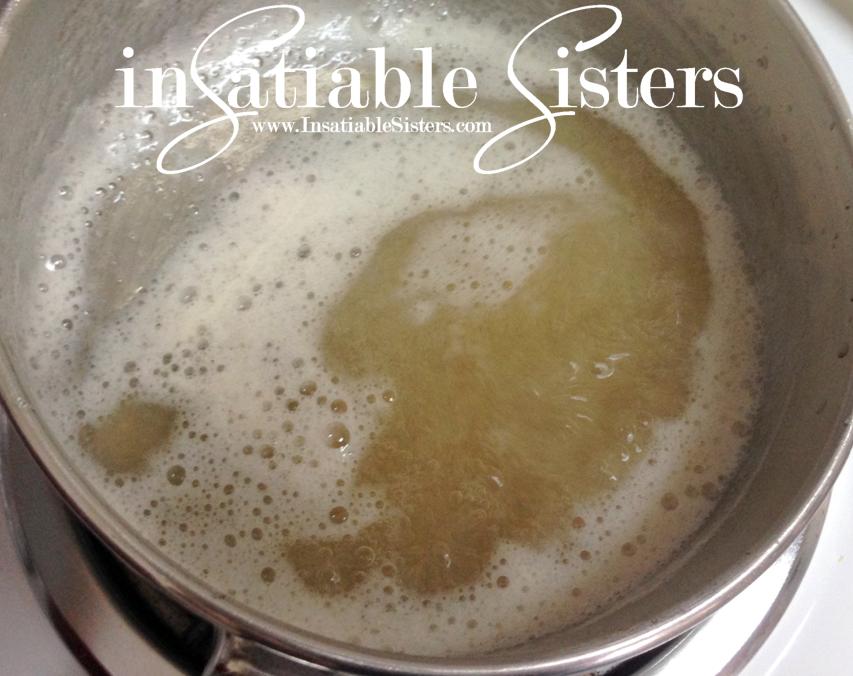
Transfer liquid to a small saucepan and cook over medium-high heat until reduced to about ¼ cup.  Liquid should be light caramel color and thick, almost as thick as syrup.  I stirred mine pretty vigorously and ended up with some bubbles, but you get the idea.

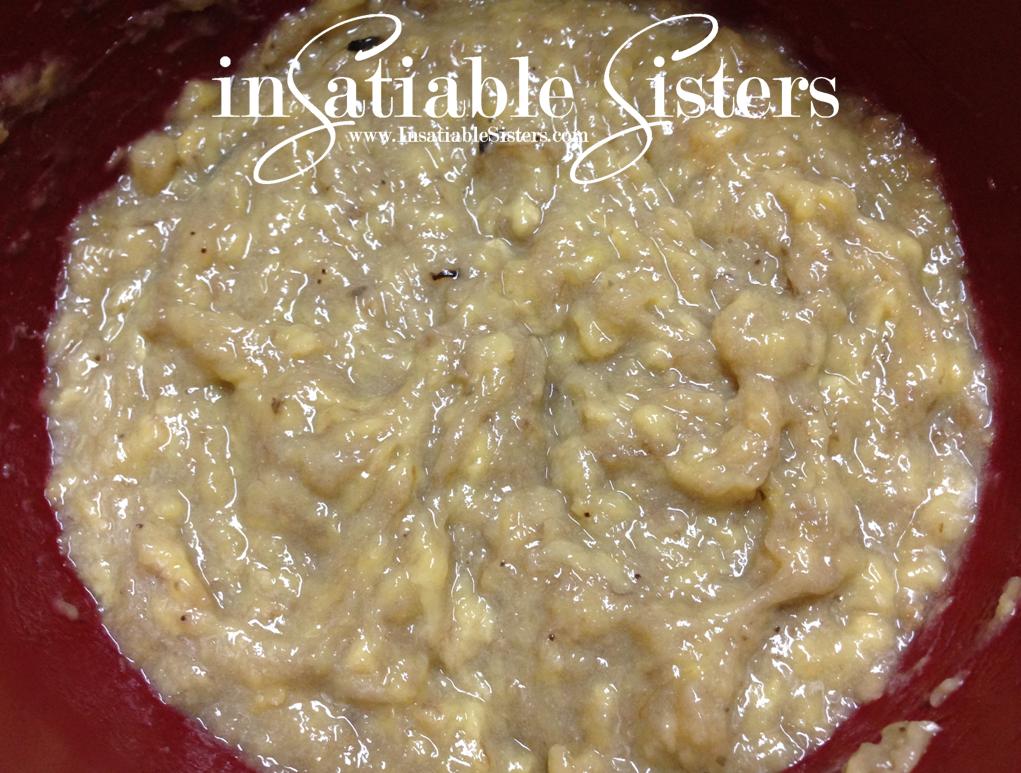
Remove from the heat and stir this reduced liquid back into your mashed bananas and mash everything together with a potato masher.  The original recipe says “mash until fairly smooth” but mine never made it to that point…it stayed semi-lumpy.  I’m sure whatever stage of lumpiness your bananas end up is just fine.

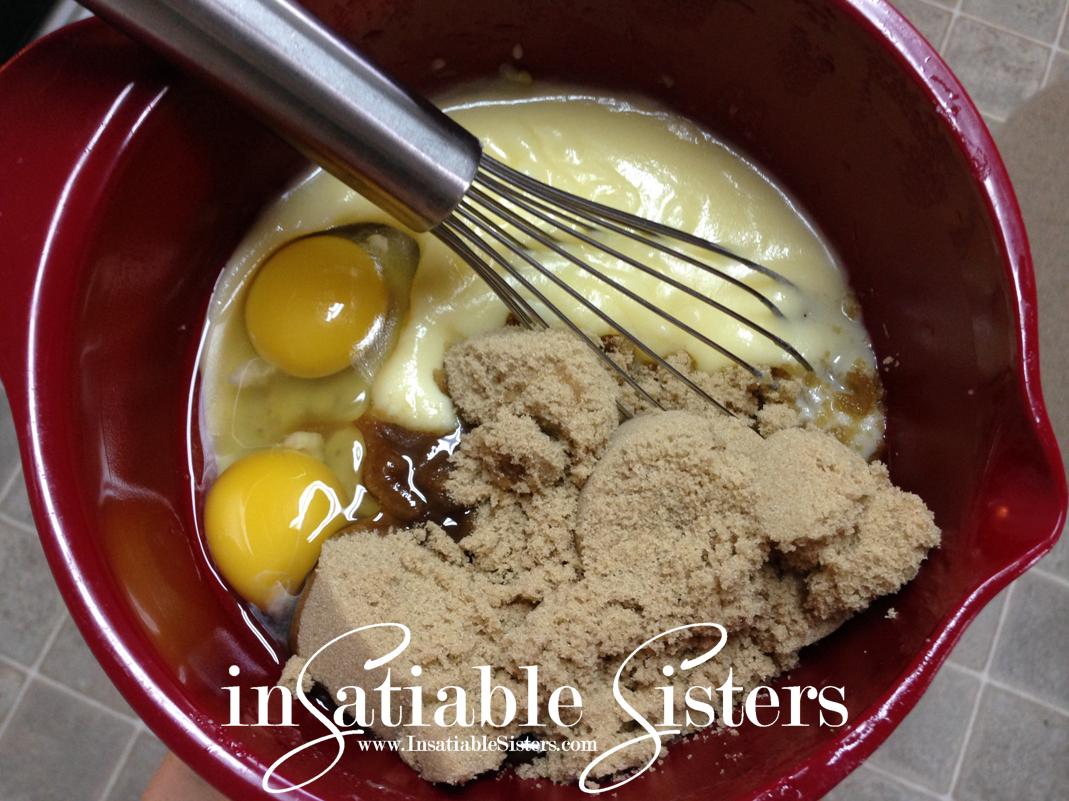
Whisk in melted butter, eggs, brown sugar, and vanilla.


Pour banana mixture into your flour mixture and stir until just combined.  Do not over stir. Some flour streaks are okay.  Gently fold in walnuts if you’re using them.

Scrape batter into prepared pan and sprinkle granulated sugar evenly over the surface.

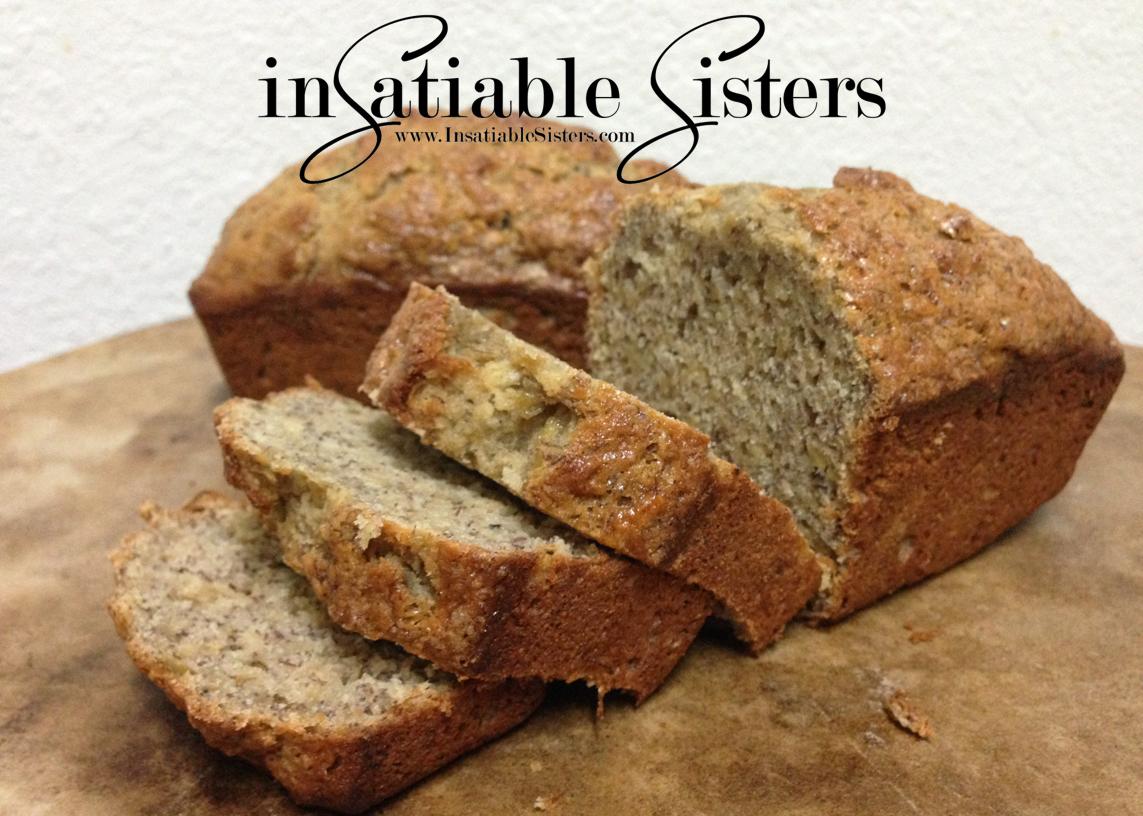
Bake until a toothpick inserted into the center of the loaf comes out clean, approx 55-75 minutes.  Cool bread in the pan on a wire rack for about 15 minutes, then remove loaf from pan and continue to cool on a wire rack.

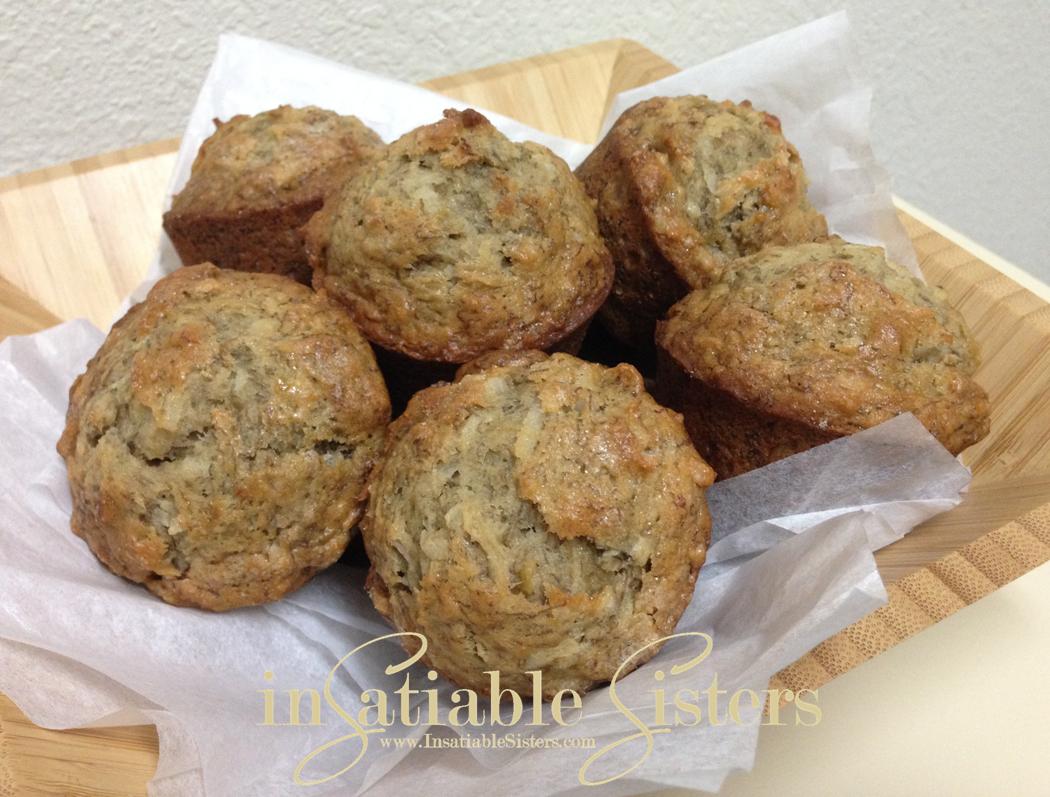
**Note:  I used a mini loaf pan and a muffin pan instead of the larger, single loaf pan.  I started checking them at 30 minutes.  The muffins were slightly drier than the loaf and I would probably turn the oven down a few degrees the next time.

***Variation:  I added ½ cup of flaked coconut to the muffins and they were SO good!

Slice loaf and serve slightly warm or room temperature.  Enjoy!

Strawberry Shortcake Scones

These scones were a very happy accident. Fresh strawberries are in abundance this fall and I wanted to use them in a simple recipe that really elevated the strawberry flavor without adding a ton of sugar.  I remembered the basic scone recipe that my friend Dani game me and, hence, these babies were born.  They only take about 30 minutes from start to finish, so not only are they delicious, they’re easy!


Ingredients:

2 Cups Flour
2 Tbs Sugar
2 tsp baking powder
1 tsp kosher salt
½ tsp baking soda
5 Tbs butter, cold and cubed
1 egg, separated
8 oz plain greek yogurt
2 Cups chopped strawberries (sweetened slightly with 1 tsp sugar, if desired)
3 oz cream cheese, cubed and frozen (or VERY firm)
1 Tbs raw sugar

Glaze (optional):
5 Tbs powdered sugar
½ tsp milk
⅛ tsp vanilla
*This amount only makes a TINY amount of glaze…just a few “stripes” for each scone.  If you want a heavier glaze, just double the recipe.

Directions:

Put all dry ingredients into a bowl and whisk to combine.  Add cold butter in chunks and stir into the flour mixture.  Add egg yolk and greek yogurt and cut it into the flour mixture using a pastry blender.  Dough will be crumbly.  Add strawberries and cream cheese and gently fold them into the dough.
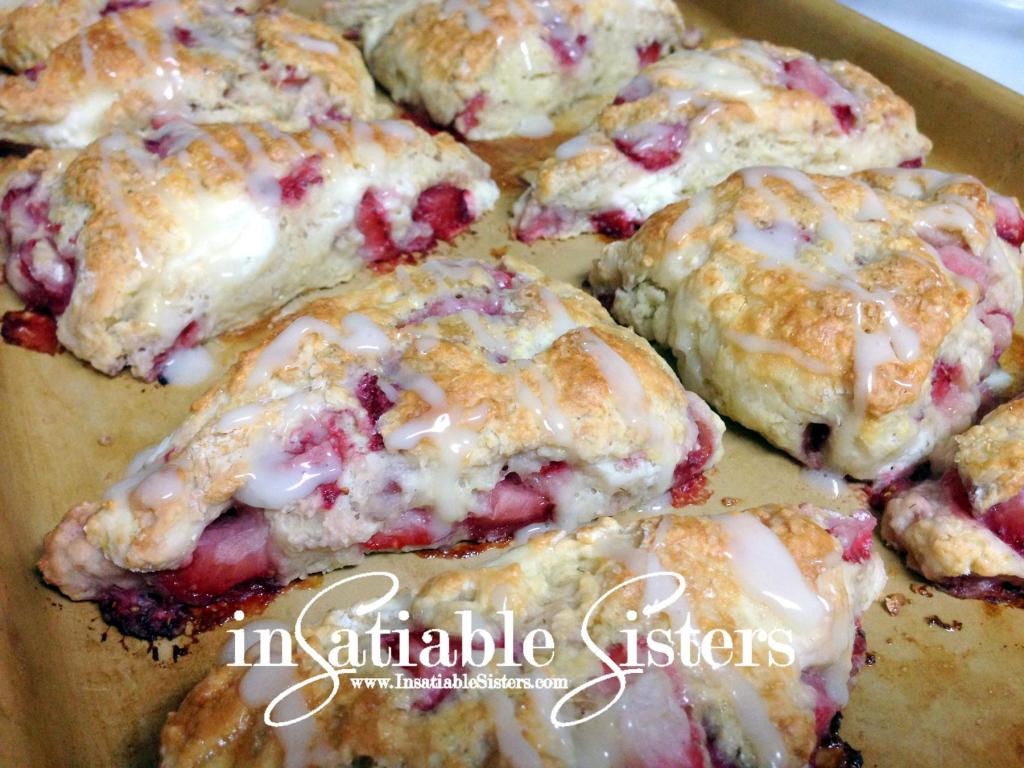
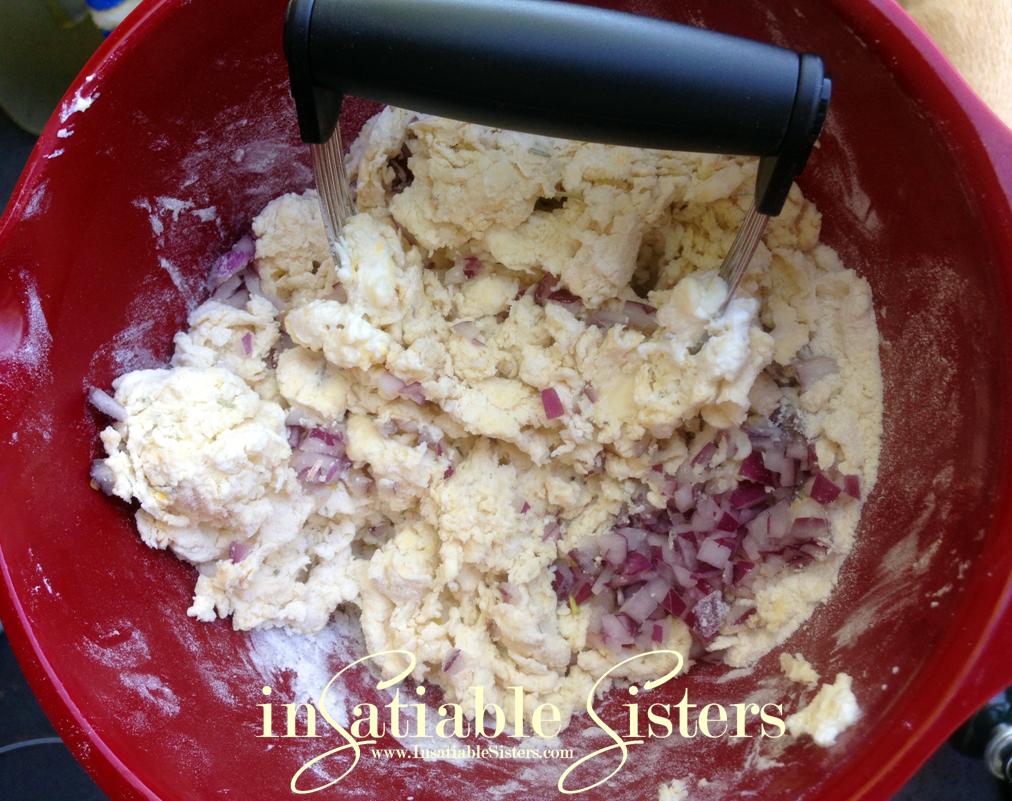
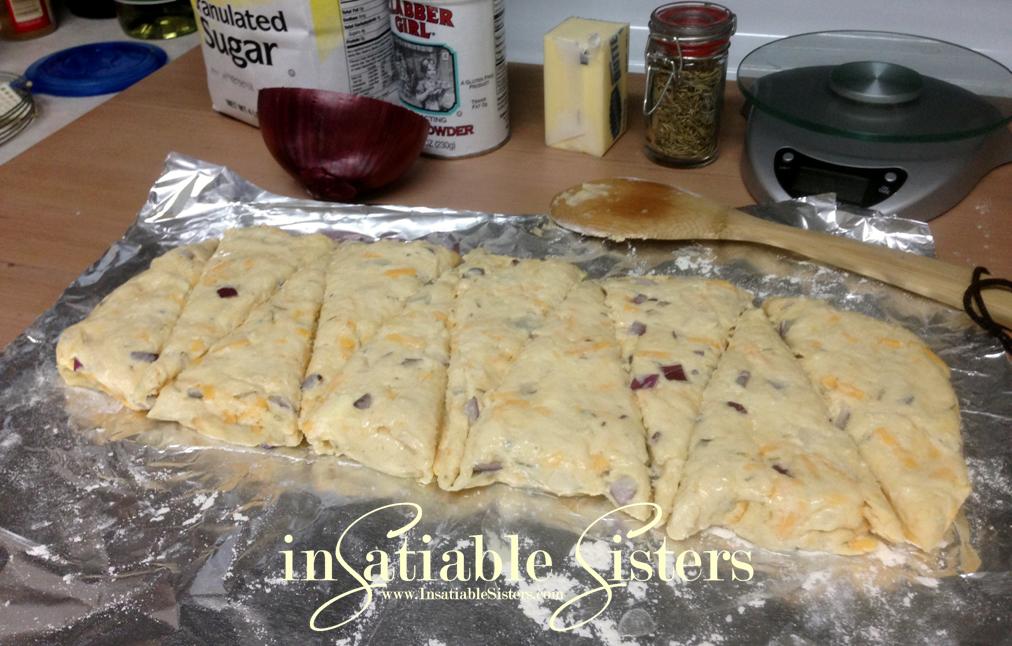
Lightly flour your counter top and form the dough into a flat disk.  If the dough seems moist, due to the juicy strawberries, press a little extra flour into the top and sides of the disk.  Cut into 10 even triangles. 

Place the triangles on a sprayed baking sheet, about 1 inch apart.  Brush with the egg whites and sprinkle with raw sugar, if desired.  I use Sugar in the Raw.
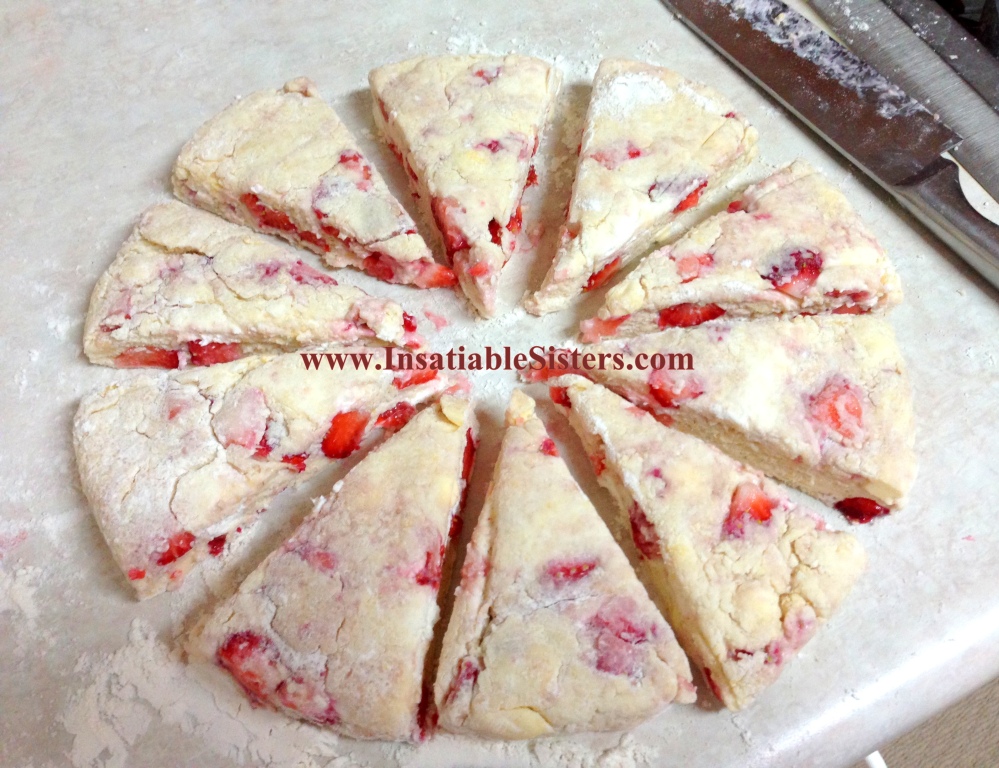
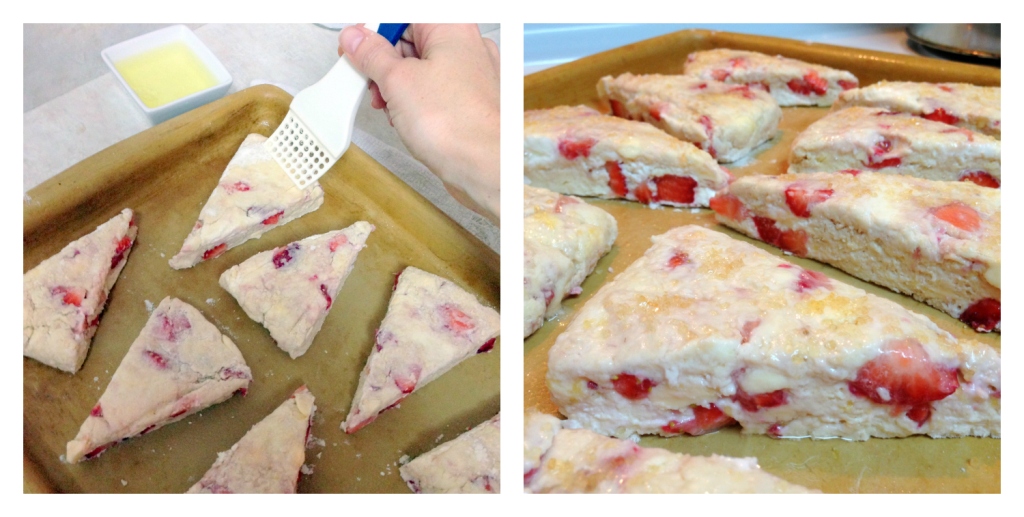
Bake in a 400 degree oven for 15 minutes.  Tops should be golden brown.  Drizzle a small amount of glaze over each scone.  Serve immediately.

*Due to the short shelf life of strawberries, these scones need to be eaten within a day of baking…if they last that long.

Roasted Pumpkin Seeds

IMG_3747You’ve carved your pumpkin, now don’t throw out those seeds!  Pumpkin seeds are a great, healthy snack as they’re full of zinc, vitamin E, and healthy fats.  They are simply delicious with just a little salt, or you can get creative and try some different herbs and spices.

Ingredients:
Pumpkin Seeds
Olive Oil
Salt and/or Desired Seasoning

Directions:

Preheat oven on to 300 degrees.

Remove the seeds from the flesh and wash thoroughly.  Lay them out on a clean towel and pat dry.  They will stick to your towel…this is okay.  Spread seeds out evenly on a lightly greased (or sprayed) baking sheet and roast them plain for 30 minutes.

Remove roasted seeds and toss them in a bowl with a drizzle of olive oil, salt and/or whatever seasonings you have chosen.  Put them back in the oven for another 20 minutes.  Enjoy!  (See variations below.)

Variations:

The sky is the limit with flavor combinations!  In addition to standard salted seeds, here’s what I used:

1.  1 Tbs Olive Oil, 1 Tbs Cinnamon Sugar
2.  1 Tbs Olive Oil, ½ tsp Garlic Powder, ½ tsp Oregano, 1 Tbs Grated Parmesan, ½ tsp Himalayan Pink Salt
3.  1 Tbs Sesame Oil, tiny pinch of Cumin, ½ tsp Himalayan Pink Sea Salt

Our pumpkin masterpieces:

Salsa de Sophia Roja

What’s in a name?  There’s a 2-part story as to how this recipe got its name.  Fresh, homemade salsa is one of the first foods that I started experimenting with.  I thought my original recipe was pretty good, using fresh (un-roasted) tomatoes.  Then my niece, Sophia, came back from almost a year in Guatemala and introduced me to their way of making salsa: roasting it.  Since then, I have roasted my salsa ingredients, both in the oven and on the grill, and it tastes amazing.

The second part of my story is this:  A couple years ago, Sophie and I were making salsa together.  Actually, I was making it, and she was hanging out.  =)  Once it was finished, we had about ½ gallon of red, spicy salsa.  It was beautiful.  After the salsa chilled for a bit, Sophie decided she wanted to have some with tortilla chips.  She pulled that big bowl out of the fridge….and dropped it on the floor.  NOOO!  All of that time, energy, and those beautiful tomatoes and peppers all over the floor!  Here’s the best part…I’m not sure if I’m allowed to tell you this, but she actually scooped a lot of it off the floor and ate it.  Don’t kill me, Sophie!

Since Sophie improved my salsa and provided me with a cringe-worthy story, she will be forever associated with this recipe, hence the name.

Ingredients:
(Think of these ingredients as more of a guideline and feel free to experiment.)

6 large Roma Tomatoes (or similar vine ripened tomato)
9 mini or about 2 regular bell peppers – Red, Orange, or Yellow
2 green chili peppers
2 jalapeños (optional)
2 cloves (pieces) garlic
2 stalks of green onion, chopped
1 cup cilantro, rough chopped
1 tbs lime juice
1 tbs white vinegar
1 tsp kosher salt + salt to taste

Directions:

Preheat your roasting appliance of choice:  Grill=low flame, Oven=400 degrees

Wash tomatoes and peppers.  If grilling, arrange them directly on the grill rack.  Oven users, arrange on a cookie sheet or other oven safe vessel.  Make sure they have plenty of room to roast and do not stack.

Allow to roast 15-30 minutes or until skin is blistered, TURNING THEM ABOUT EVERY 5 MINUTES.  The turning is especially imperative for grill users.  A little char is okay, but you don’t want blackened produce.  You may want to rotate them to get an even roast, but be careful not to squeeze any of the juice out of the tomatoes!  

Once roasting is finished, ALLOW PRODUCE TO COOL COMPLETELY before handling. When they are cool, carefully peel off the outer membrane.  For the peppers:  cut them open and scrape out all the seeds.  You may choose to use rubber gloves for this step. Cut into large chunks, toss them all into the blender with the garlic, and pulse until your desired consistency is reached.

Dump the tomato mixture into a bowl, add remaining ingredients, salt to taste, and devour.

Makes about 5 cups of salsa.

Cheddar Rosemary Savory Scones

Recently, I’ve become a little obsessed with fresh scones. My friend Danielle shared her recipe with me, and since then I’ve made several delicious variations using her basic recipe. In this particular creation, I’ve made a savory scone with rosemary, sharp cheddar and red onion. This recipe is quick and simple…only half hour to delicious homemade scones! I hope you enjoy it as much as I have!

Ingredients:

2 cups flour
2 tablespoons sugar
2 teaspoons baking powder
1 teaspoon kosher salt, + a pinch
1/2 teaspoon baking soda
1 tablespoon dried rosemary
5 tablespoons butter
1 egg, separated
8 oz plain greek yogurt
½ cup finely chopped red onion
1 cup shredded sharp cheddar

Directions:

Preheat oven to 400.
Mix all dry ingredients together (including rosemary). Add butter in chunks.

Add egg yolk, yogurt, and onions. Combine all ingredients thoroughly using a pastry blender. Stir in shredded cheddar.

Flour your countertop and form the dough into a long rectangle. Cut dough into 10 even triangles, then brush with egg white and sprinkle with kosher salt.

Arrange scone triangles on a baking stone. Bake at 400 degrees for 15 minutes. Allow to cool directly on the stone. Enjoy!

Fried Oysters

Here’s another awesome oyster recipe from Sarah Goedhart! You can’t have too many oysters on Valentine’s Day! Love is in the air!

Ingredients:

1 Jar fresh Pacific oysters
1 egg
1 tbsp milk
1/3 cup AP flour
2 tbsp blackened seasoning
¾ cup Panko breadcrumbs
1 tsp Italian seasoning
Vegetable oil for frying

Hot Sauce:

½ cup mayonnaise
2 tbsp Dijon mustard
2 tbsp Ketchup
4 tablespoons of horseradish
1-2 tsp of blackened seasoning

Directions:

Rinse oysters and pat dry. Set aside. Mix together the egg and milk in a small bowl. In a separate bowl mix together the AP flour and blackened seasoning. In another bowl mix Panko breadcrumbs and Italian seasoning.

To coat oysters, first dip them in the egg mixture, then coat them with the flour mixture and dust off excess flour. Lastly place in Panko mixture. Repeat until all oysters are coated then put them on a plate. Cover coated oysters with plastic wrap and refrigerate for at least 45 minutes.

Heat vegetable oil to to 375 degrees F. Once oil is hot place all oysters in pan and fry for 1-3 minutes or until golden brown on each side.

Place on plate with paper towels to drain and cool. Serve with hot sauce.