Blackberries are synonymous with Fall in the Pacific Northwest. Everywhere you go you can find fresh blackberries for sale, blackberry shakes and smoothies, blackberry desserts, jam & syrup…you name it! I’m lucky enough to have access to TONS of wild blackberry bushes that are heavy with ripe, juicy berries. I’ve been a little obsessive this season about making sure I’ve picked enough to last me through the winter, and my torn up hands are proof of that! But, it’s well worth it to have a nice supply in the freezer. Not only are they amazing in tons of recipes, but they also make flavorful (and pretty!) little ice cubes for your water.
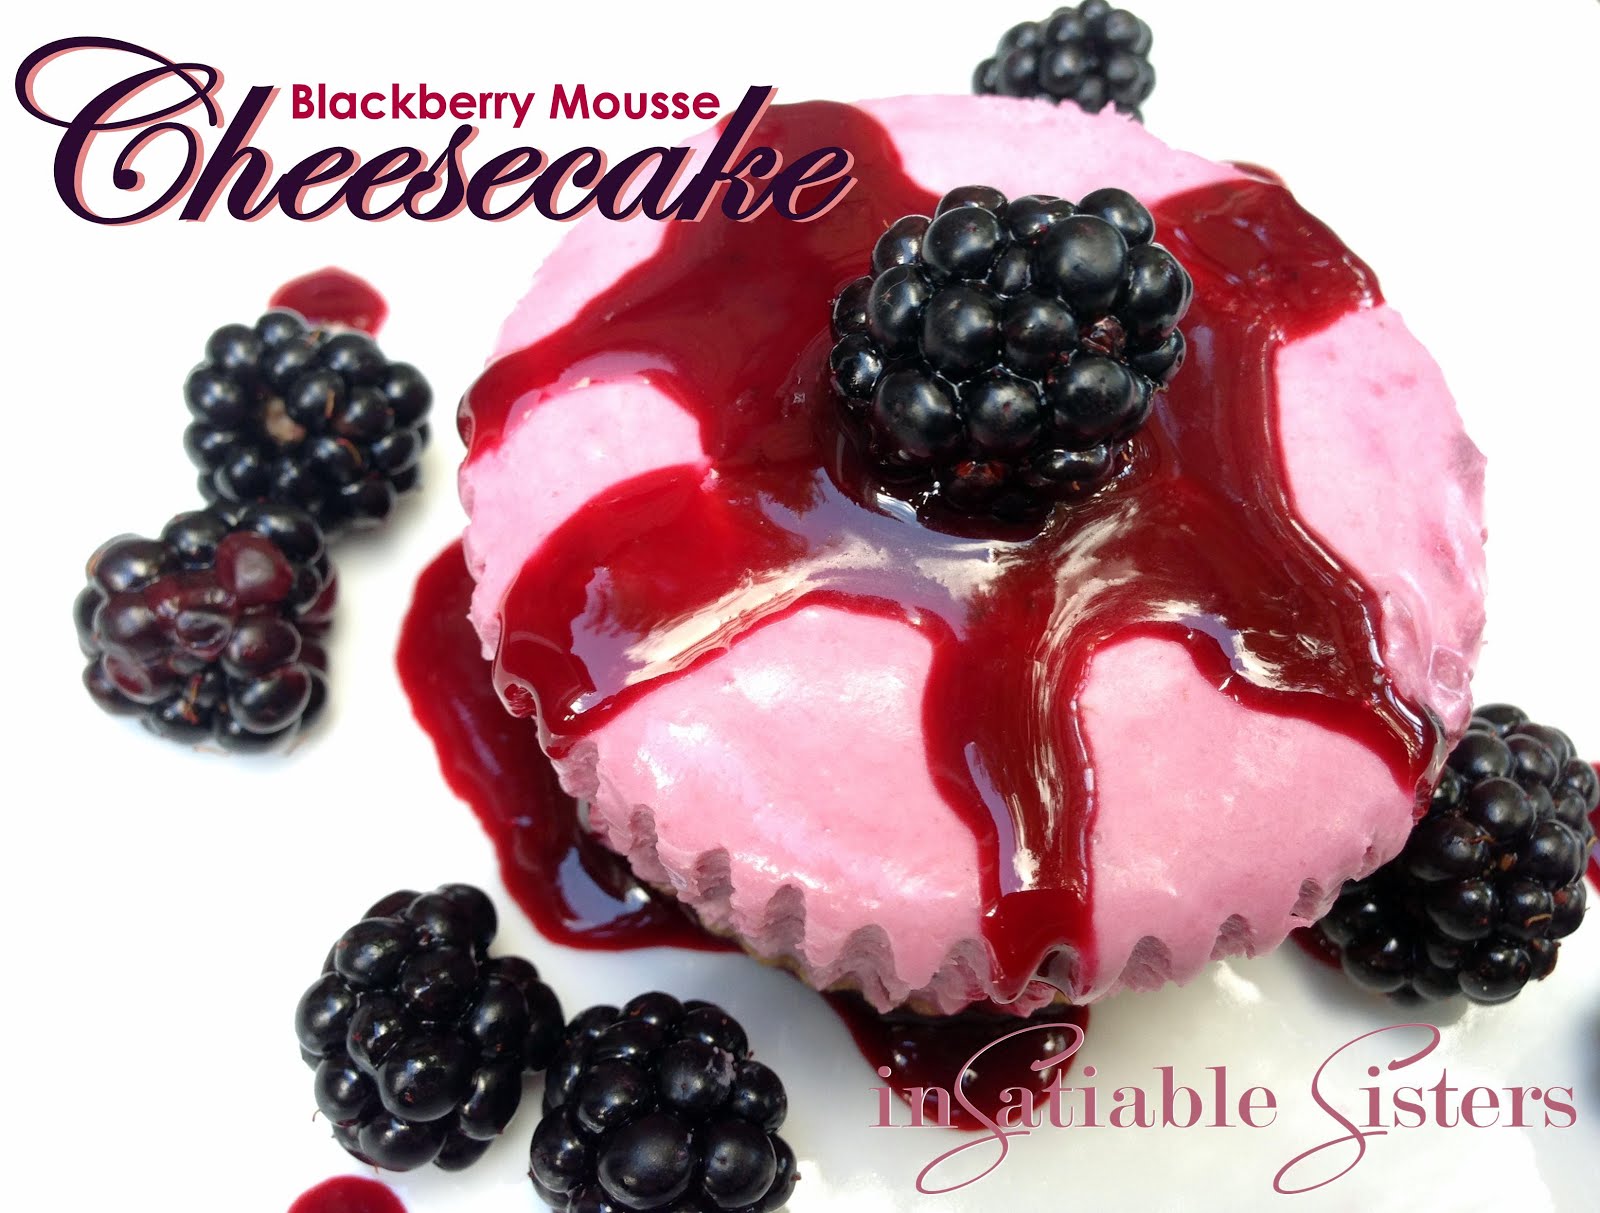
This recipe is a spin off from my Key Lime Cheesecake recipe. I used the same basic method with a few key ingredient swaps. Anyone who knows me knows that I’m not a dessert girl, but I could eat these all day! It’s light and moussy with tons of blackberry flavor, not to mention the color!! They’re pretty little things!
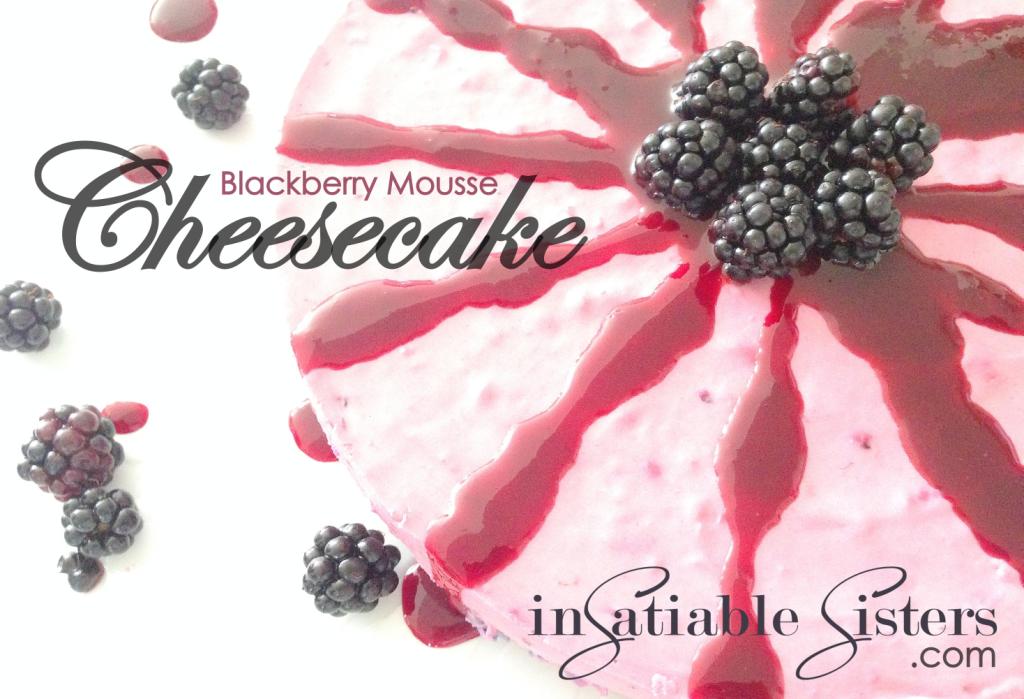
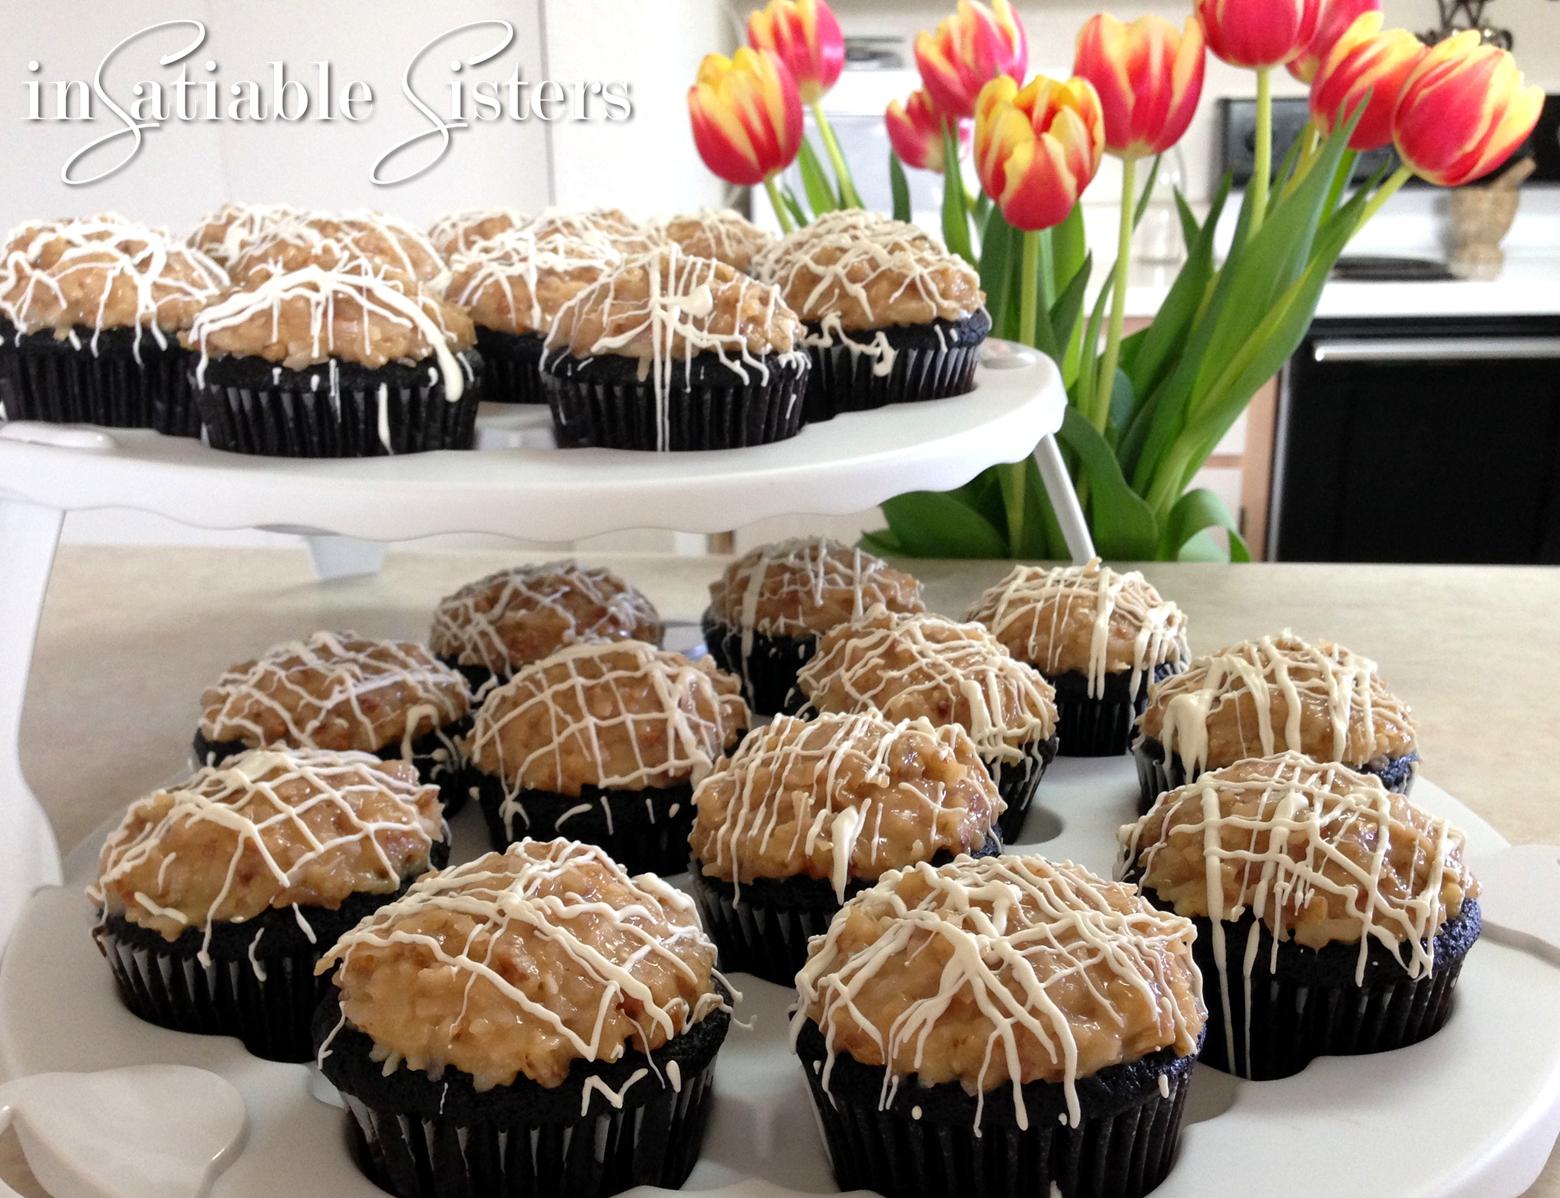
Keep in mind, the recipe as written includes the blackberry seeds. If you are someone who is sensitive to those hard little seeds, just replace the 2 cups of blackberries with 1 cup of fresh, strained blackberry juice. Also, you can prepare in two ways: traditional cheesecake in a spring-form pan, or, my favorite, cheesecake mini’s (as pictured above).
Happy Blackberry Season!!
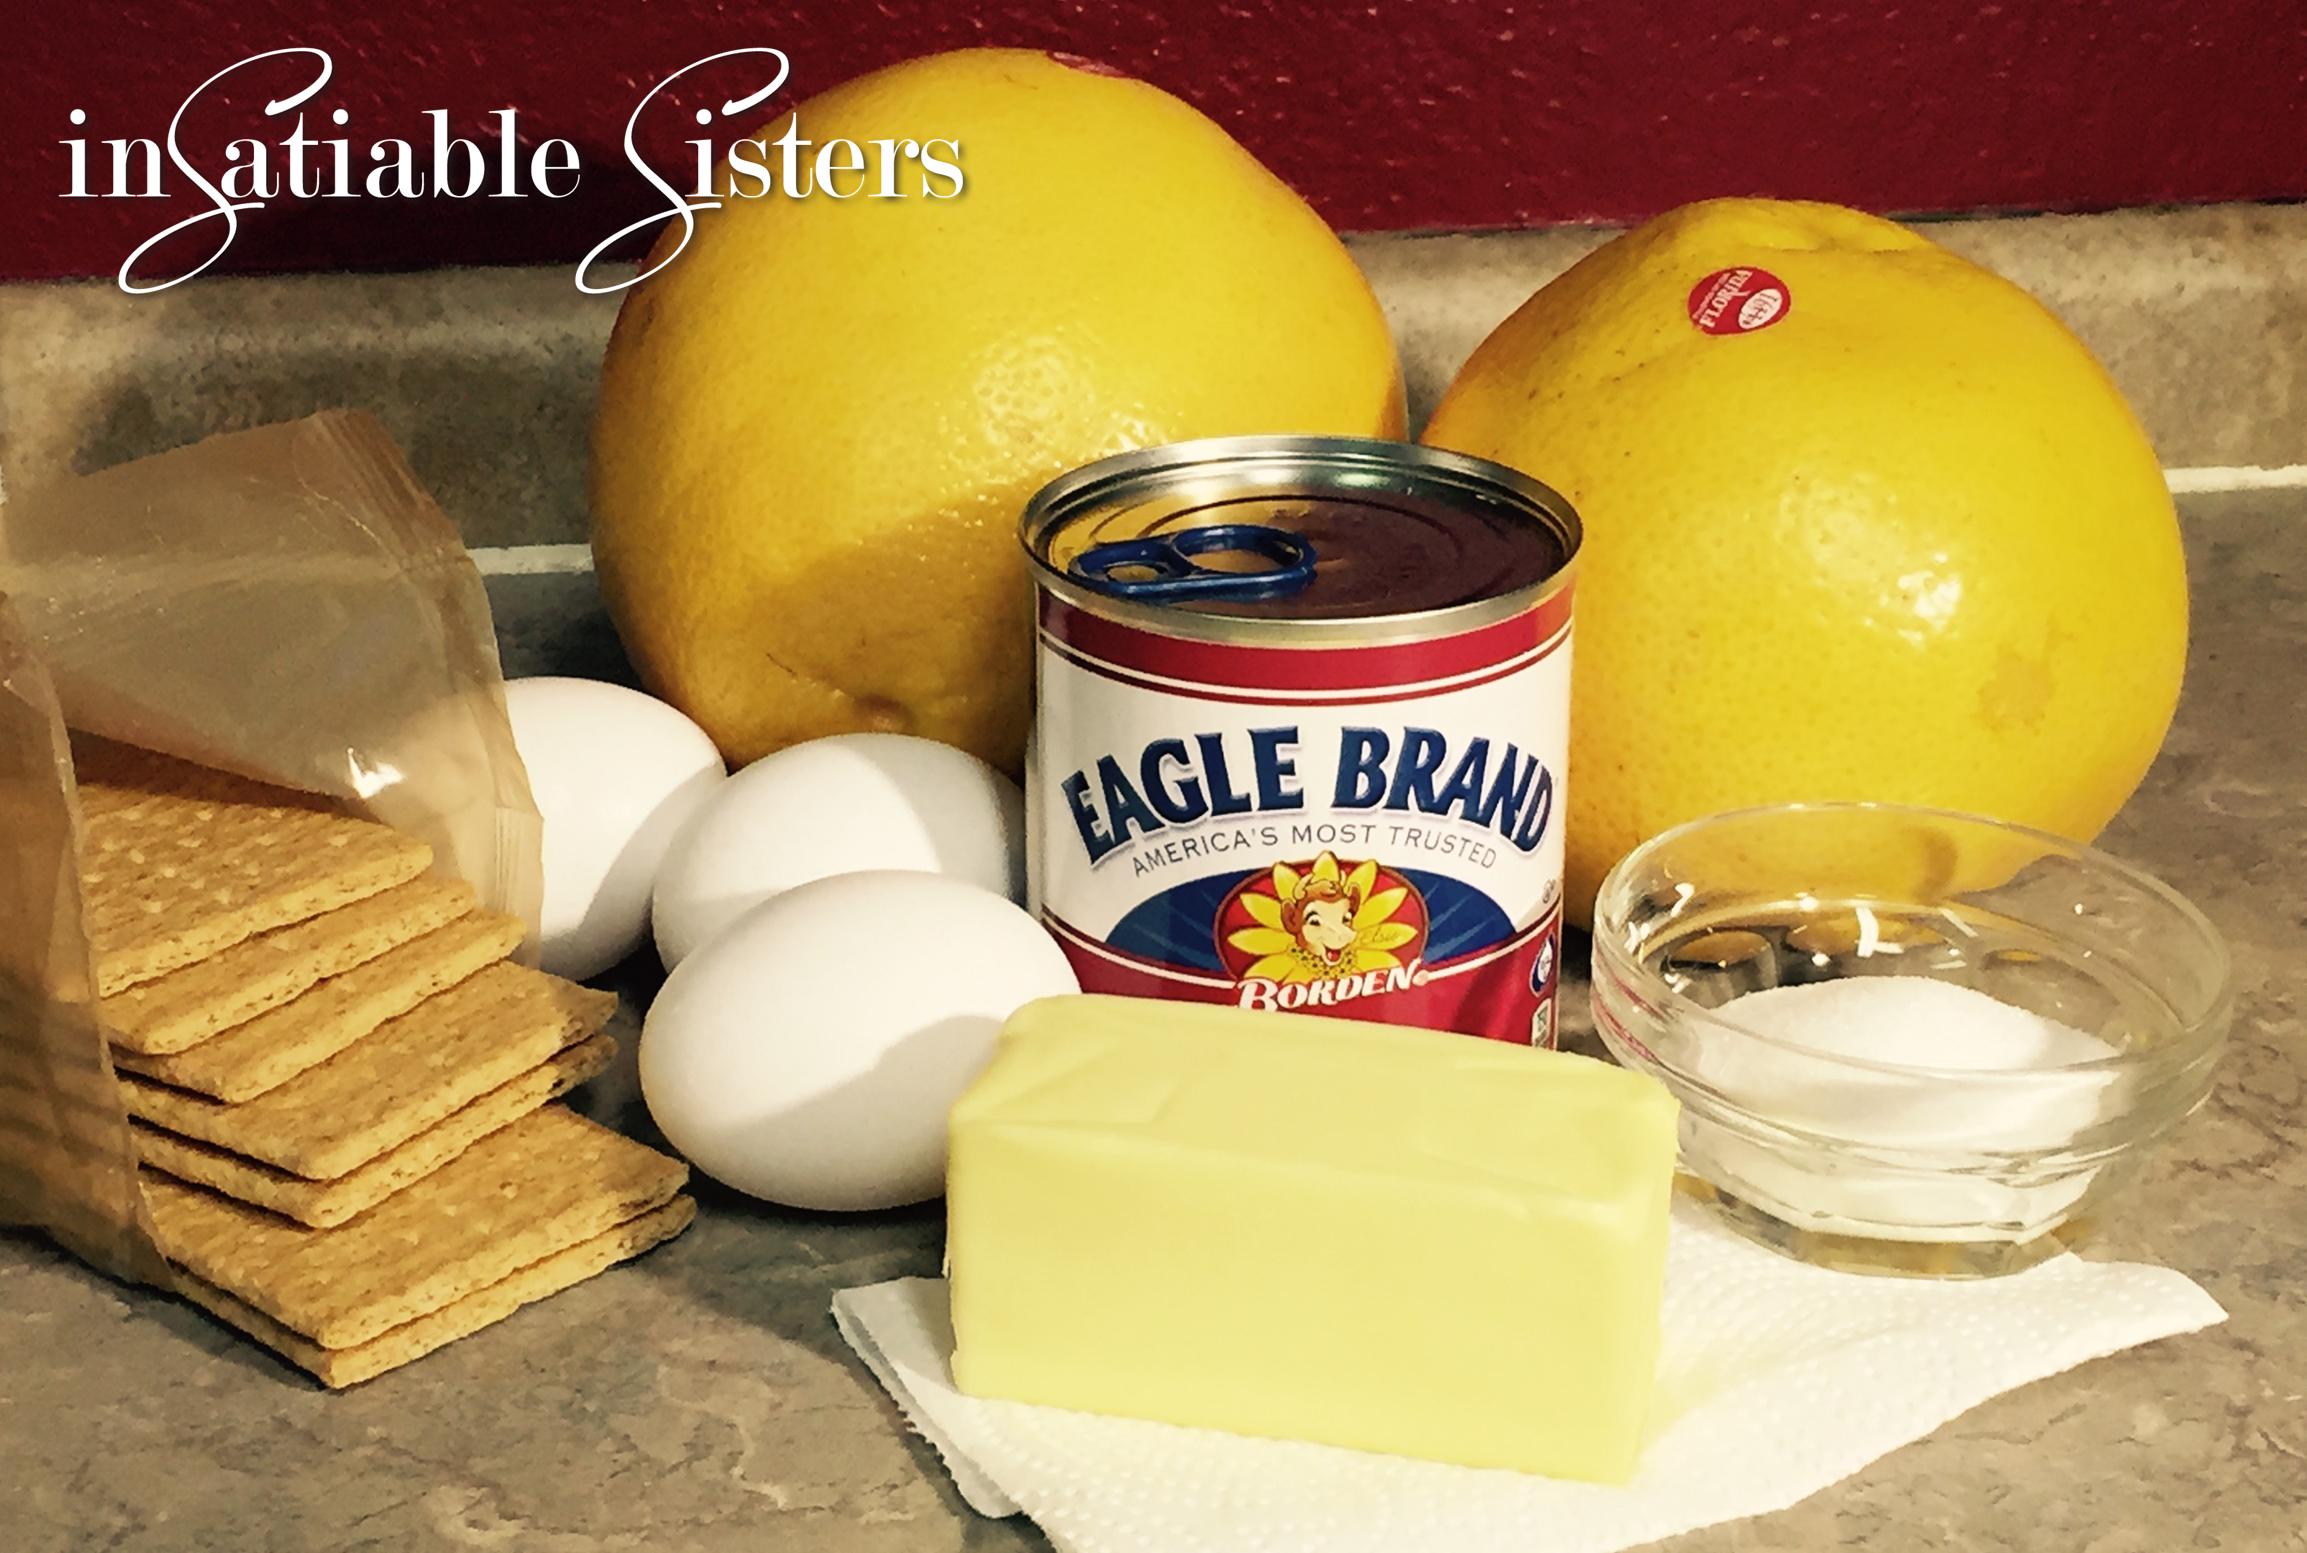
Ingredients:
Crust:
1 package Graham Crackers (approx 1 ½ cups crushed)
⅓ cup granulated sugar
6 tablespoons melted butter
½ teaspoon cinnamon
Blackberry Mousse:
2 cups fresh blackberries (or 1 cup fresh, strained blackberry juice for seedless texture)
¼ cup water
¼ cup lemon juice
2 envelopes Knox gelatin
1 cup sugar
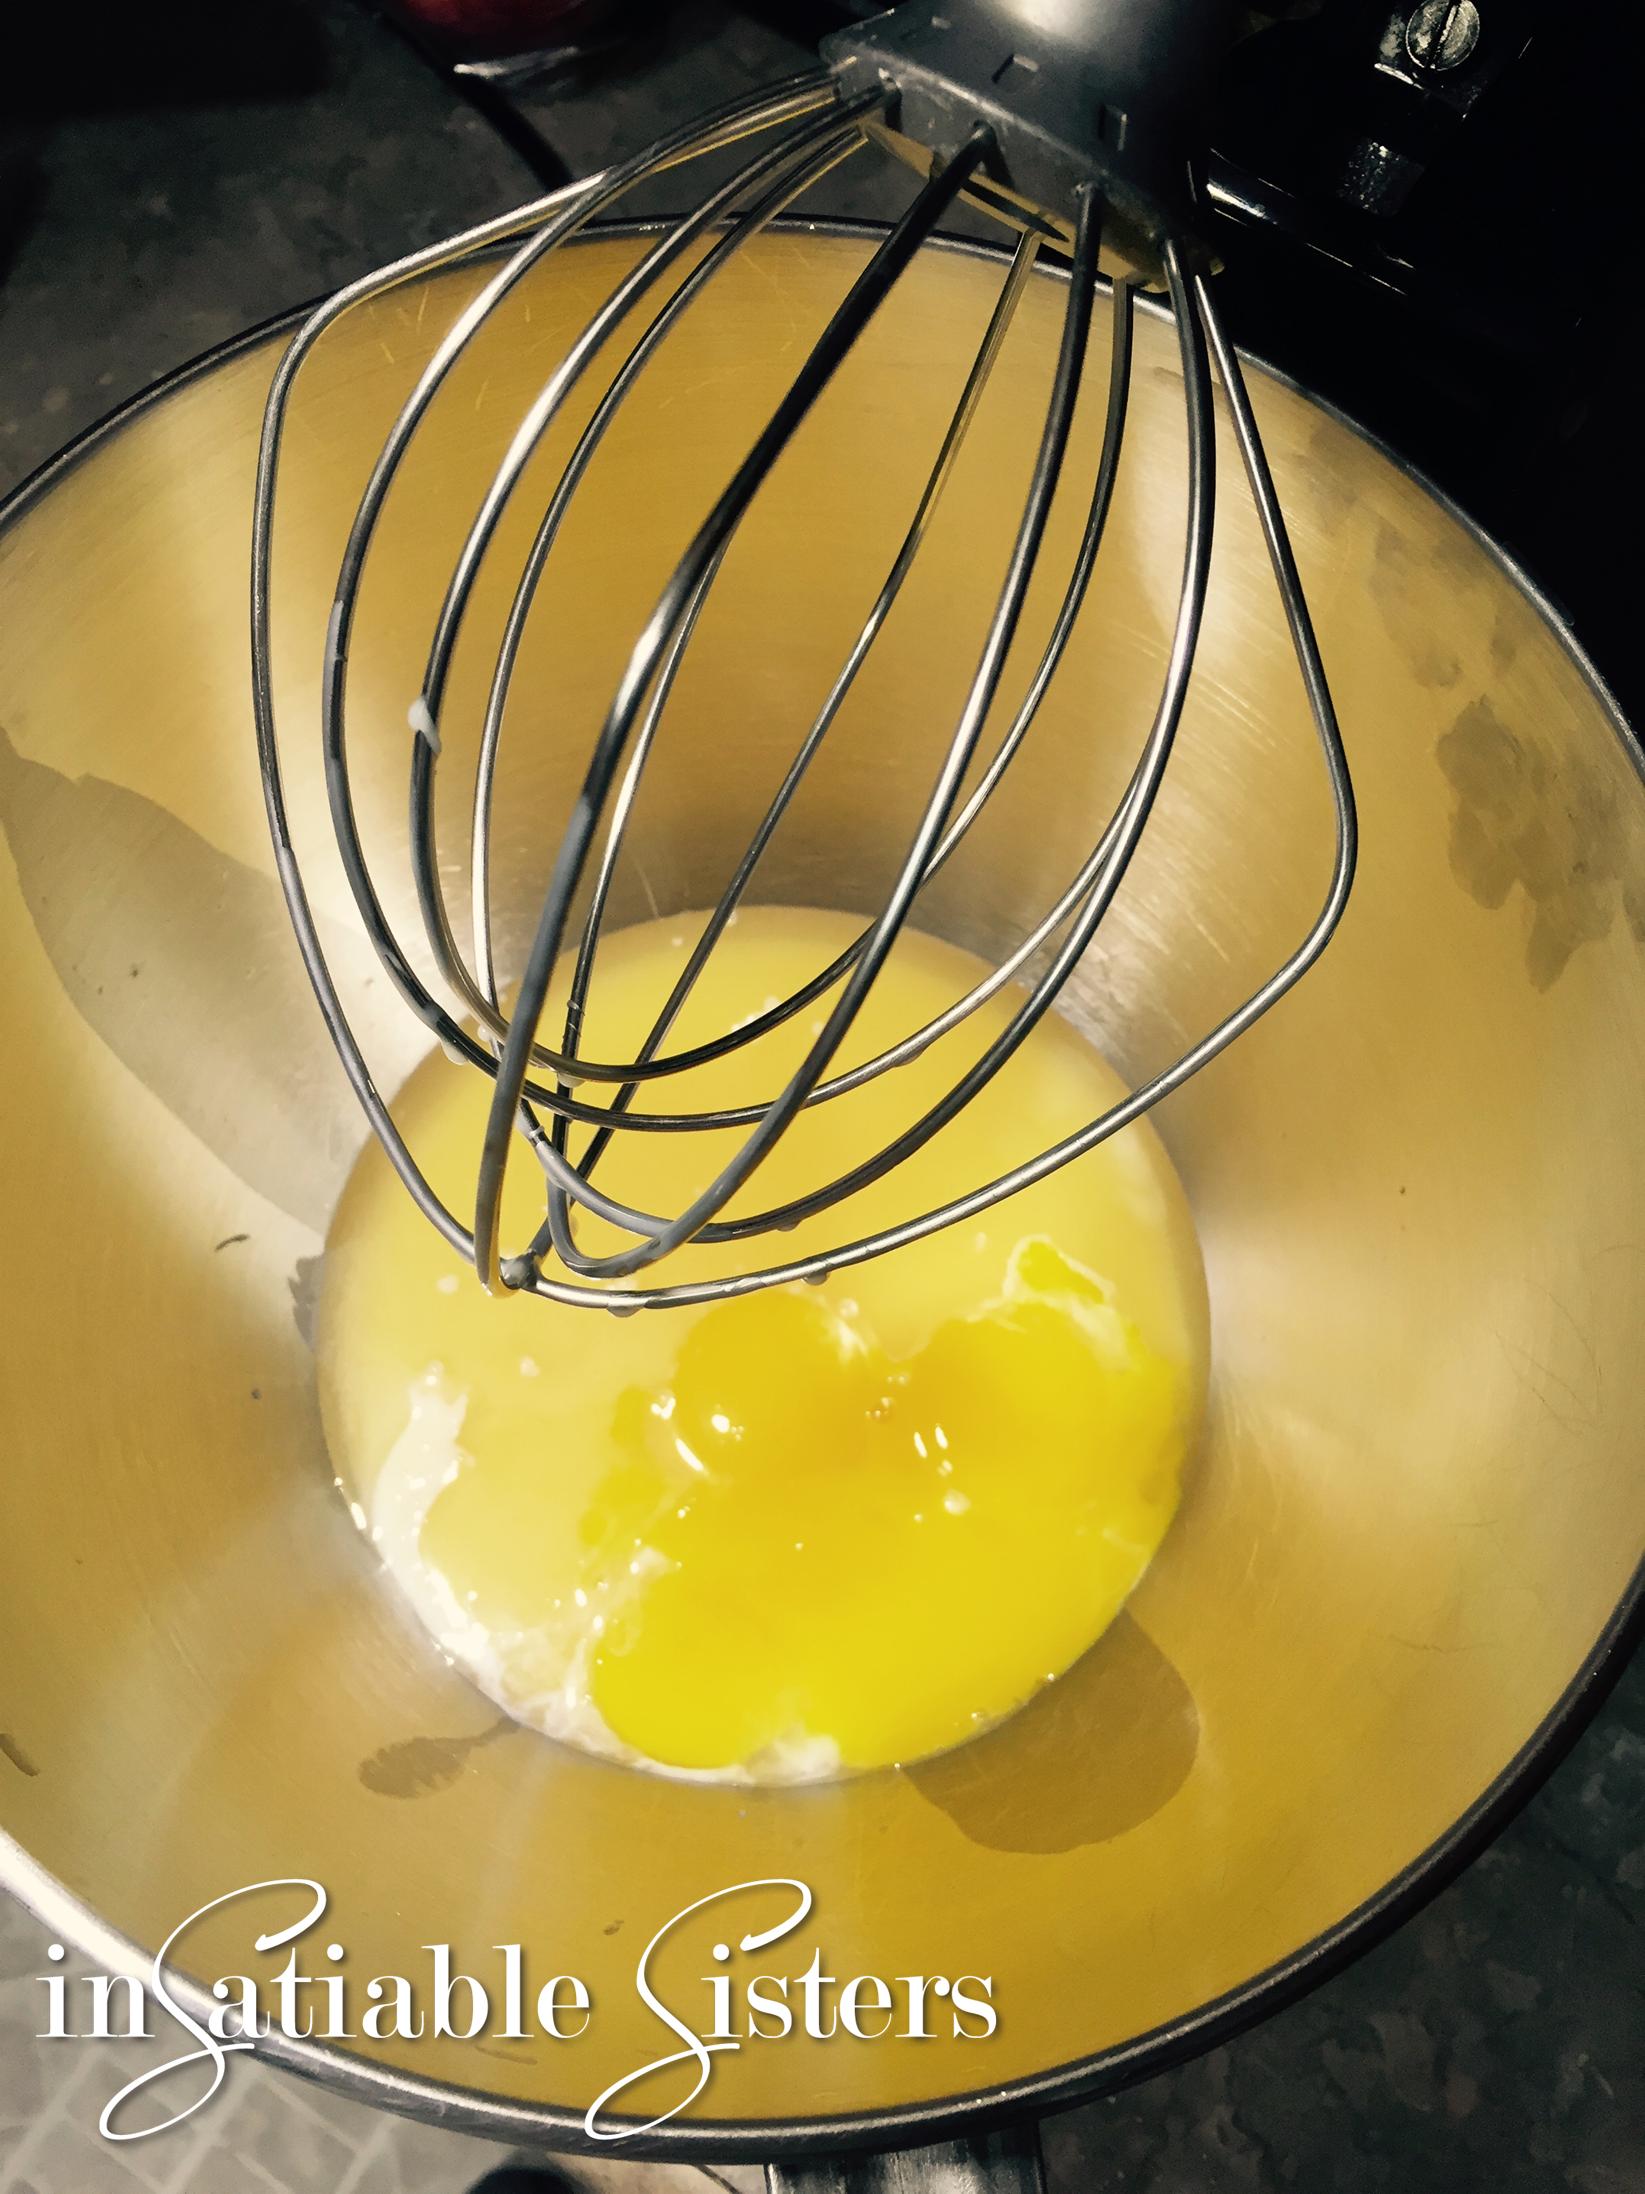
5 eggs
½ cup butter, softened
2 8-oz packages cream cheese, softened
1 cup heavy whipping cream
Optional Blackberry Syrup:
1 cup fresh blackberries
2 tablespoons lemon juice
2 tablespoons granulated sugar
Directions:
To Prepare Crust: In a food processor, process graham crackers until they turn to coarse crumbs. Transfer to a bowl, add melted butter, sugar and cinnamon. Stir until thoroughly combined and mixture is the consistency of wet sand. Press crumbs firmly into the bottom of an ungreased spring-form pan. (If you’re making individual cheesecakes in a cupcake pan, scroll to the bottom for further instructions.) Bake for 7 minutes. Remove and allow to cool completely.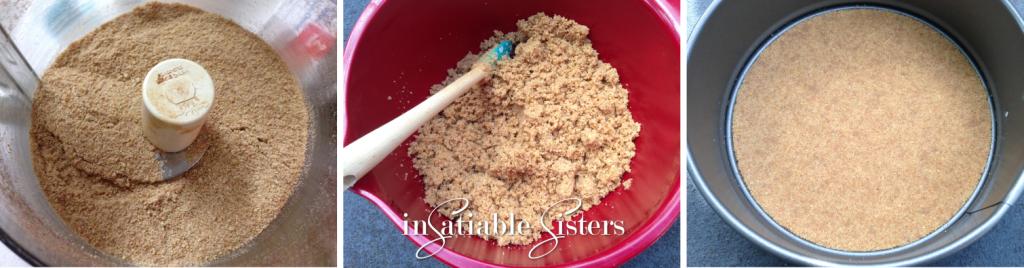
To Prepare Blackberry Syrup: In a small saucepan, mash blackberries. Add lemon juice and cook on medium heat until they release their juices, 5-10 minutes. Strain the liquid through a fine mesh strainer. Return to pan, add the sugar and cook on medium for another 5 minutes or until liquid coats the back of a spoon. Allow to cool completely.
To Prepare Blackberry Mousse: Add blackberries to a medium saucepan and give them a quick squish with a fork. Add water and Knox gelatin and allow to sit about 5 minutes until the gelatin begins to develop and the liquid thickens.
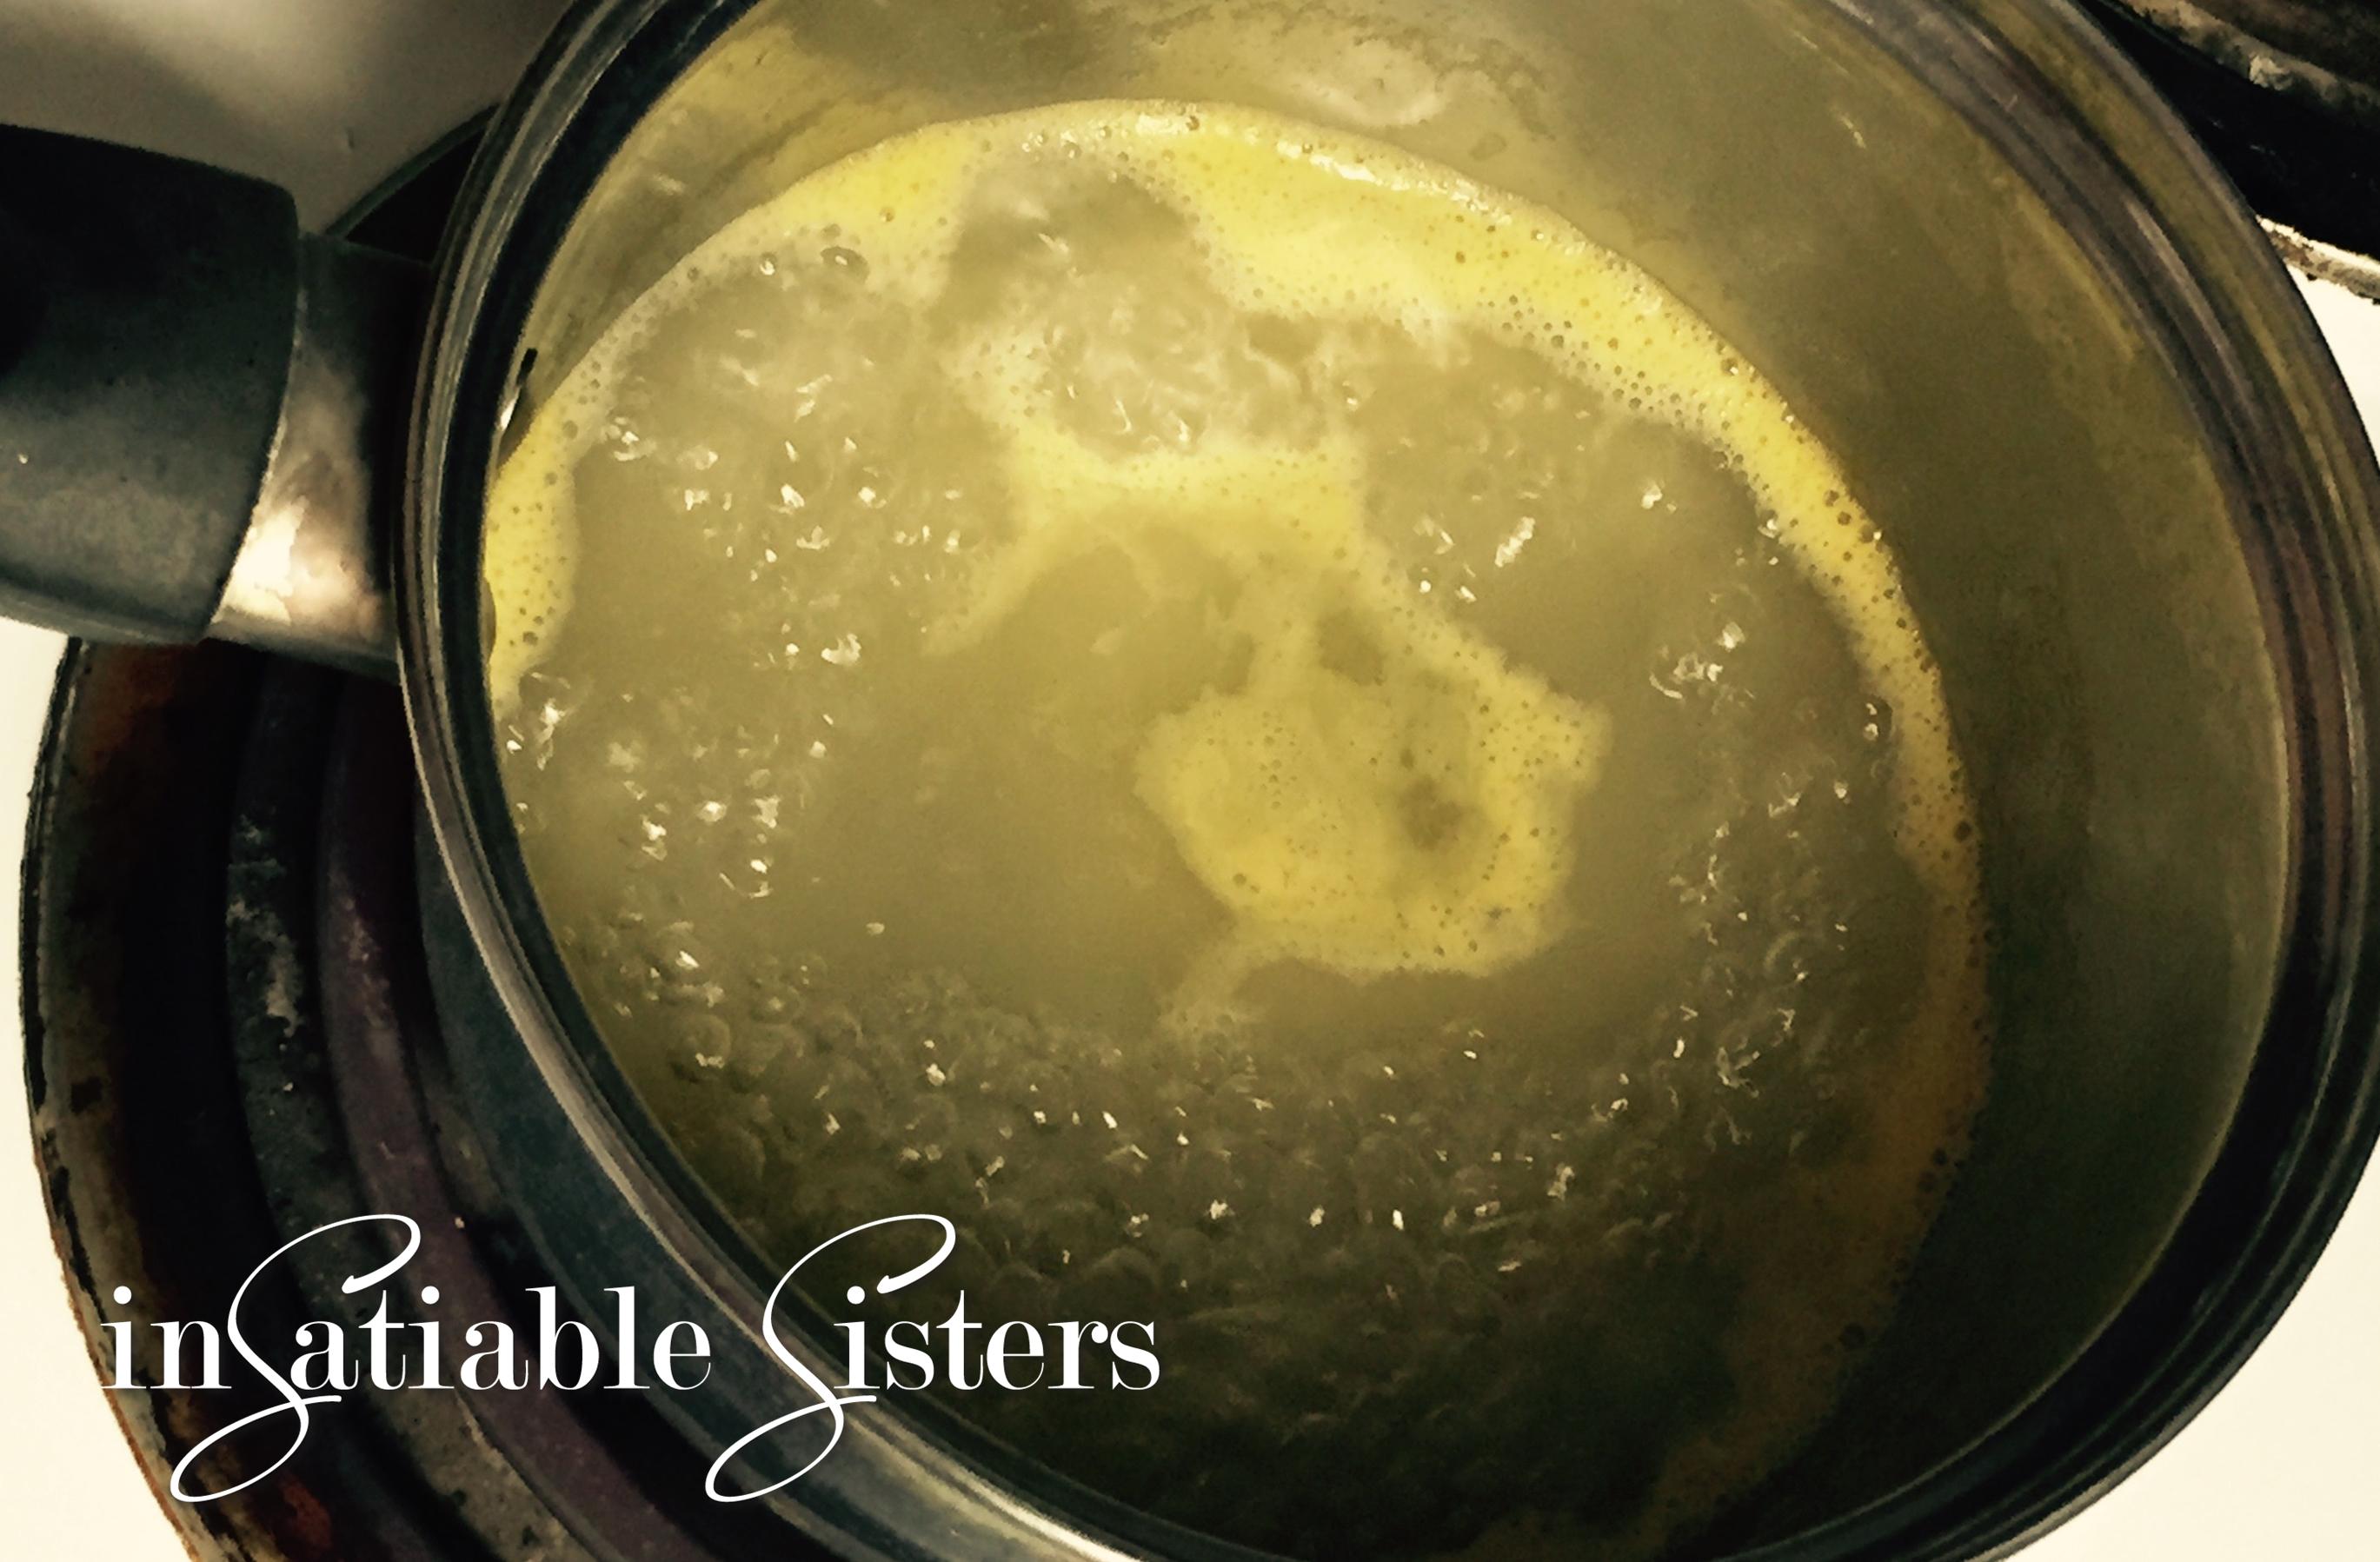
Add eggs and sugar and whisk until eggs are well beaten into the mixture. Turn your heat on medium and stir constantly while the mixture slowly comes to a boil. Stirring is VERY important, you don’t want to end up with scrambled eggs in your cheesecake!
Once the mixture has thickened remove from heat and set aside.
In a large mixing bowl, cream the butter and cream cheese together. Add the blackberry mixture and mix on medium speed until well combined, scraping the sides and bottom so that all of the cream cheese is incorporated. Refrigerate until cool stirring occasionally, about 1 hour.
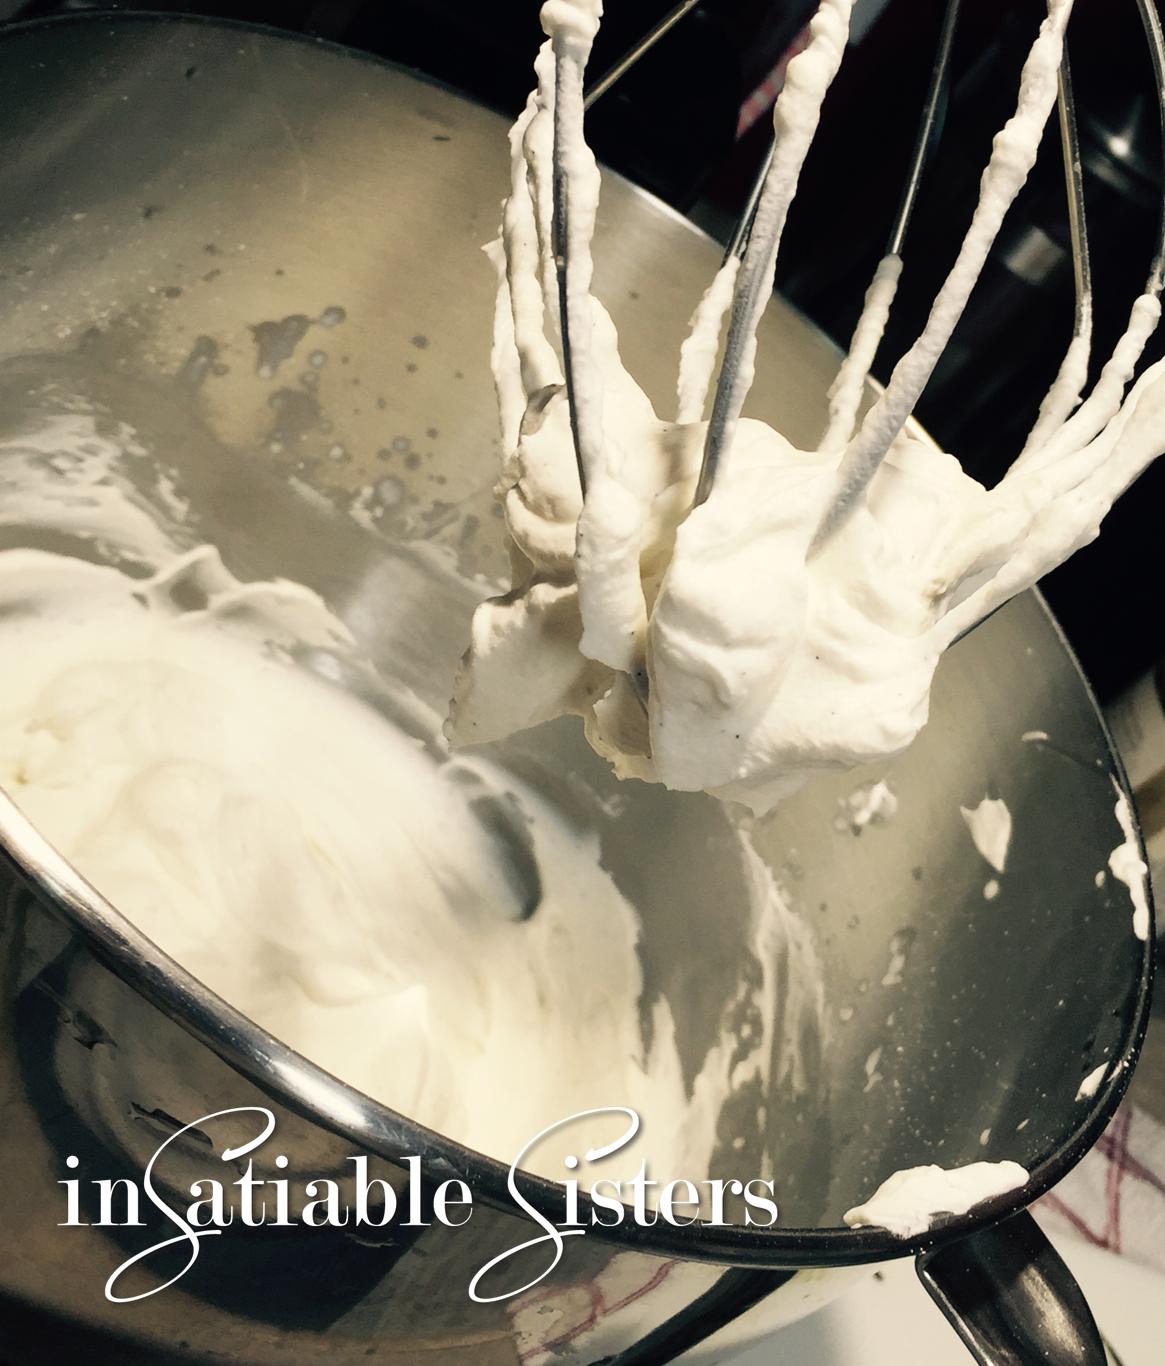
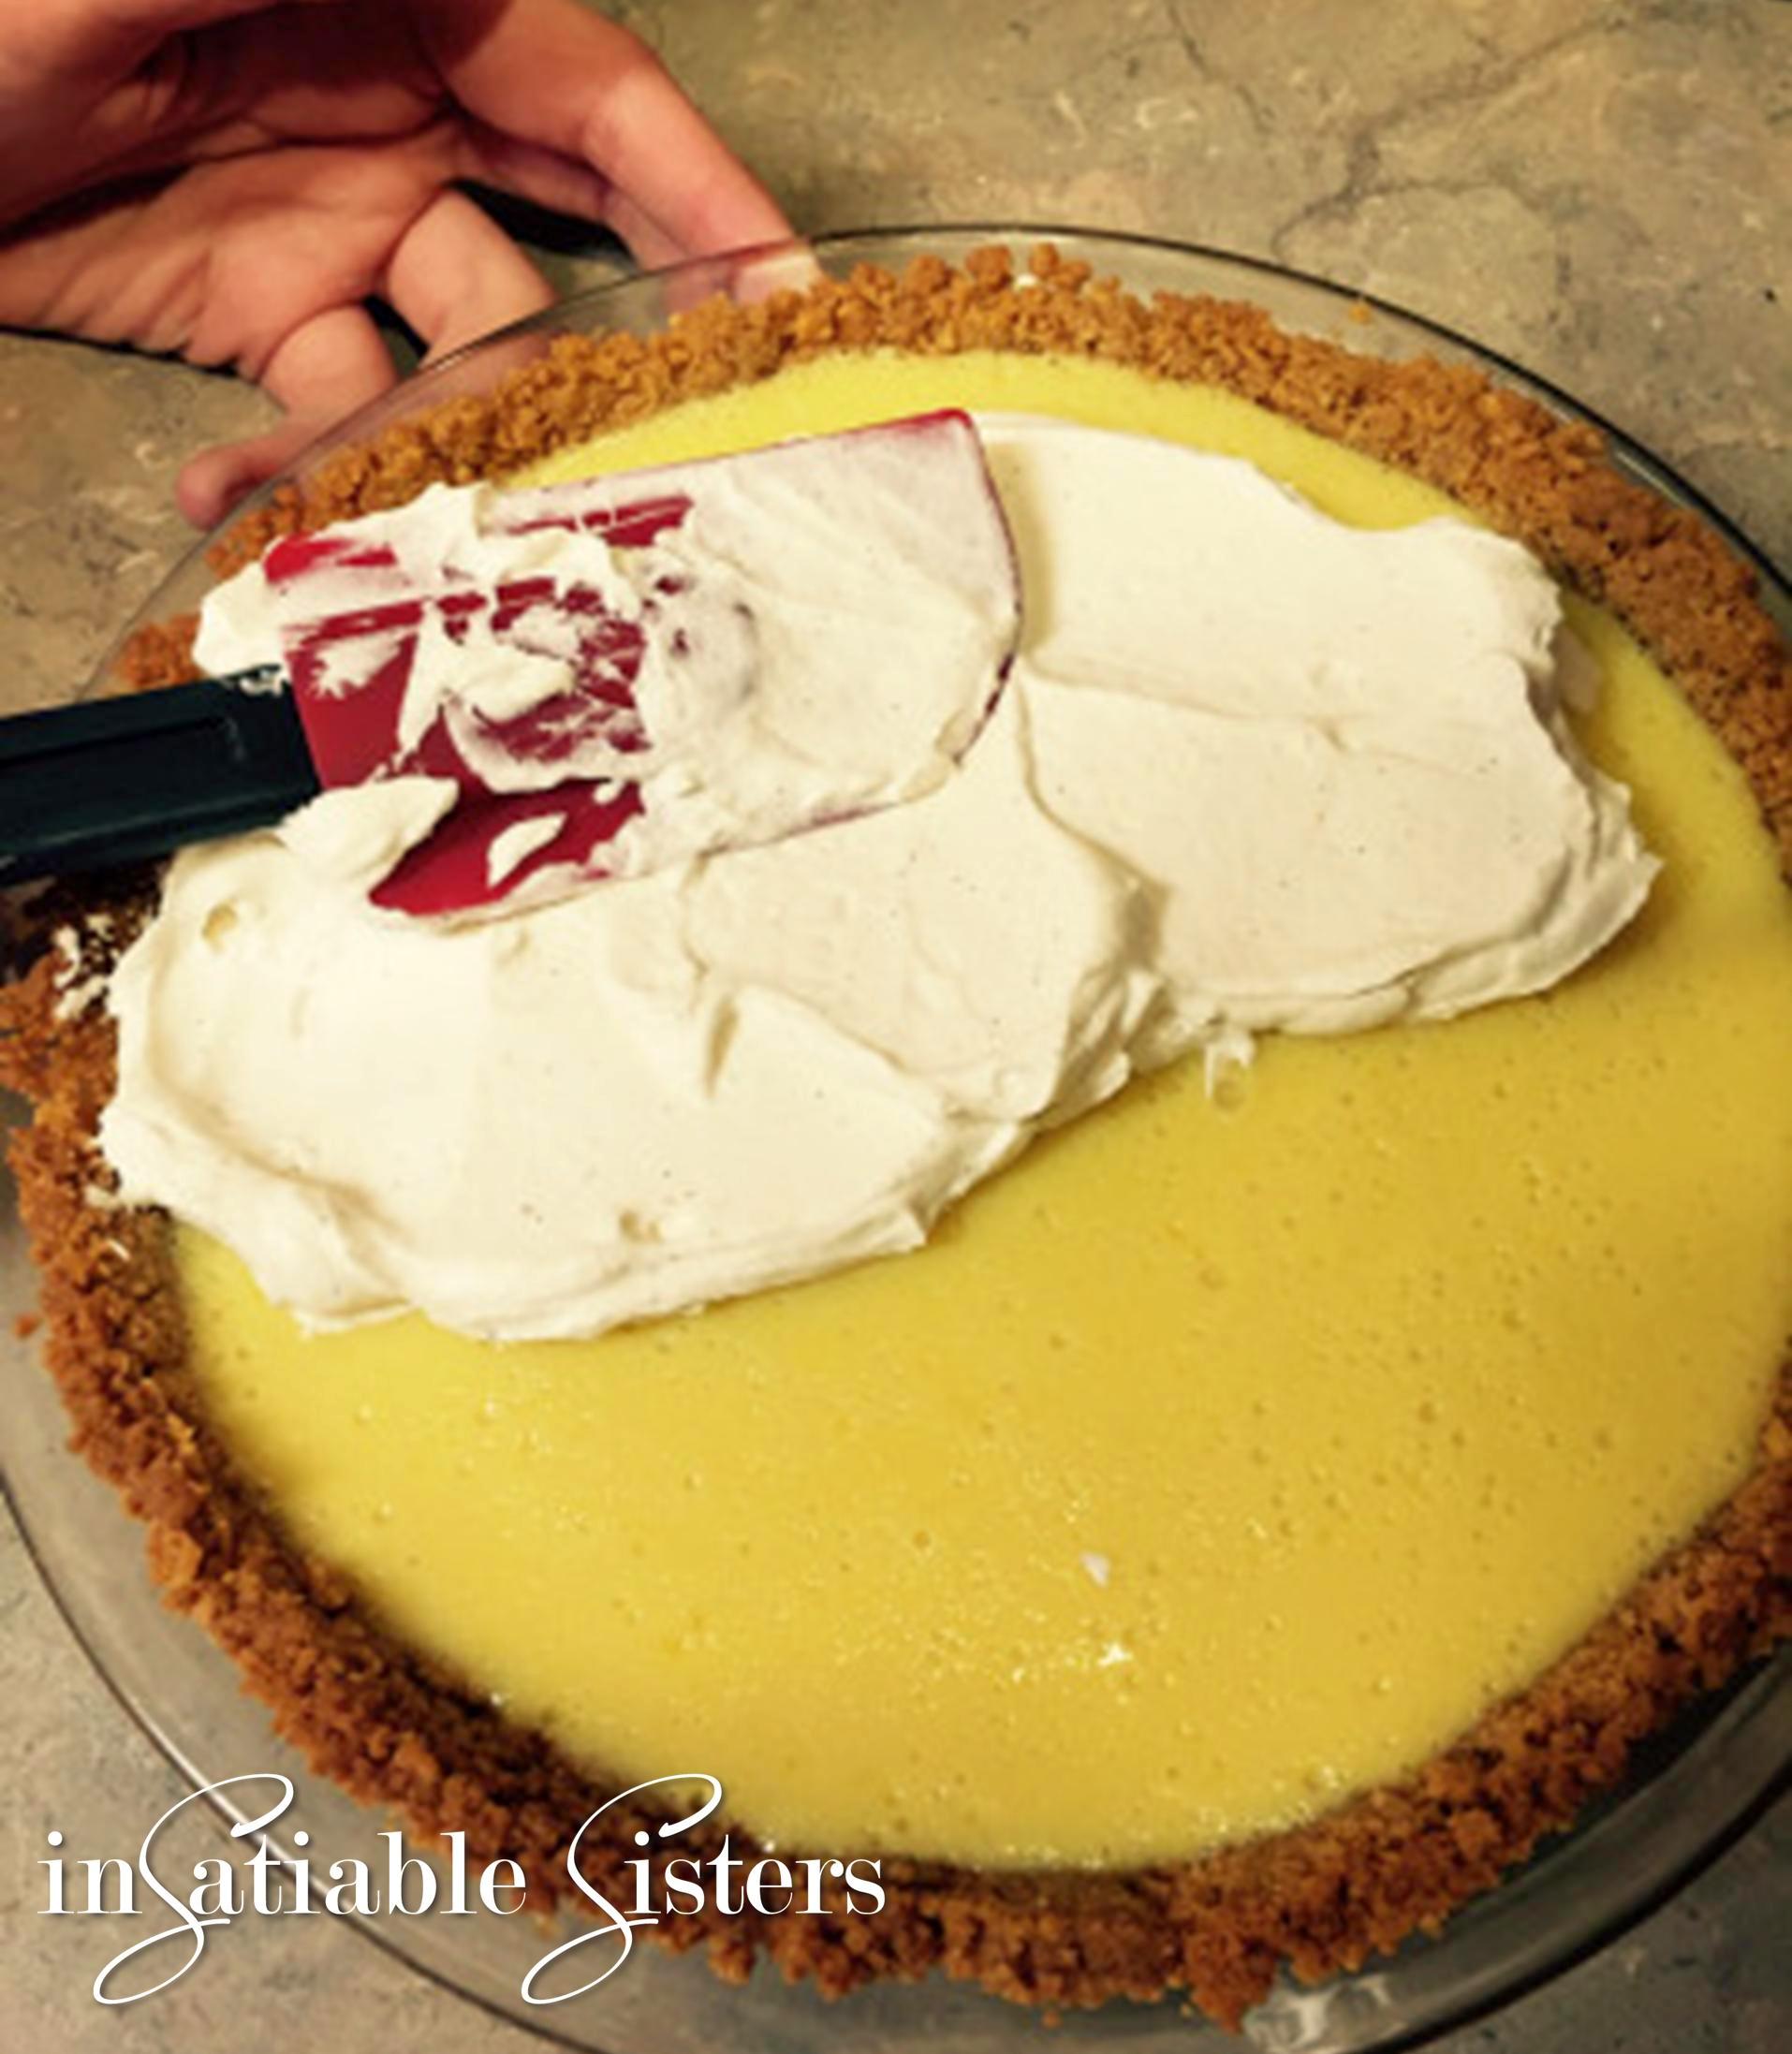
Meanwhile, whip the heavy cream in a metal bowl until stiff peaks form. When the blackberry mixture has cooled, fold in the whipped cream. 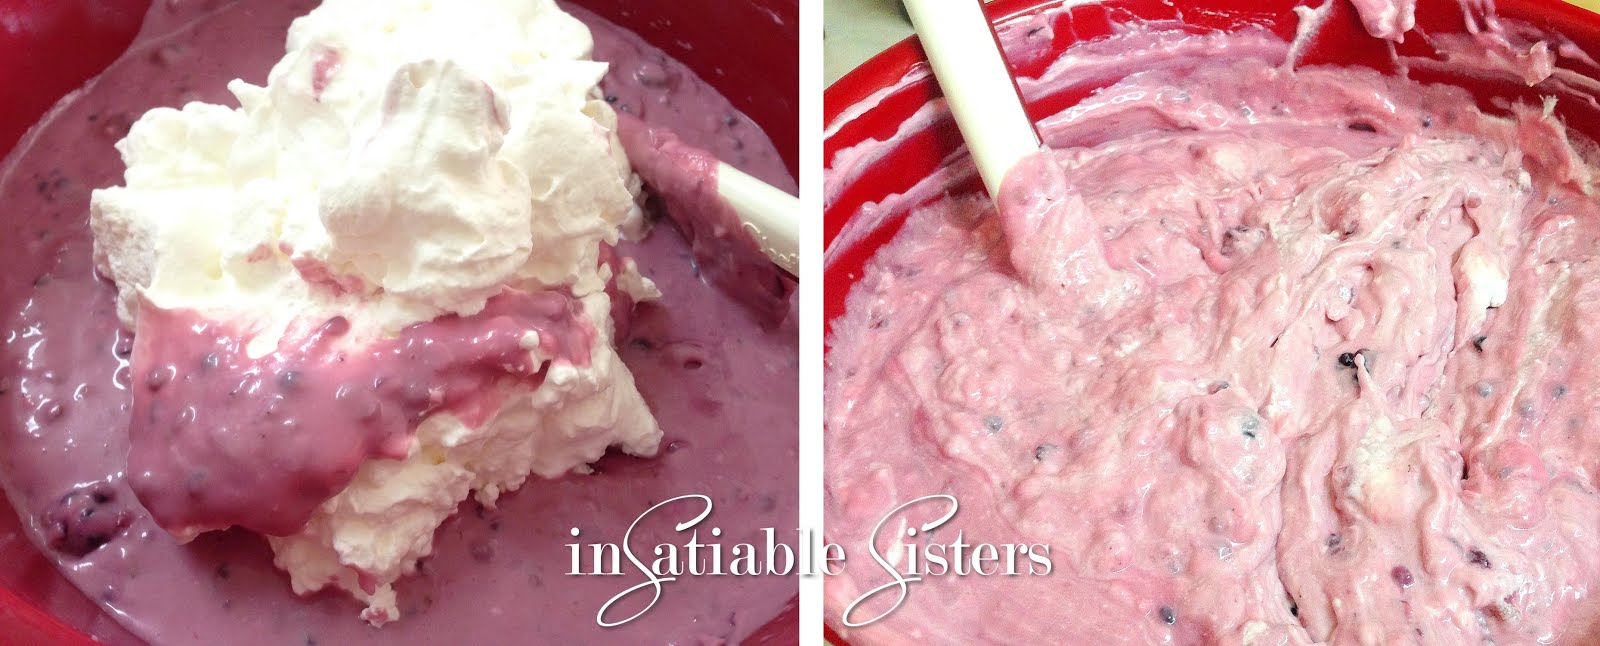
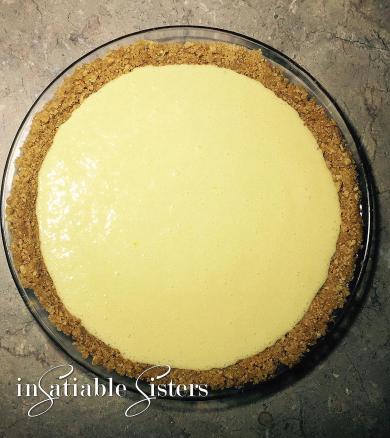
Pour the mousse into prepared crust and smooth it out with a knife or the back of a spoon. Refrigerate until firm, about 2 hours.
To release from the pan, run a thin knife around the edge of the pan before opening the spring-form clip. Remove the pan cuff. Place a sheet of parchment over the top of the cheesecake, then flip it over onto a flat surface. Gently insert a butter knife between the crust and the pan and the the cheesecake should easily release.
Before serving, drizzle with blackberry syrup.
Variation:
To prepare cheesecake mini’s, fill cupcake pans with foil liners (recipe makes about 24).
Note: You cannot prepare mini’s in batches, they must all be done at once because the cheesecake mixture will firm up in the mixing bowl if left unpoured. If you don’t have at least 24 cupcake spaces, you can purchase disposables at any dollar store or grocery store.
Distribute graham cracker mixture evenly into all foil liners, about 1 tablespoon each. Press firmly into the bottom of each cup. (Try using a clean spice bottle for this.) 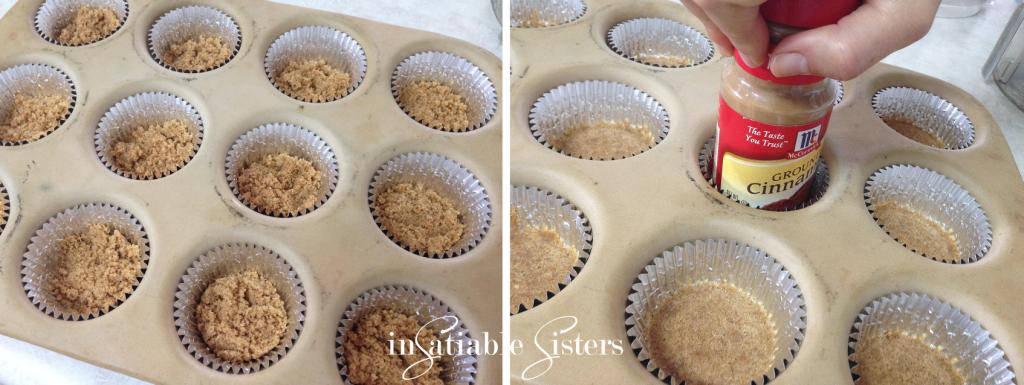
Bake about 7 minutes at 375.
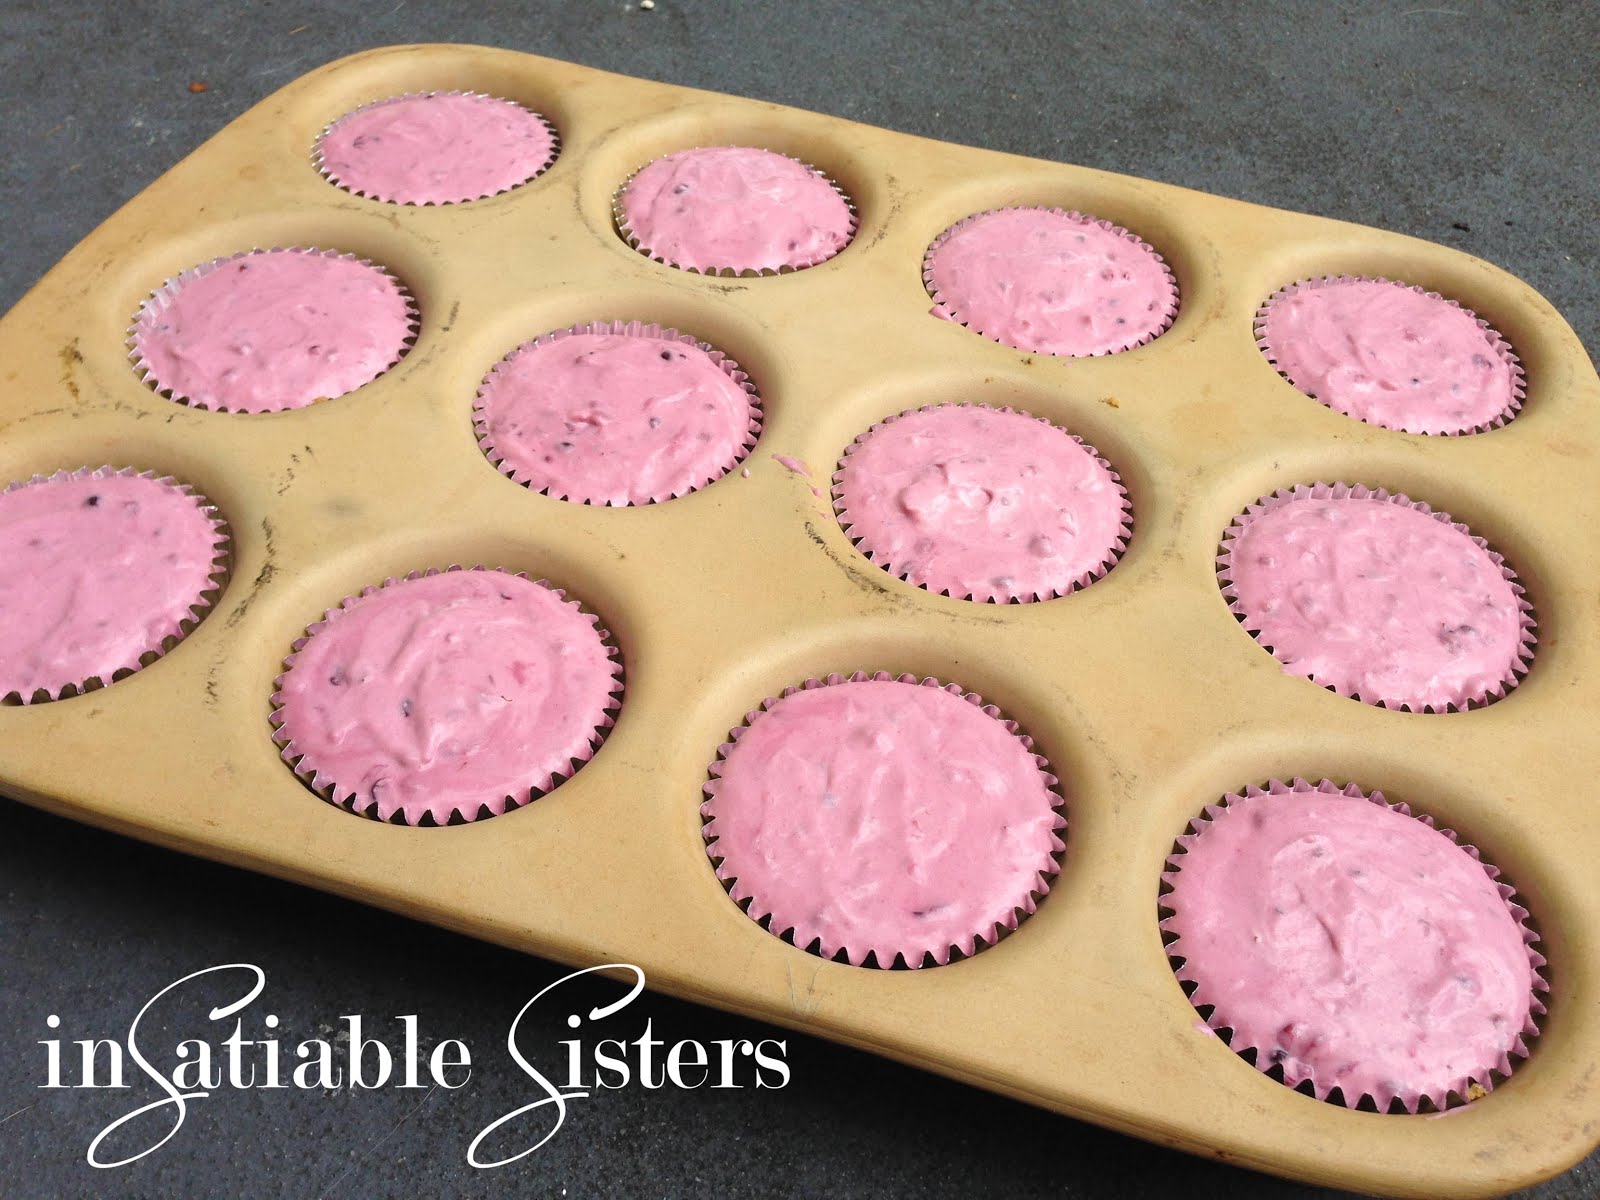
Once crust has cooled, fill with prepared blackberry mixture all the way to the top of the foil liner. Refrigerate until cool and set, at least 2 hours.
Top with blackberry sauce and fresh berries. Indulge!


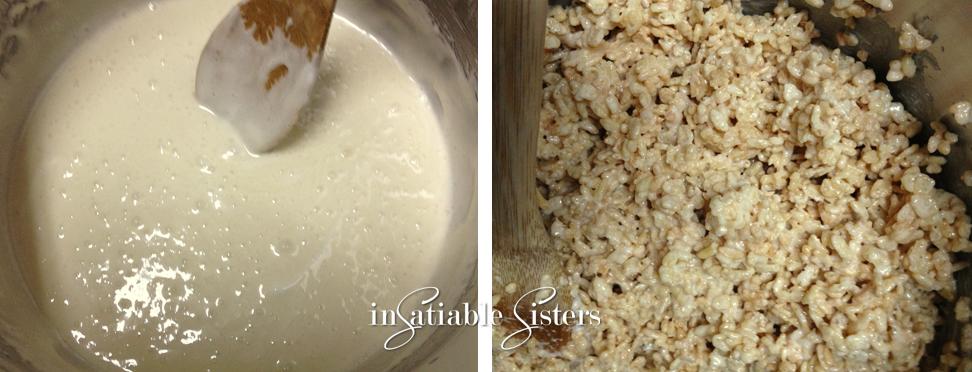
 Add sugar and butter and cook on medium heat until thickened, stirring constantly, about 10-12 minutes. Resist the urge to turn up the heat to avoid scorching


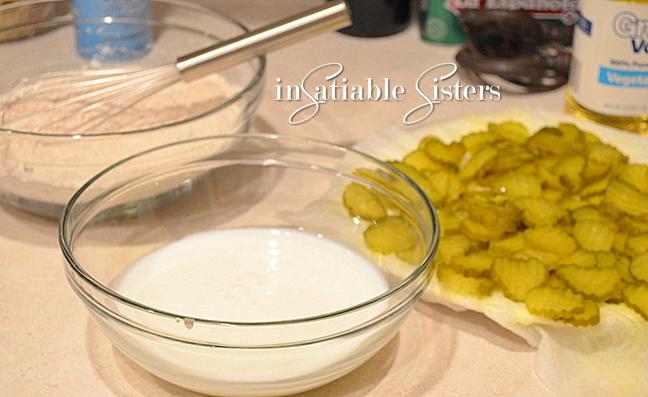
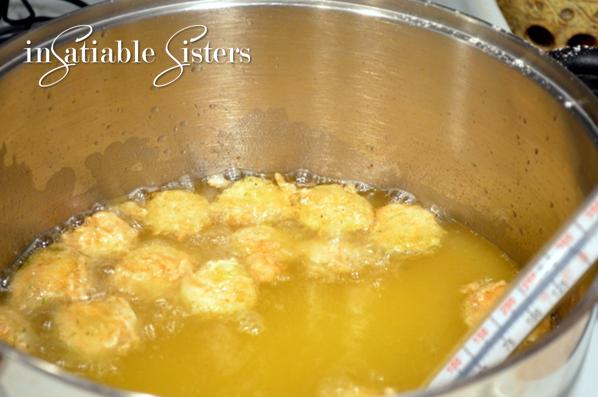
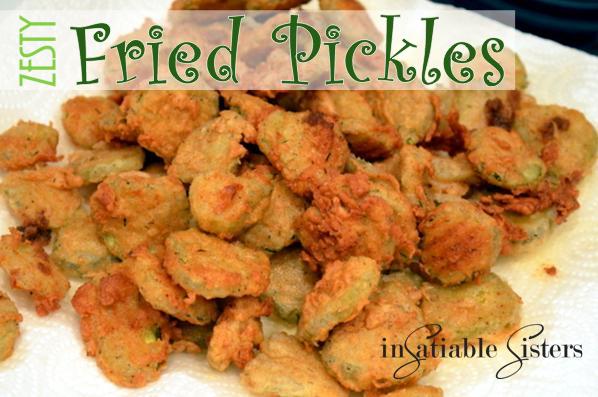
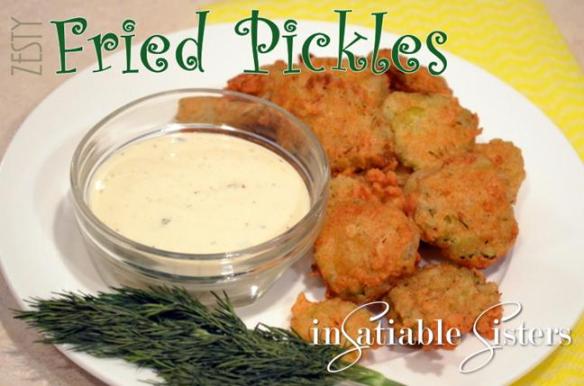 Anyone who knows me knows that pickles are one of my favorite foods. I’m obsessed with pickles, so I’m always looking for new and fun ways to incorporate them into my meals. These fried pickles are addictive and are a fun finger food! Who needs utensils, right? Everytime I make them they are gone in a matter of minutes! These go perfectly with my hot wings on game day, GO SEAHAWKS!!!! Or my pretzels and beer cheese! Fried pickles and beer cheese? I think I’m on to something!!
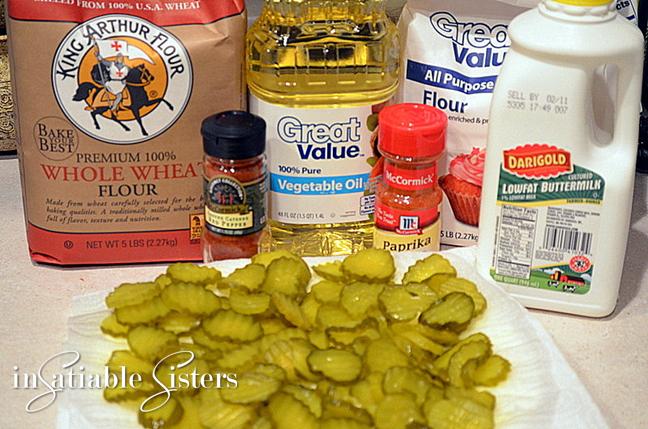


